

Visiting Afghanistan with DCS (3/3)
The sole purpose of this post is to help you locate the unique objects and remarkable landmarks that have been discussed in our two previous posts: Kabul area, followed by the rest of the country.
For this, you'll find attached a kneeboard page with all coordinates, so that you can easily create a waypoint in real time. Next time you're flying near Kabul for example, don't hesitate to punch in some points and have a look those locations.
But the best is still to plan these visits in advance, and in that case the attached .cf file will be the perfect tool.
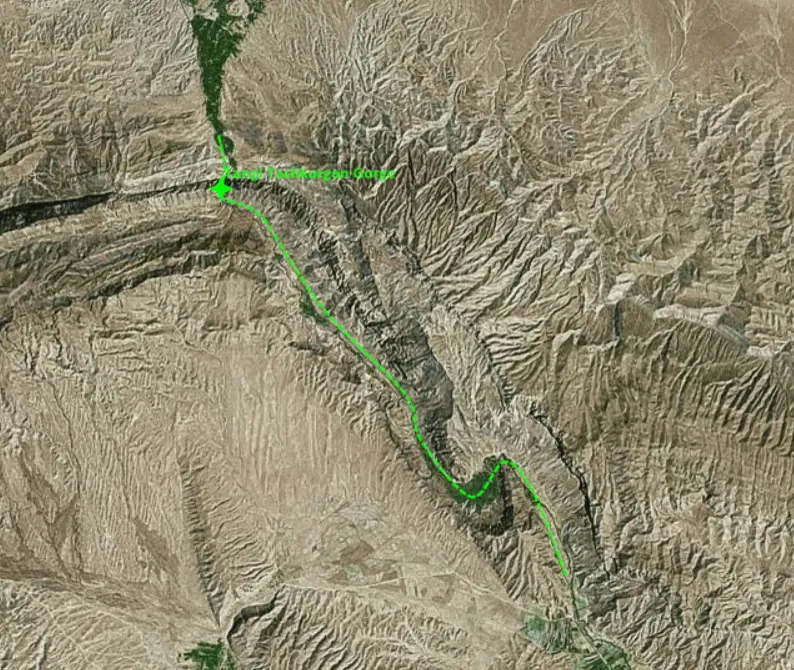
Note that for the valleys, I outlined recommended low level runs that will give you the most scenic trajectory.
Now, for the first time, you will also find attached the MissionPlot file (.ttm), since this tool is the natural replacement for our favorite outdated planning software (i.e. CombatFlite...)
I wanted to present it quickly a unique feature of MissionPlot: we call it the "DCS ISR" or "DCS Satellite ISR" function.
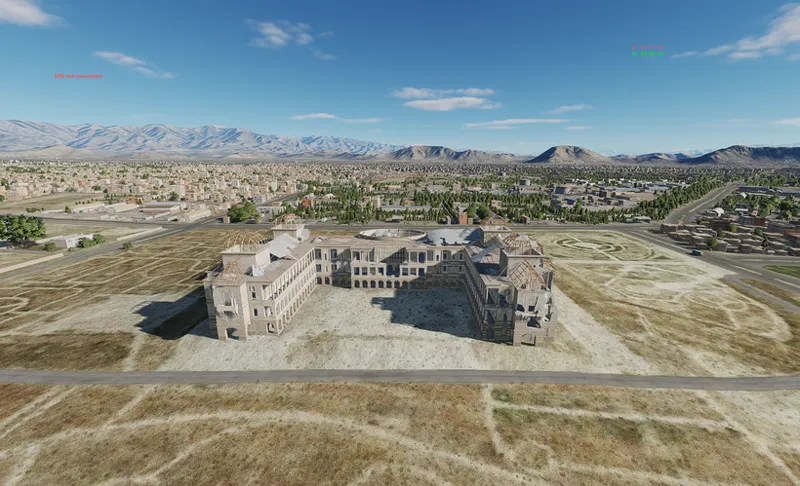
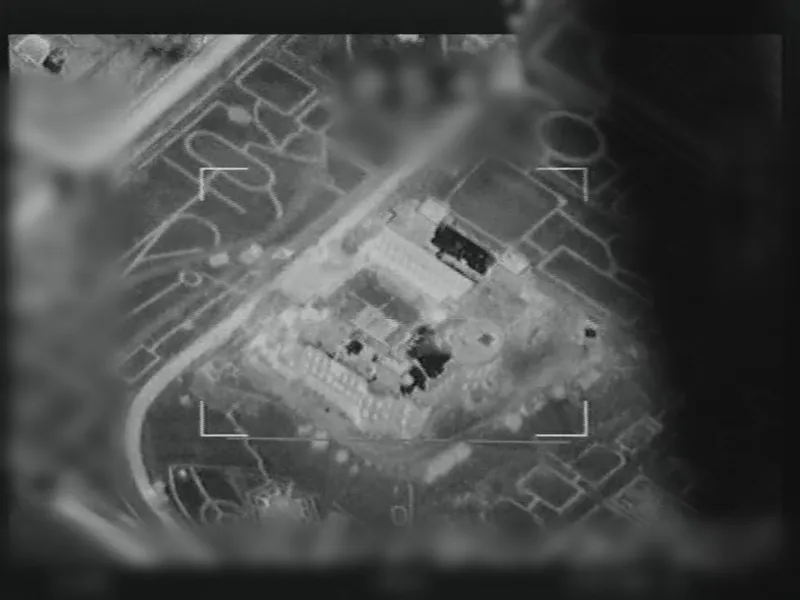
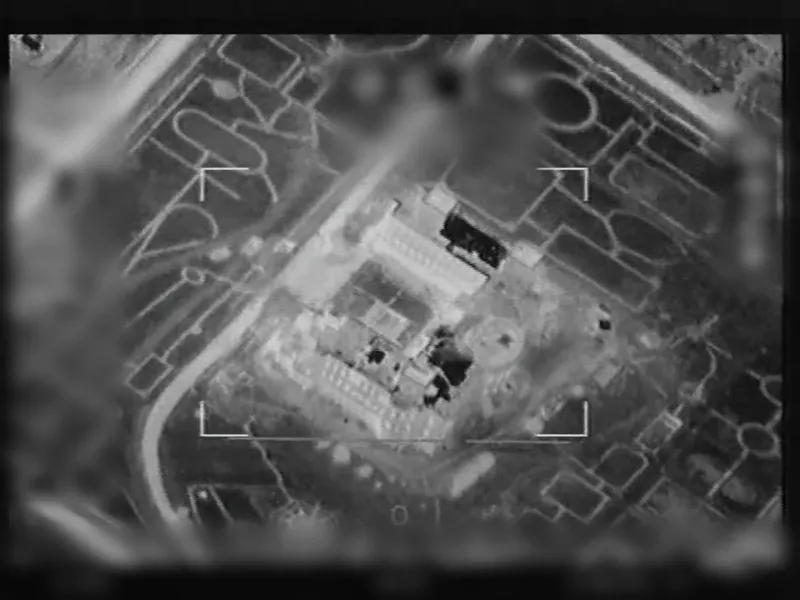
The idea is simple: in two clicks, take a picture of any point in game!
How it works:
Launch DCS world, open your mission, and switch to free camera view (F11)
Launch MissionPlot and select "Activate DCS ISR"
Connect MissionPlot to DCS (default settings should work)
Select desired height for the picture (it will give you a different zoom depending on your screen resolution and on the level of details you want)
Click on the map where you want the picture to be taken, or enter manually your coordinates
Wait a few seconds for terrain textures and scene details to load
Optional: check the view in DCS, and change camera orientation if needed. By default, it's a pure vertical view.
Click on "Take Picture"
Repeat 5 to 8
Go in your ProgramData\MissionPlot\DCS ISR folder
Enjoy your satellite pictures!
Note: short explanatory video to follow!