





















Chipping away. Huge Stagea progress.
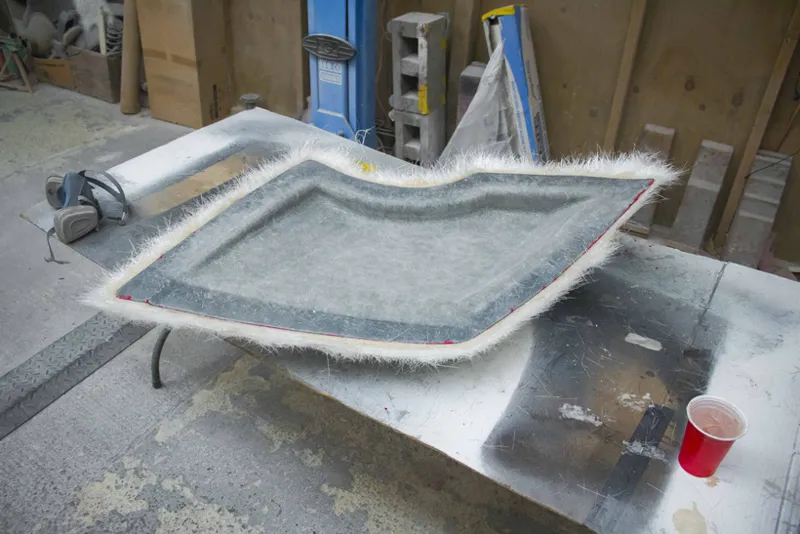
So another month of solid progress, I started off with the widebody mould that I had to remake. In the last update I had made a new plug and was working on smoothing it all out to make a new mould from.
I got that all finished and polished up and then was ready to remake the mould.
While I was doing that and since I had an empty shop with the Stagea away being painted, I took the opportunity to make a fresh widebody set from my Mx5 moulds.
This was mostly just so that I could leave the new parts inside the moulds to help protect the surface in preparation for the move to the new workshop which is now less than 1 month away.
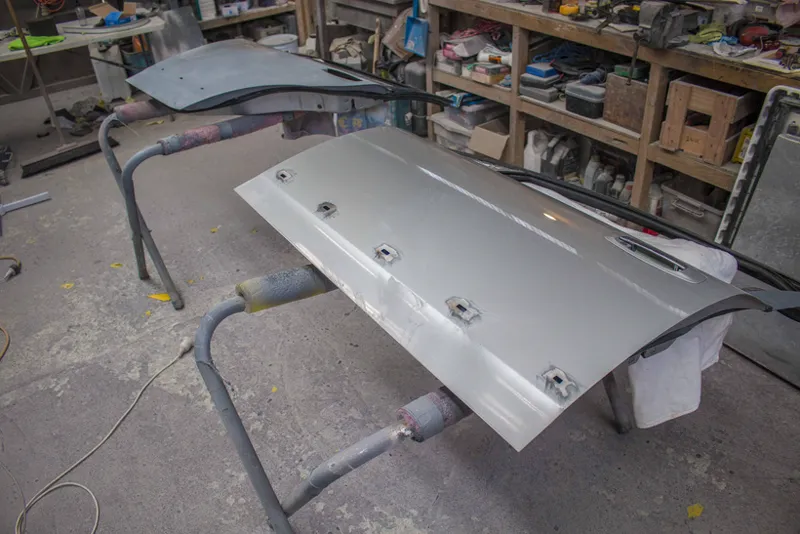
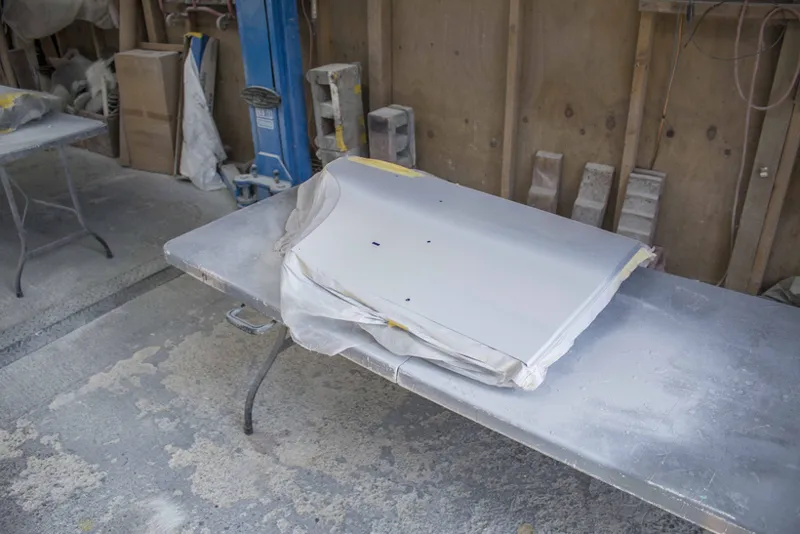
So in finishing off the Stagea, one of the last remaining big things was to tackle all the holes in the doors from where the original bump strips were. I could have put these strips back in but they looked pretty awful.
Originally I was going to TIG weld these holes, but unfortunately my TIG is broken now for some reason. Then I managed to get my friend with a workshop to agree to weld them up for me, but he told me last minute that there was too much on and that he couldn't do it.
This was all with about 3 days notice until I had to take the car and the doors to the painter so I had to fix them the only way I had means to.
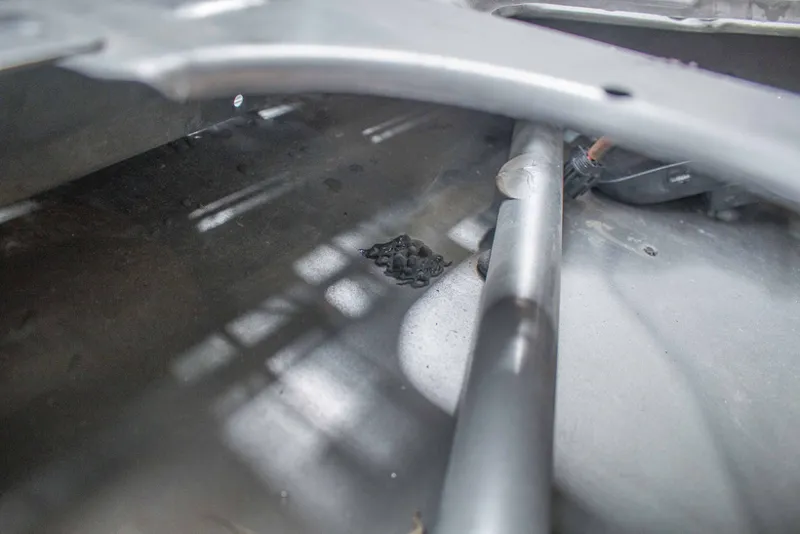
I spoke with my painter and the only way I was going to get them sealed up in time was a bit of a ghetto approach. I decided to JB weld some mesh behind the holes, then plug them up with a fiberglass reinforced filler, then skim over the whole thing with regular body filler.
In a perfect world this really isn't how I would have wanted to do this as I'm quite worried about cracks forming around the hole down the line. But this was the only way to get it done in time.
Luckily since this is my car I'll be able to watch it over the years and see how this holds up, and maybe it will. This is the method that people are using these days to mould in bodykits so maybe it will survive a kiwi summer.
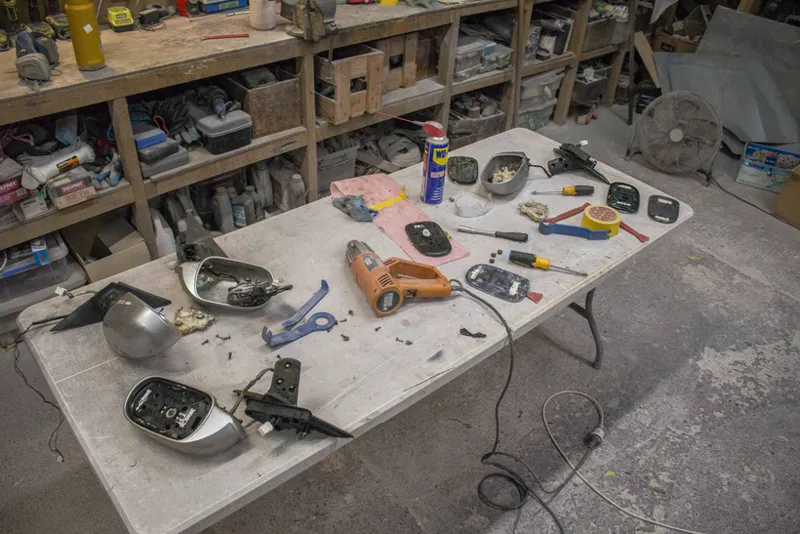
The other thing that I wanted to point out while doing this is is the damn M35 Stagea wing mirrors.
Thank god I had a donor because I broke both of these things trying to get them out.
In every other wing mirror I have ever encountered in my nearly 2 decades of working on cars, the mirror inside is clipped in place in a plastic mount and you simply pop it out.
And so that's what I did, which resulted in this.
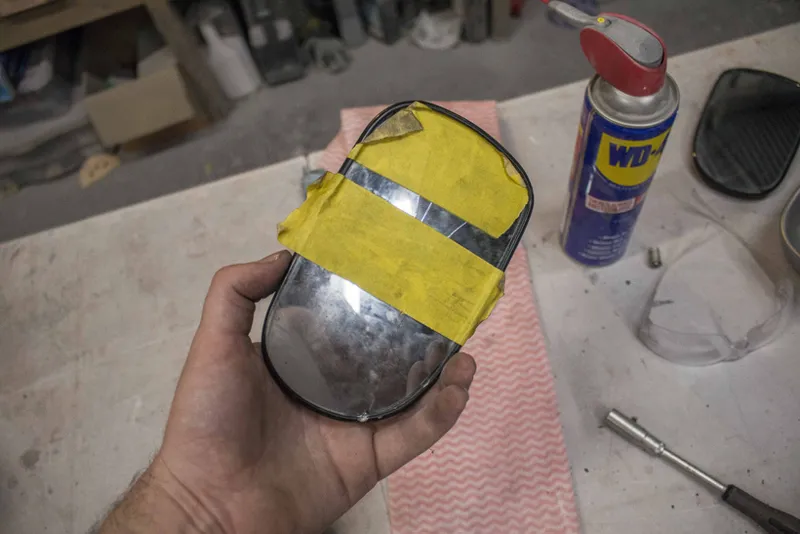
In reality, the way you are supposed to get these specific wing mirrors apart is by heating up the glass, and lifting the plastic seal from around the edge with a knife or plastic wedge and actually remove the glass from the adhesive holding it to the plastic backing which gives you access to a screw that you need to undo in order to remove it.
I have never encountered a wing mirror like this before. If you try and remove it like any normal wing mirror YOU WILL BREAK either the glass, or the plastic motor behind it.
Such a stupid design, Nissan, this is why you're going out of business.
But I just wanted to share that for anyone here thinking of maybe buying one of these kits just so you don't completely bust your own wing mirrors if you ever try a full body respray.
Moving on to the lights.
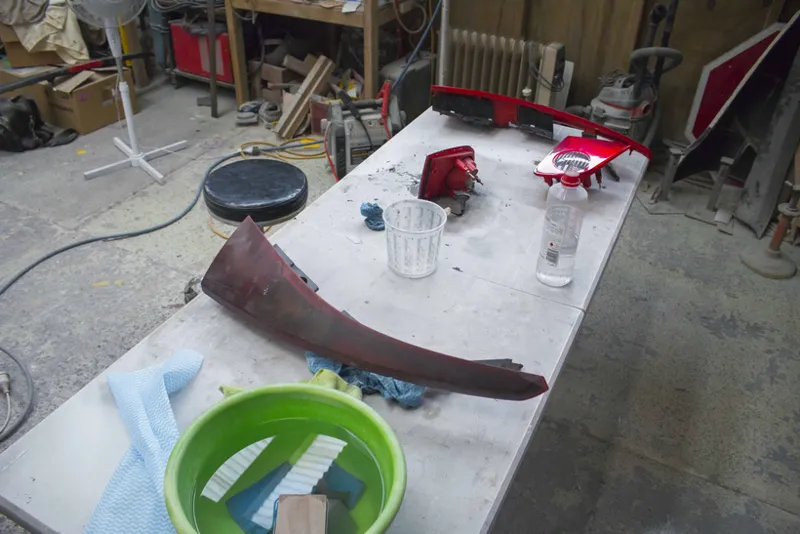
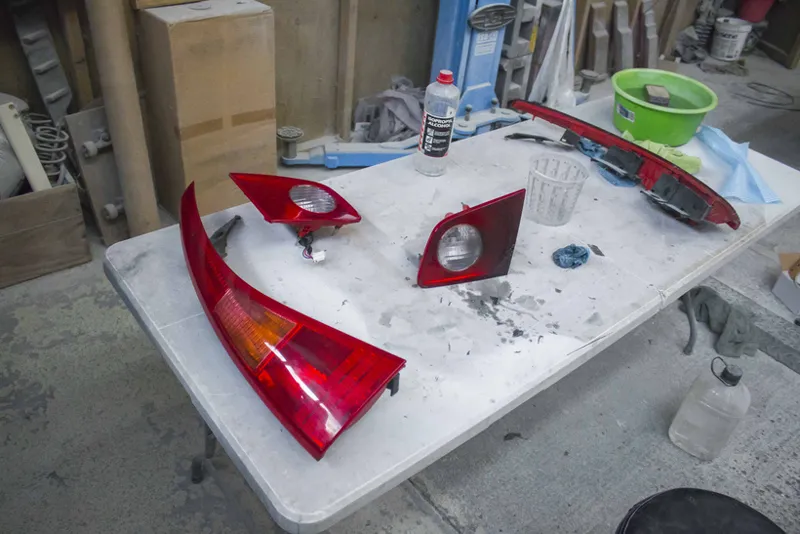
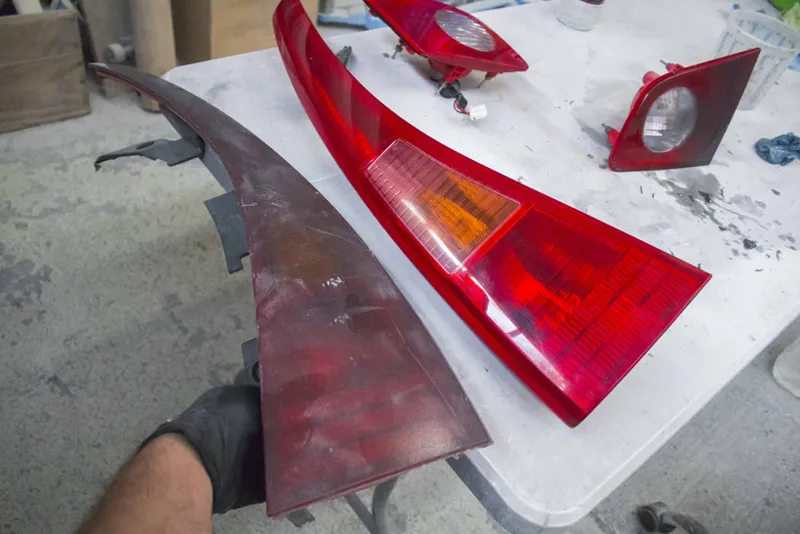
We'll start with the tail lights as those were simple.
They had an ugly spray on tint on them that looked terrible so I removed it and polished them back up again.
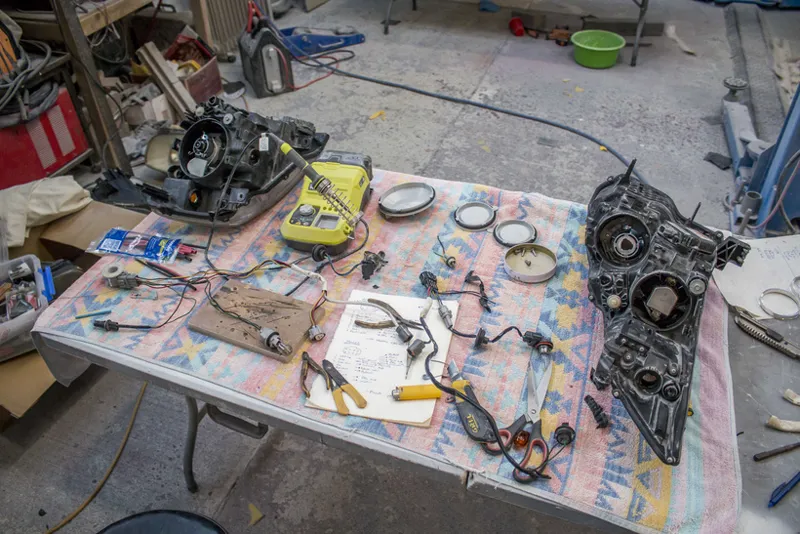
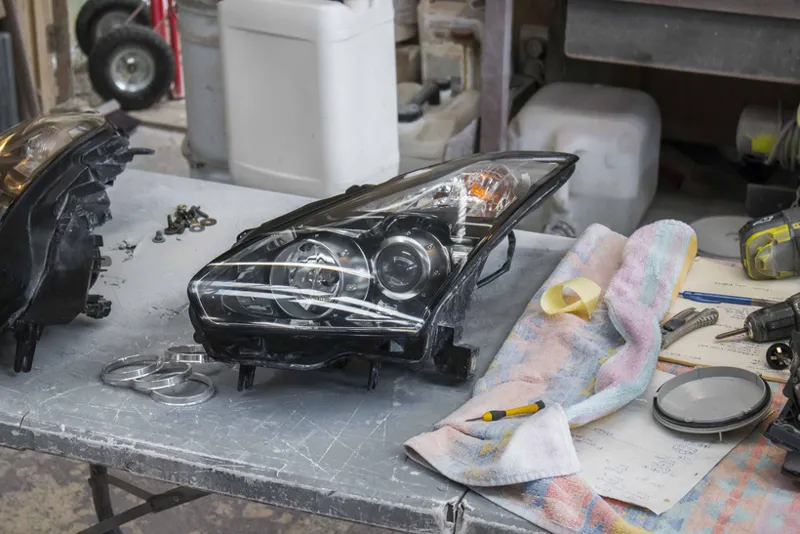
Then the headlights. There were two problems with the headlights, the first was that they had no way of plugging into the car since all though the plugs were actually the same as my version of the Stagea but just flipped, the pinouts were different and so the signals from the car wouldn't match what the headlight needed.
This was were I got amazingly lucky without realizing.
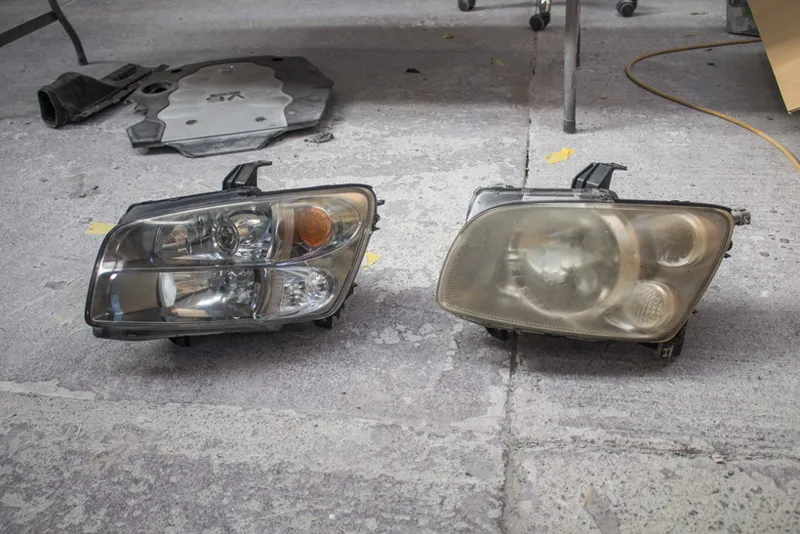
So for anyone that didn't know, there are actually 2 versions of the 2nd generation Stagea, a facelift and a prefacelift. The notable difference is the headlights. The 2007 Autech Axis model that I have is a Version 2 or facelift model and it came with HID headlights.
The reason this is lucky is because the pre-facelift does not come with HIDs and as a result it is missing the 'ballast?' or whatever complex electrical component is on the GTR headlights that allows the lights to actually run.
This is the Stagea facelift headlight on the left, and the original on the right. You can see the facelift one is slightly longer and has a sharper curve on the top inside corner.
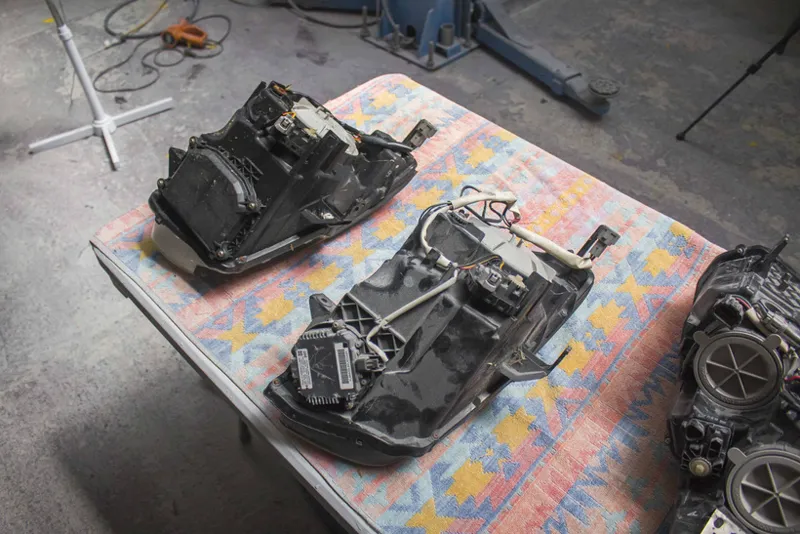
This is the reverse side of those two lights
You can see on the facelift one (closest to camera) there is a metal block with cooling fins and a plug feeding into it. This is for the HIDs. On the pre-facelift one, that block is completely different and will not work from what I'm seeing.
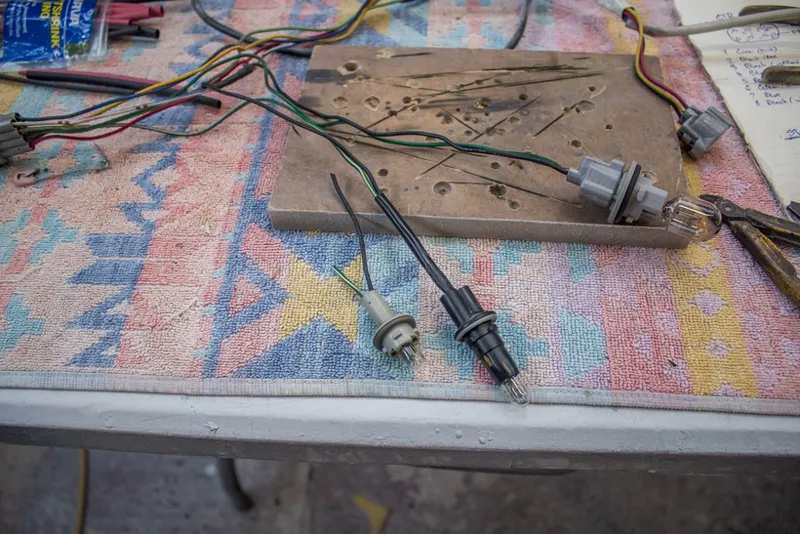
Because my Stagea and the GTR both have the exact same block (all the voltages and currents match and the design is the same) this meant all I had to do was take the individual plugs for the GTR headlight and solder them on to the Stagea subharness in the correct spots.
You will need to change the plug for the park light, turn signal, and low beam bulb. But because the HIDs are the same for the GTR and the Stagea, you can leave the plug from the Stagea harness on and just plug it straight in.
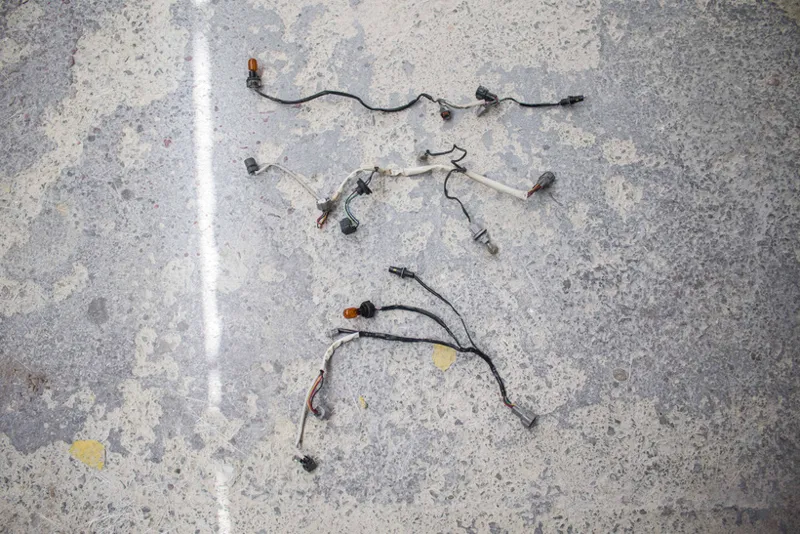
When you're done you'll have this new harness:
Here are the 3 subharnesses. Original GTR subharness on the top, Stagea in the middle, and then the custom Stagea - GTR on the bottom.
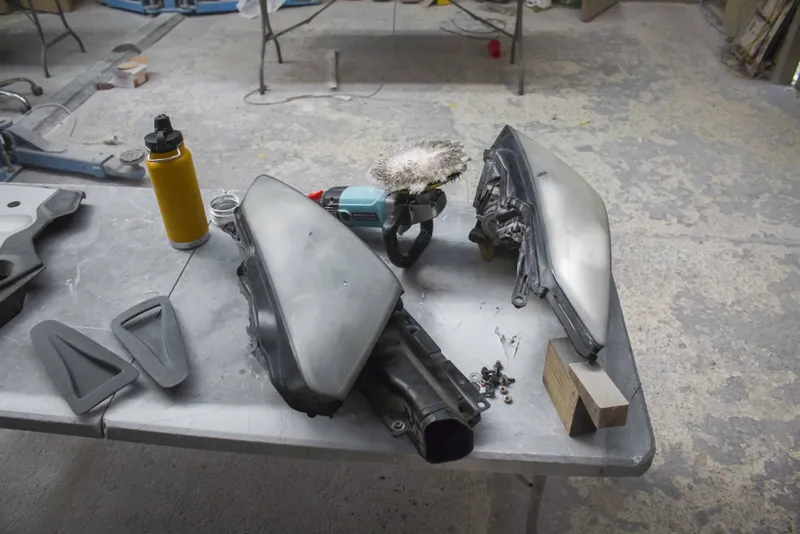
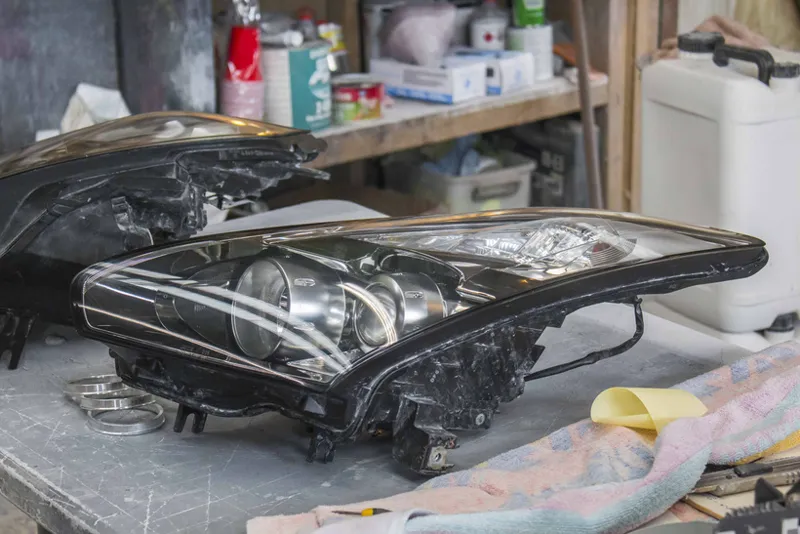
With the wiring out of the way I could now move on to the second part of the headlight which was fixing the nasty yellowing and scratches in them.
If you don't remember from old pictures, these headlights were pretty rough, I'd been using them to throw this car together for years and was never really that careful with them, but now they needed some TLC.
I sanded them with 600 grit to get rid of most of the smaller scratches, but for the large chips I mixed up some epoxy and dabbed it into the cracks.
Once the epoxy had cured I sanded them again this time going all the way up to 3000 before finally polishing.
I was very surprised with how these came out. They were so yellowed before I started that I thought I was going to need to split the lenses and dip them in peroxide or something to get the staining out, but it turns out that was all on the outer layer and just a little sanding was all it needed.
Most of the larger chips completely disappeared too, with only the really large one still being slightly visible after the repair.
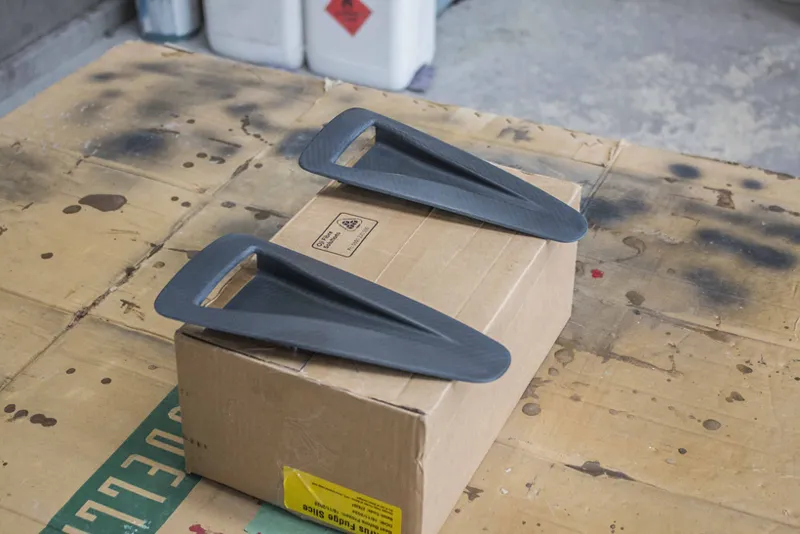
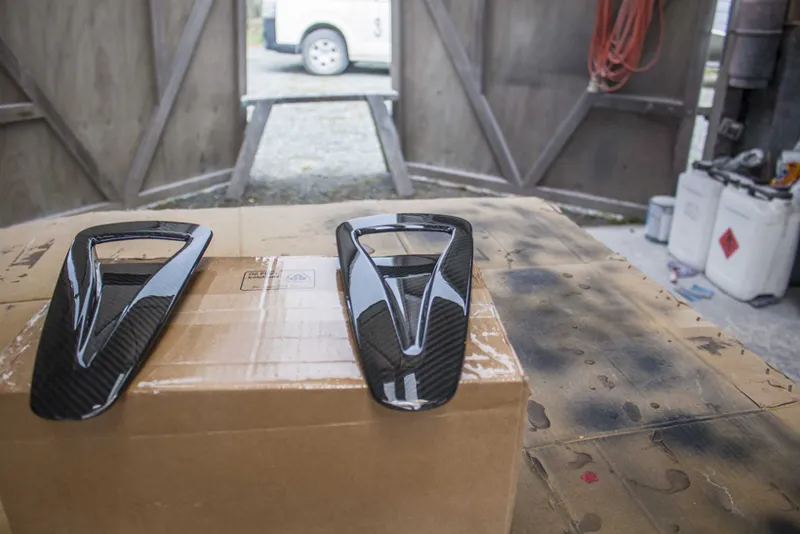
That moves us on to the final part of this update which is the bonnet vents.
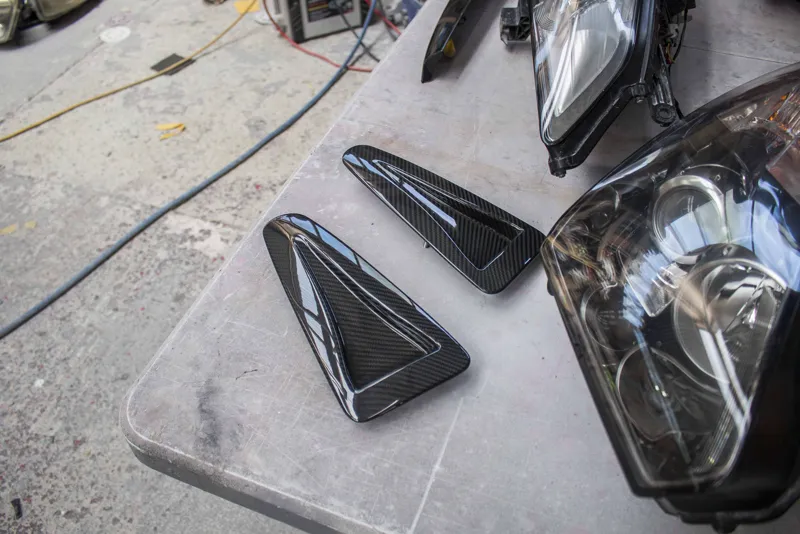
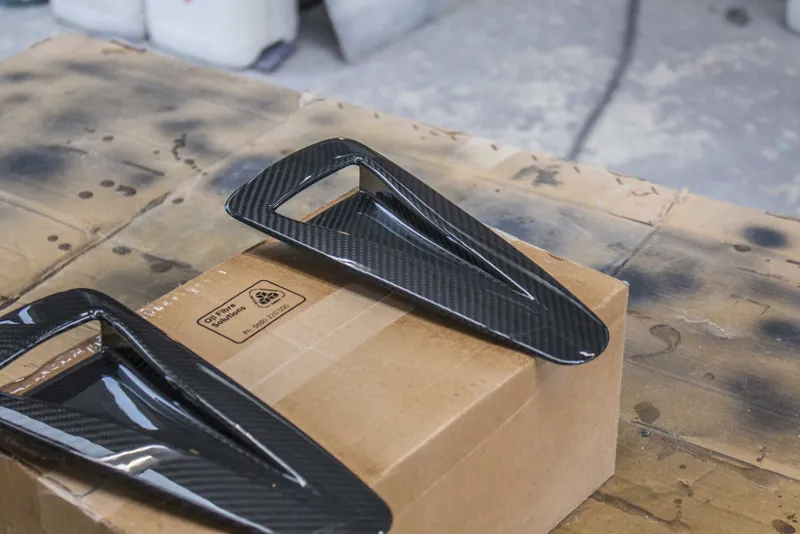
So pretty straight forward, you guys voted to leave them as carbon which meant I had to sand them down and re-spray the clear coat. I thought about just polishing them but honestly spraying clearcoat was easier and less risk of sanding through to the weave.
And that's pretty much everything apart from a few small things I didn't even bother taking photos of.
So with virtually everything else now finished on this car, you're probably wondering how long until you get to see the paint?
Well I have just picked up the first batch of parts and man I am loving how this colour looks, it's so classy and absolutely the right fit for this build. I'll be revealing the colour in the next post which will be a lot sooner than you think so stay tuned.
Comments (1)
Nice, can’t wait for the reveal!