















GTR Stagea Paint Reveal!
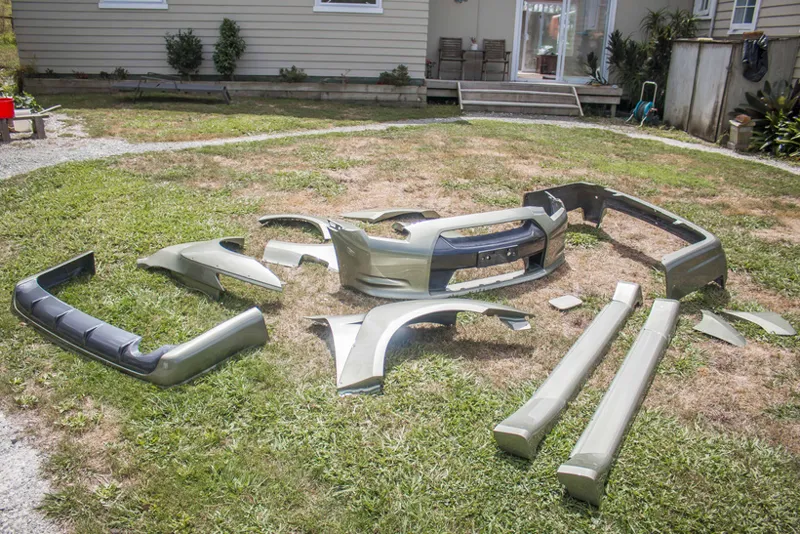
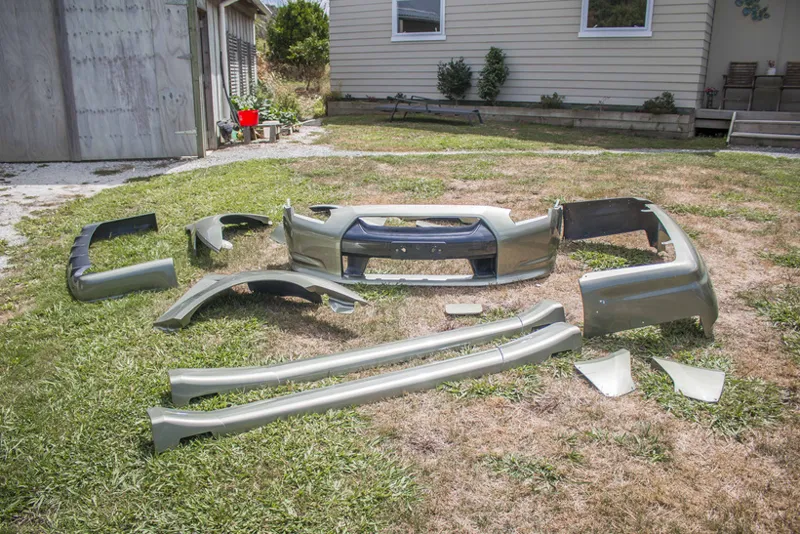
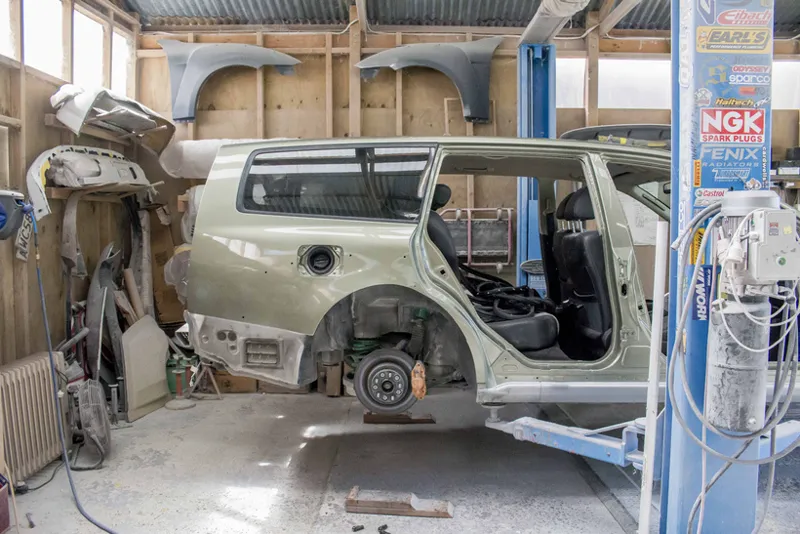
At long last, it's finally time to reveal the colour for this Stagea.
I know some of you were already probably expecting this and I had a handful of people guess it already. I wanted to pick something from Nissan's OEM lineup that was unique but also quite classy.
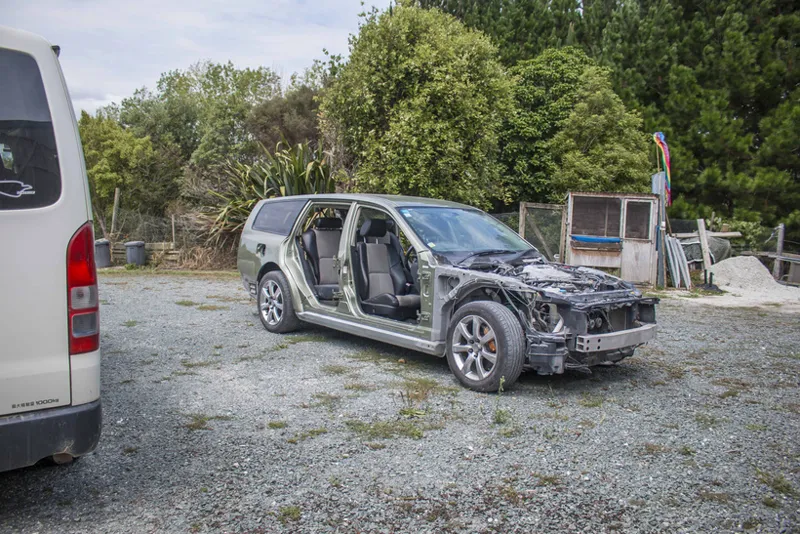
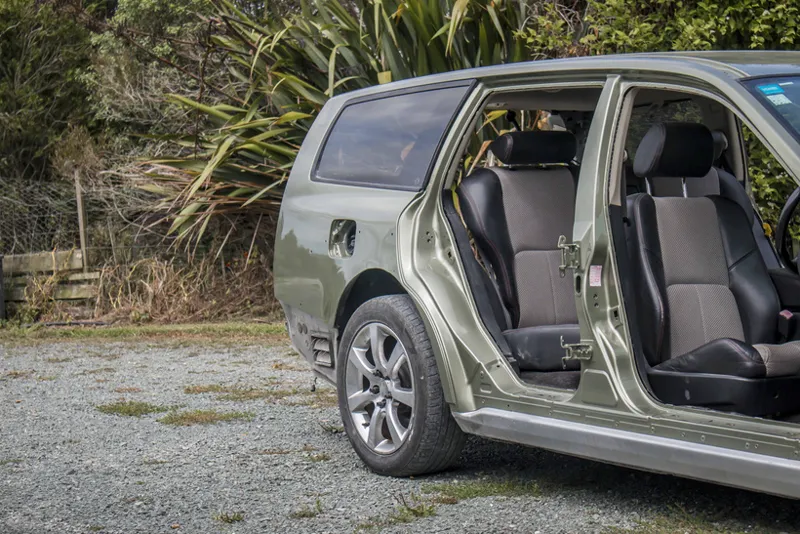
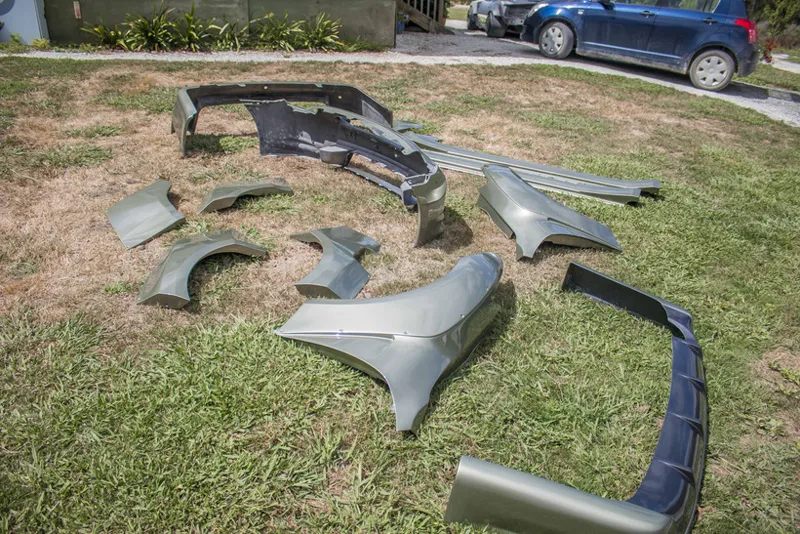
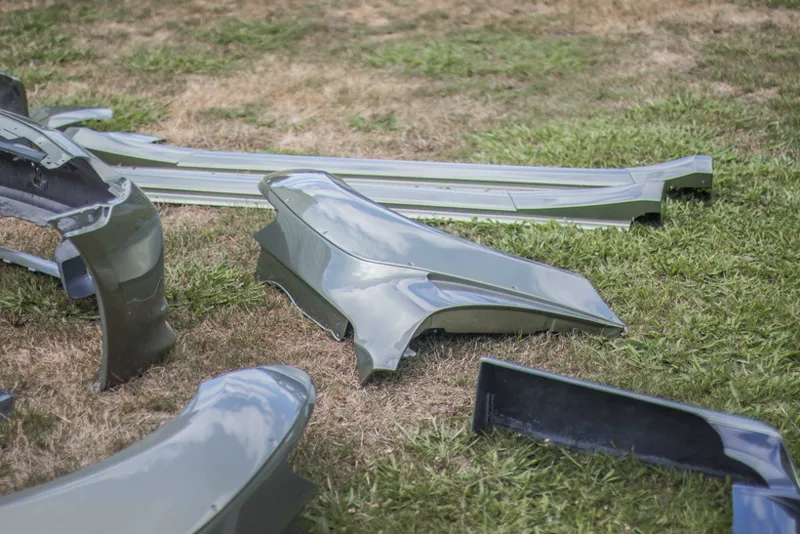
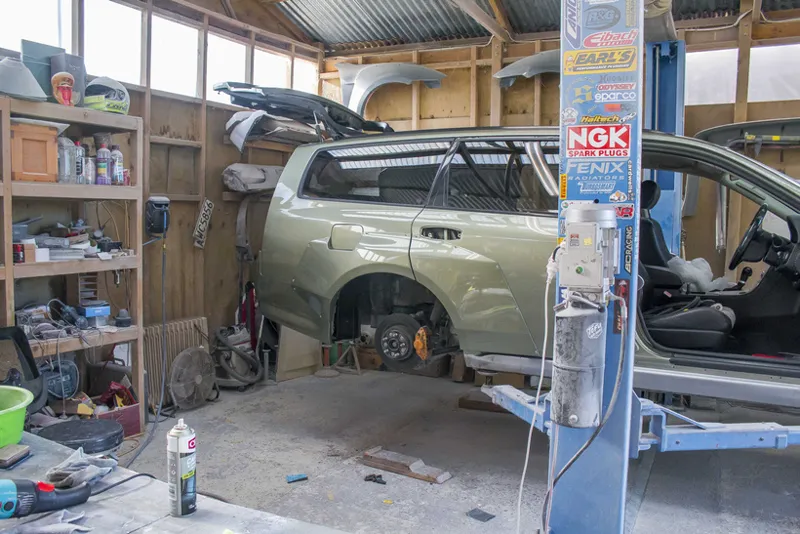
It was a toss up between this and 2 other colours but ultimately I went for one of Nissan's most iconic colours, Millennium Jade, code JW0. It's always been one of my favorite colours alongside MNP III which was another highly requested colour, but that colour has been used quite a lot recently and so I just wanted this to stand out a little bit more.
It's the perfect colour for this build, light enough to show off all the lines and a good match for the bronze wheels while still looking really classy.
It's such an awesome colour. In the sun it's got a lot of gold in it but then in the shade it has a much cooler green colour. I'm very satisfied with the choice.
I've picked up the last of the painted panels and so now I'm working on reassembling it and putting together the final video.
In addition to just throwing all the parts back on the car, I did have some more work to do with the front lip.
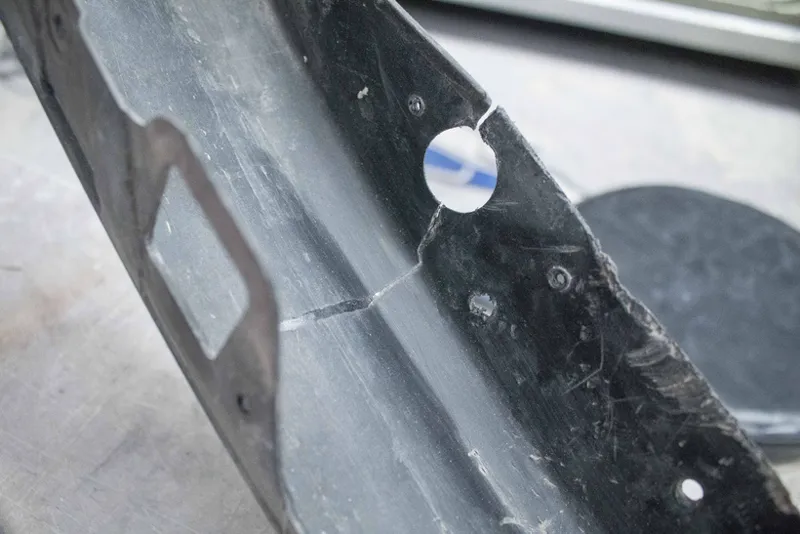
So throughout this build I've been using a front lip that was given to me by a fan because it was damaged and leftover from their own replacement. It worked perfectly up till now but the cracks and paint flakes needed sorting out.
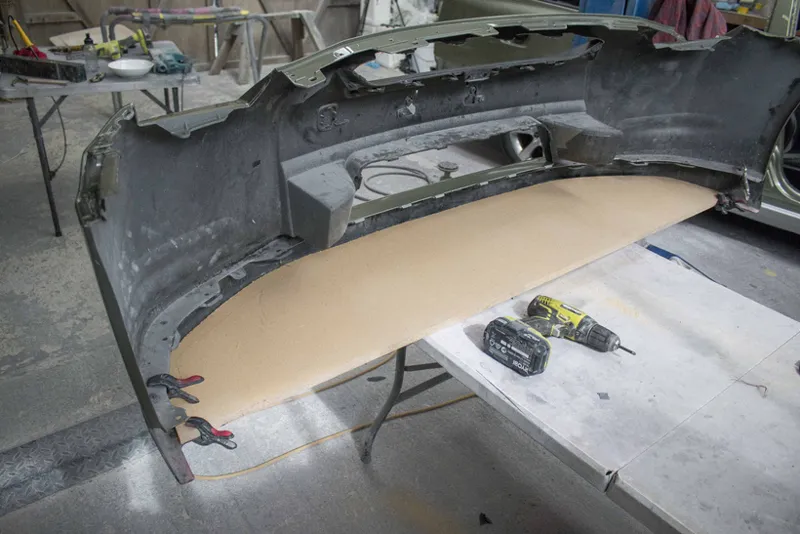
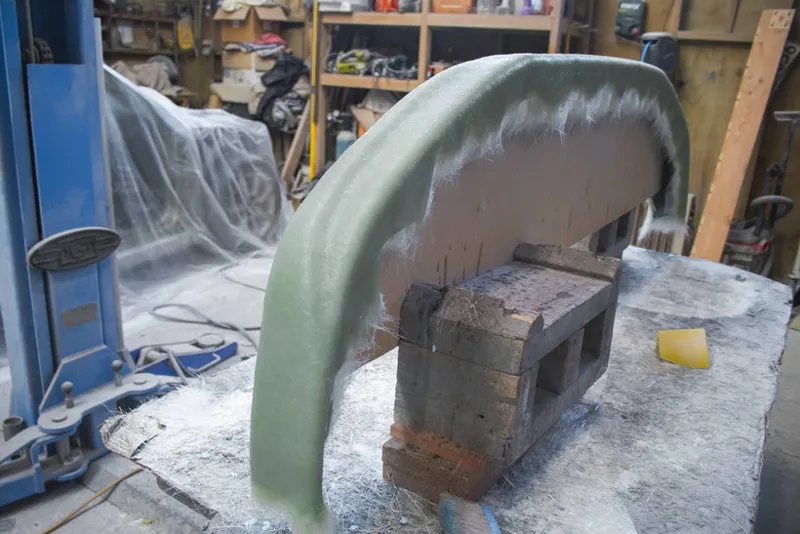
I decided rather than try to repair it and inevitably have the cracks come back down the line, I would use this plastic lip to pull a mould from so I could recreate the lip out of fiberglass.
So I did some quick fixes and a coat of primer and then had a quick and dirty plug to use for mould making.
I taped off the edges and gave a coat of wax followed by a heavy application of PVA release agent.
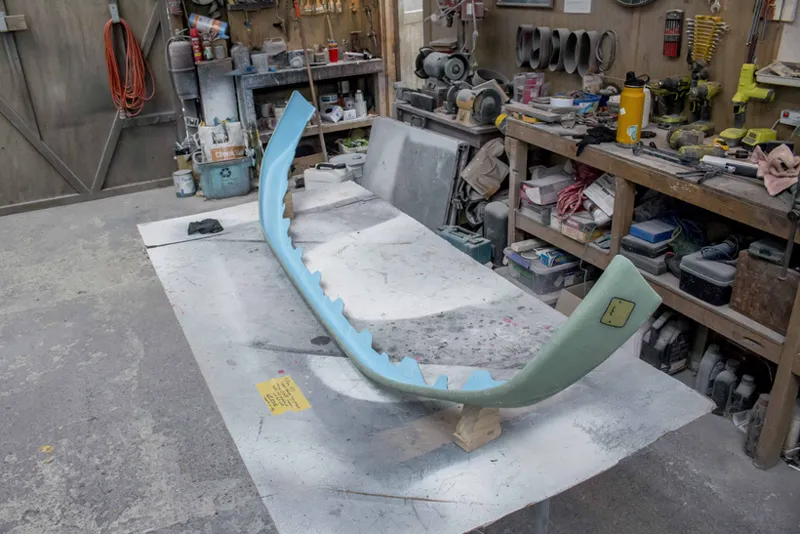
For this mould I didn't have any tooling gelcoat so I just tinted some regular gelcoat with blue so that I could see thin spots when applying the gelcoat for the parts later.
Then with the mould I did the same thing with one layer of wax and PVA and then quickly threw together a part out of it.
All together it was about 3 days from starting the repair of the lip to having a mould and a new fiberglass part out of it. These quick and dirty moulds definitely live up to the name.
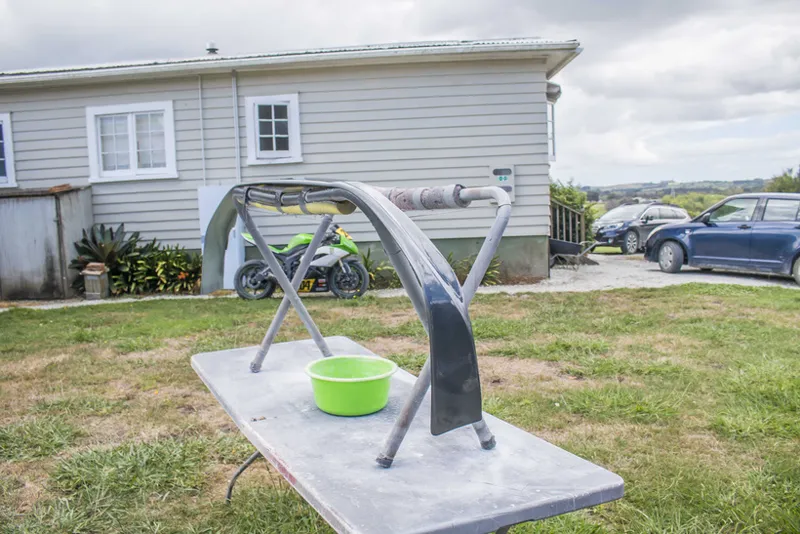
For this lip I didn't bother with any primer and just went straight to sanding the gelcoat with 600 grit and then gave it a coat of paint that was matched to the inner grill on the GTR front bumper. It's the same accent colour we used on the inside of the rear lip.
Naturally before the clearcoat was even really dry I had to fit it to the bumper and see how it looked.
I also quickly threw the rear fenders on just and I just can't get over how cool this thing is looking.
I'll leave it there for today.
Not sure when my next post will be, I've got some good momentum going on this and so I want to keep at it at full tilt. But I'll be sure to have an update in here before the video goes up.
Comments (4)
That’s a great colour. I think it looks its best on cloudy days and in the shade, when the green tone wins over the gold.
I've just had the car sitting out in the sun all day watching it slowly change colour as the sun went behind clouds. I don't know which is my favorite yet
Yes! That was my guess and it looks amazing! Great color choice to show off the lines you worked so hard to create. Can’t wait to see you put it all together. I bet you were grinning ear to ear putting the painted parts on the car, you should be proud of the final result.
Such an awesome colour for sure, absolutely the right choice for this build. I can't wait to see it all back in one piece and on the ground again.