



















A Months Worth of Work.
Quite a lot has been going on the past month. You'll have noticed I dropped the every 2 week upload schedule on YouTube while I focus on actually wrapping this build up, and since we're still a little ways off I'll get you awesome patreon supporters up to speed.
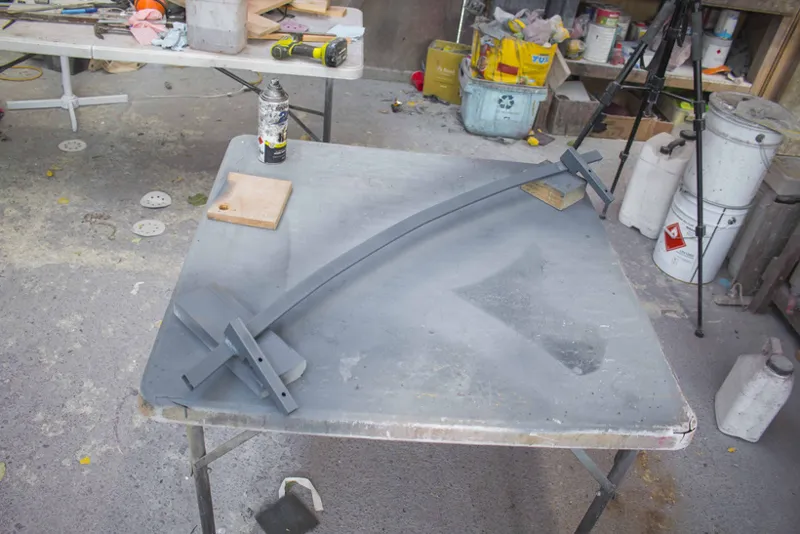
So catching up with what I went over in the last video but now in nice pretty HD images, first up was the front bumper support.
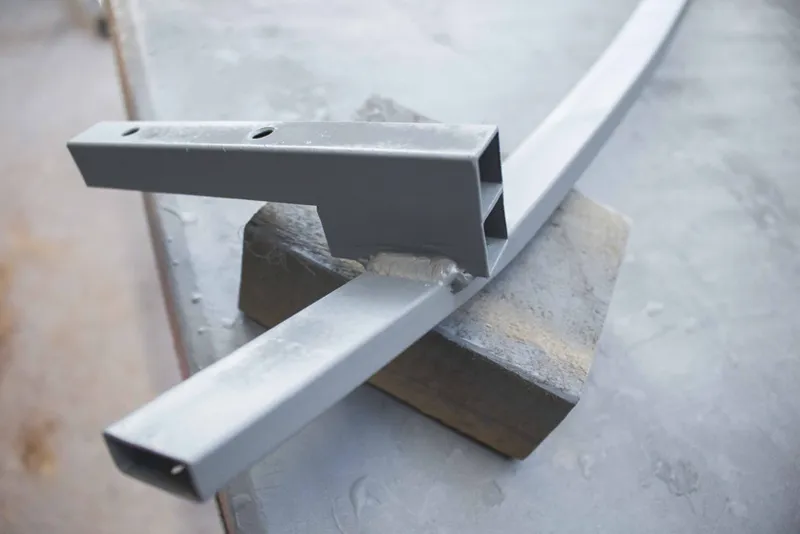
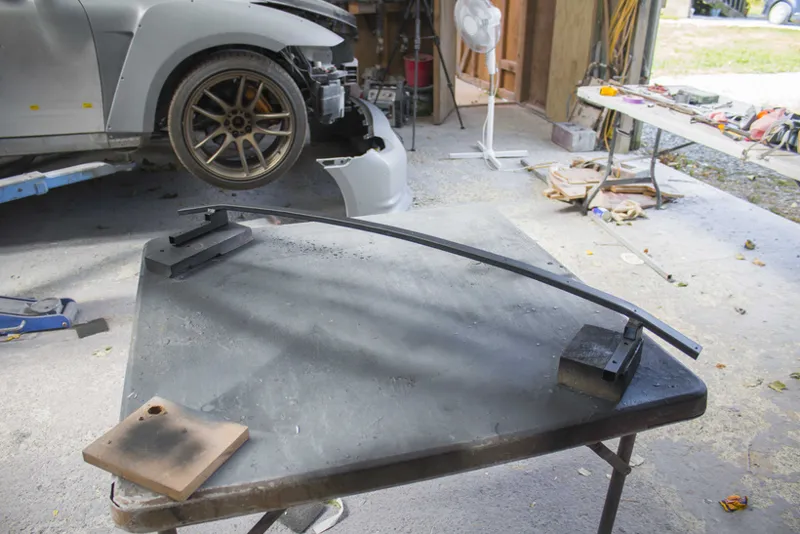
This was a super simple piece. I thought for quite a while about the best way to tackle it and I was going to do all this laser cut folded steel or carbon fiber panel, but in the end just bending some square and rectangular mild steel stock was the best approach.
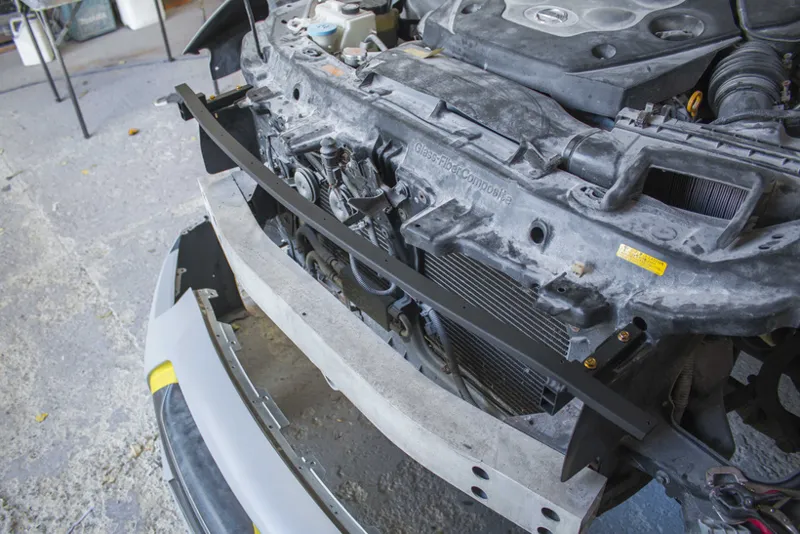
After bending it to shape with a lot of back and forth checking the fitment, I gave it a coat of classic kiwi satin black and fitted it to the car.
The bar itself is hidden by the bumper so it really didn't need to be anything special. For mounting it's got a couple of m6 bolts either side that bolt through the composite front core. It's pretty thick so I'm quite happy with how strong it is. There's really not any flex to it.
I'm pretty confident that this will be an easy approach for anyone to do on their own when this kit goes up for sale, unfortunately I don't have the resources to sell all these brackets as well but me filming and documenting how to make it all should make the process easy for anyone to replicate or even do something completely different.
After finishing the bumper support, I moved on to the headlights. For these I got even more low-tech and just rivetted a couple of right angle pieces to the upper rail for the headlights to bolt to.
After this I noticed the front of the headlight needed more support than just the single bolt into the fiberglass fender, and so I quickly through together a couple of these little aluminium struts to just stop the headlight from resting on the bumper.
Again, this is all fabulously low-tech engineering here, but that's all it has to be. I could waste weeks fabricating all this over engineered stuff to hold these in place and make jigs to sell copies, but I just want this build to end at some point haha.
Final result was perfect fitment with nice even gaps all around the headlight. I haven't seen many GTR's in real life, but the ones I have seen often have even worse or more uneven gaps than what I was able to accomplish, so I'll call that a success.
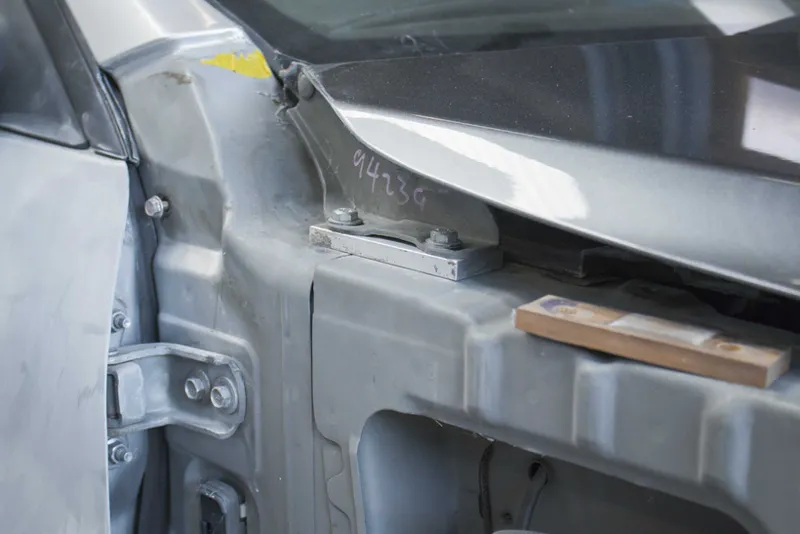
The last of the placeholder pieces I had to replace was the 10mm wooden spacer for the bonnet hinge. I made one from a block of aluminium in a couple minutes. It's nice having these easy jobs every now and then.
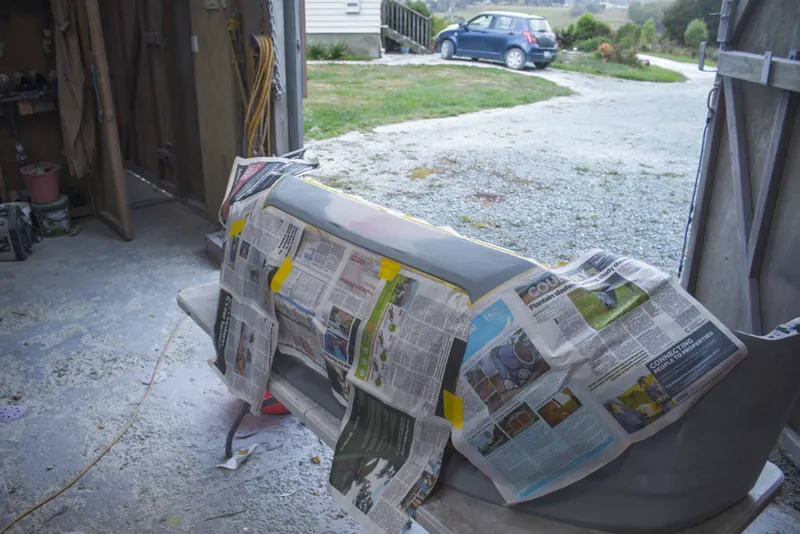
With the bumper now no longer going on and off countless times to test fitment, I could finally finish up the body work on it.
Over time the plastic bumper had sagged in the middle and I tried to lift it back up but really it had to be filled.
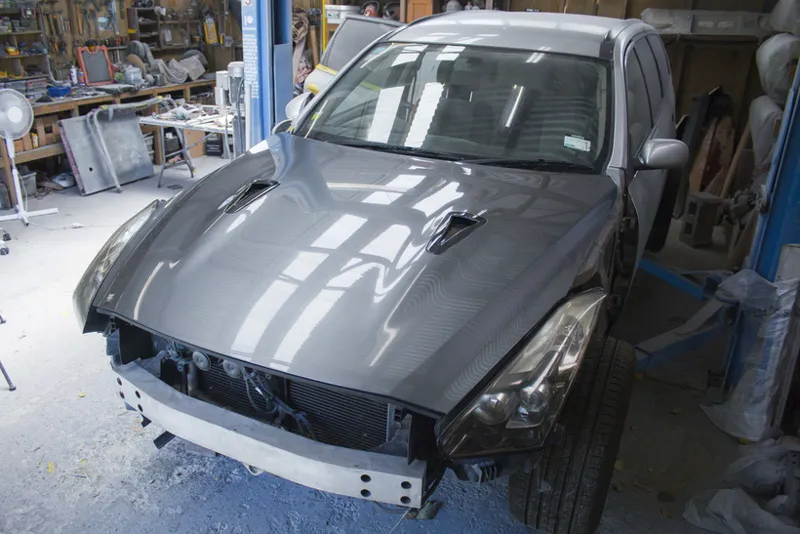
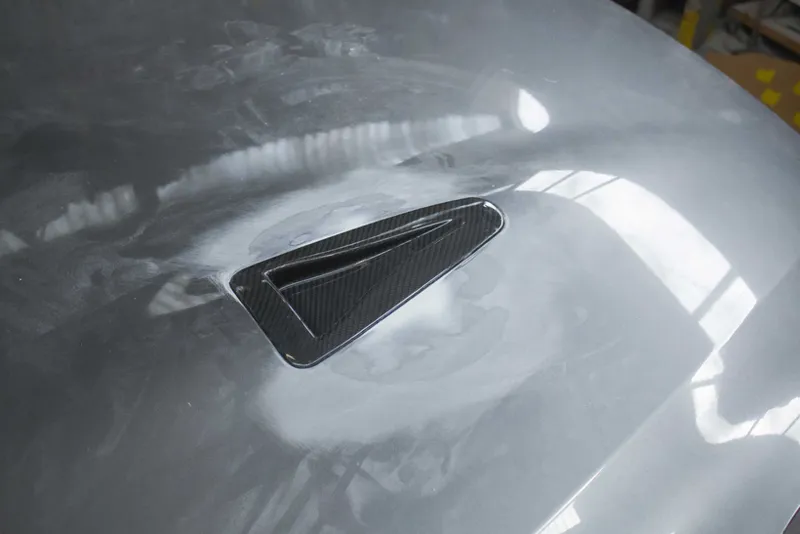
I think this is also where I made my oopsie with the bonnet vents
You guys already know the story with those so I wont bother repeating. In the end you guys voted pretty close down the middle with either clear coating the carbon or colour matching them, but the carbon was in the lead the whole time, and reading your comments I felt like there was a stronger case for the carbon so that's what we'll be doing.
All the test fitting did at least show me that there was as small dent in the bonnet from where I'd been reaching into the vent and grabbing it to lift the bonnet up. That's a big no-no, don't do that.
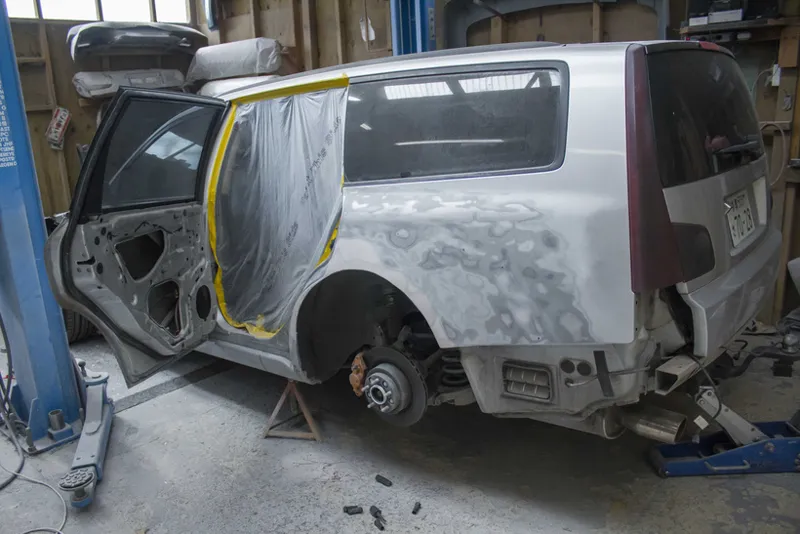
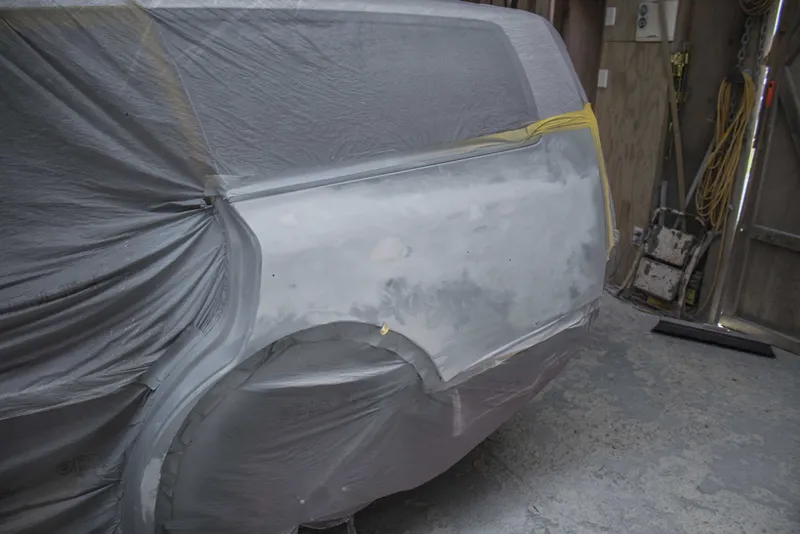
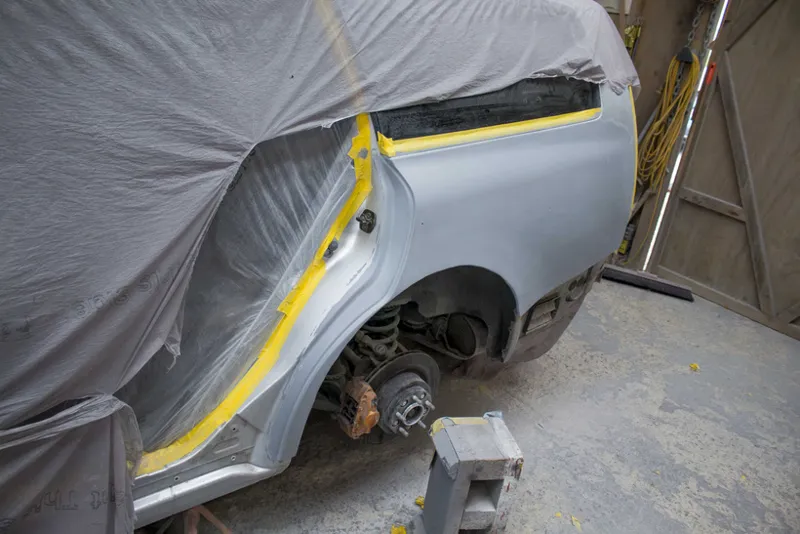
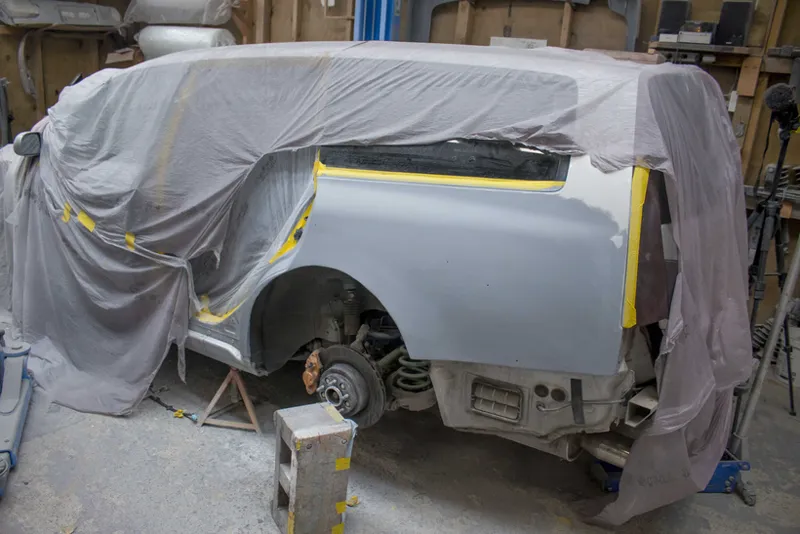
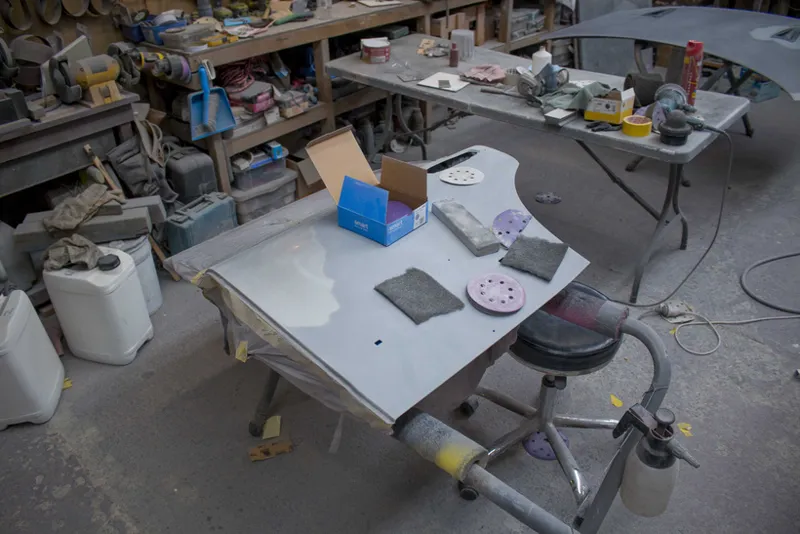
Along with the bumper and the bonnet I also sanded and primed the remaining rear quarter panel and door.
And here is a great example on why we block sand.
After spraying the first coat of primer I noted a couple imperfections and so I gave it a couple hours to dry before hitting it with some guide coat and 240 grit on a block which revealed 3 pretty large dents that I had missed.
It's always a pain to have to come back in when you thought you were done and do even more filling, but I really want this car to be the best I can make and so even though I'm actually working to a deadline now, I'm still not going to half-ass anything.
Then the last job left for me to do and what I've been working on the past week has been just final prep work, tearing down the car and getting every last area ready for paint with either 600 grit or grey scotchbrite.
And that's where we are as of right now with the Stagea. Fingers crossed my paint guy will have space in his shop for it very soon and I'll be able to trailer it down to him. I considered painting it myself but I really don't have the time or a suitable space for a car this big.
That's not all that I've been up to though. I've also been doing a lot of fiberglass work off camera, stuff that isn't really worth making a video about.
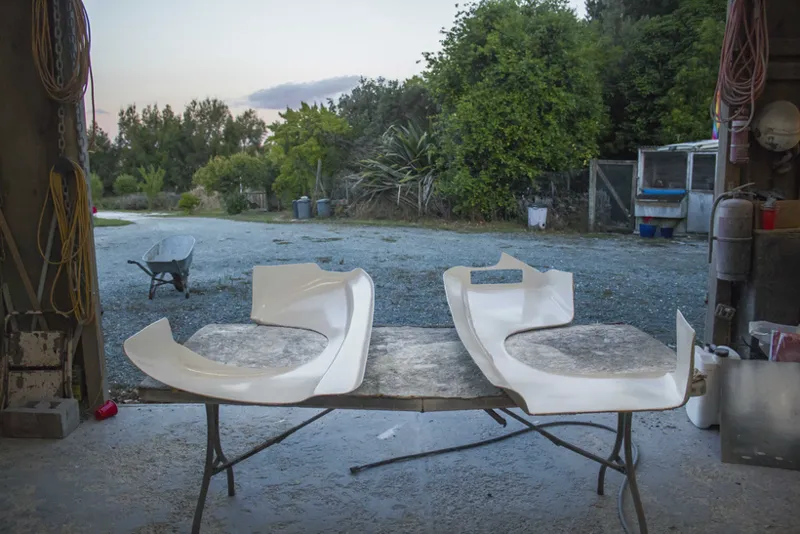
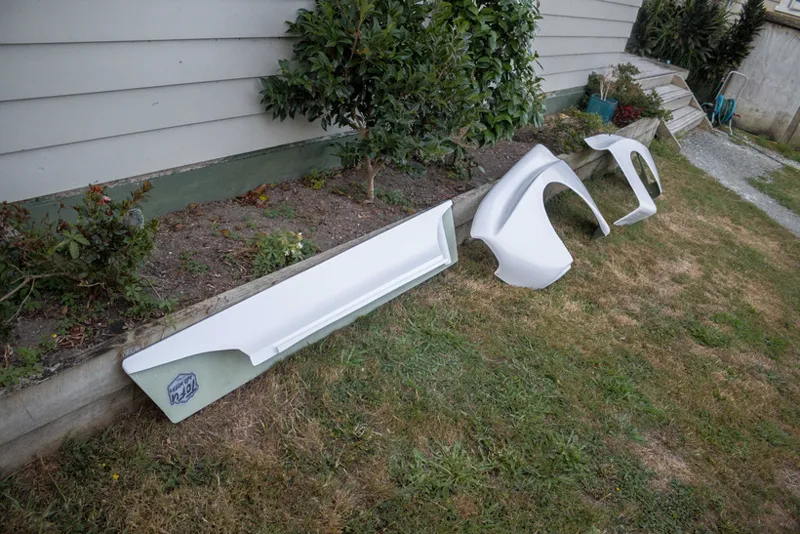
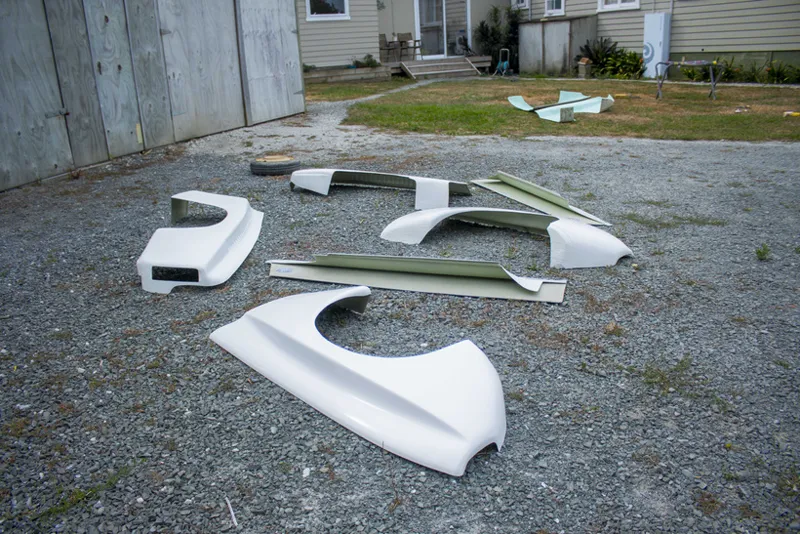
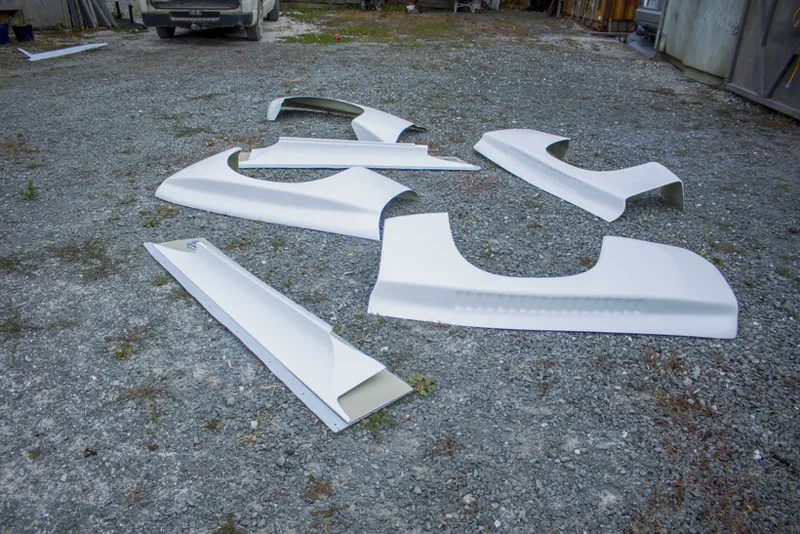
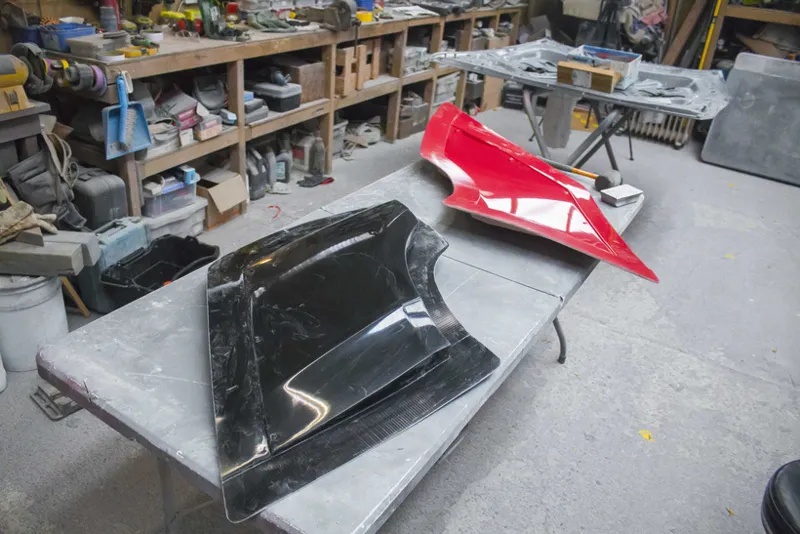
One of them is this set of overfenders I was asked to mate for a Ford Capri race car by my engineering mates.
They provided me with a set of not very great moulds and so I spent a few days refinishing and polishing them before making a fresh set of parts out of them.
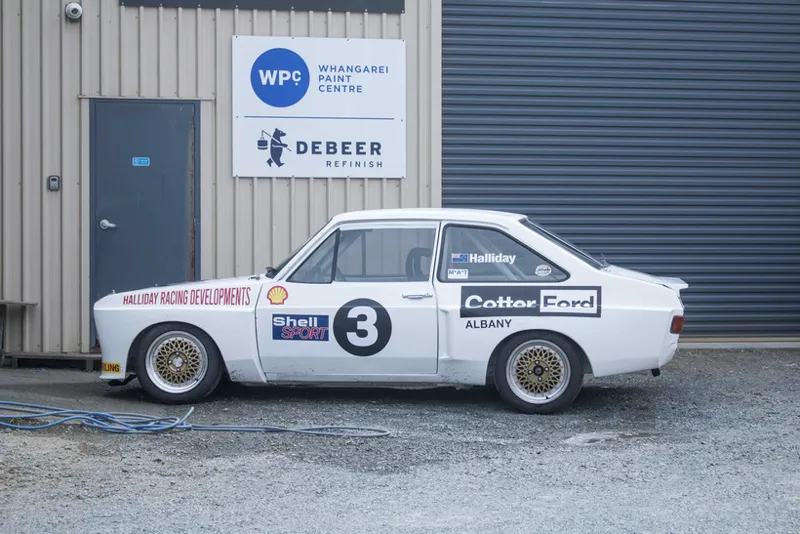
I didn't get a photo of the actual car these will be going on, but the finished one they showed me was very similar to this one.
When I dropped them off they had their Escort that had just come back from a race meet at Taupo, always something interesting going on with these guys.
But my off camera fiberglass escapades didn't end there.
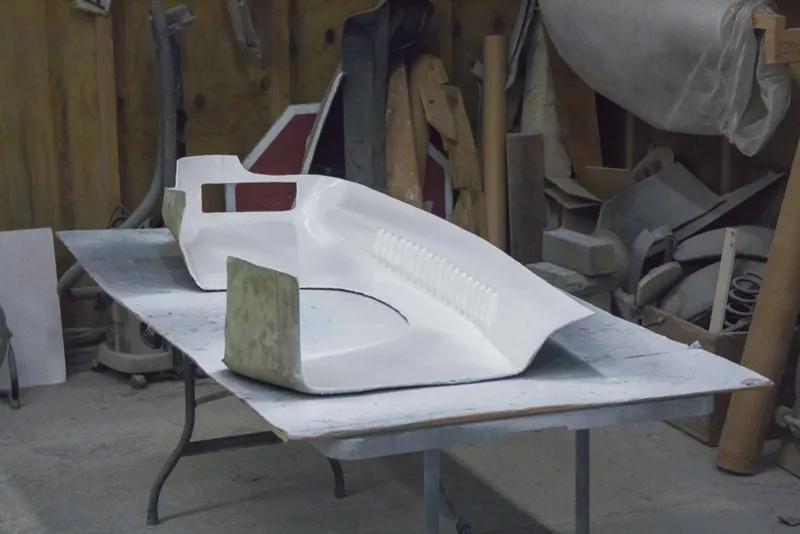
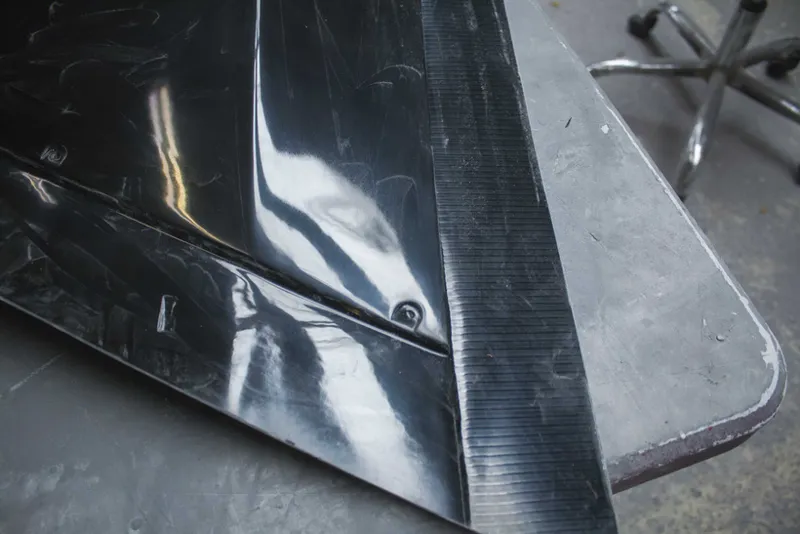
Unfortunately way back when I was making moulds I underestimated the new release agents I was using, and as a result one of my moulds pre-released, leaving a pretty large low spot in one area, and some bad warping down the length of one side.
Since I had the time I figured I would use this failed mould to make a new plug, and then using that plug, make a new mould so that every kit that I sell doesn't come with the same defect that everyone will need to sand out. It's a little bit of extra work for me but I take pride in my work so it had to be done.
It's almost impossible to show in photos without seeing how the light moves over the part, but there was a big bump in the part in this lower section and a distinct line running up the outer edge.
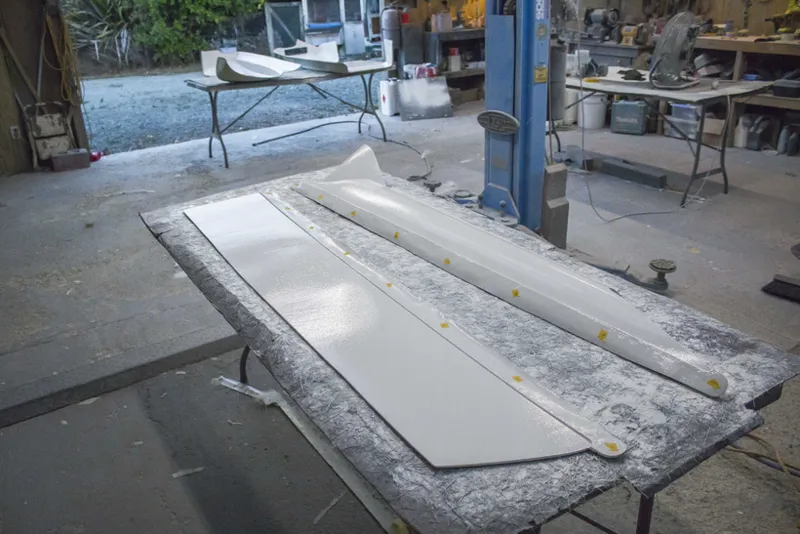
After a lot of block sanding and filler I was able to get it back to even better than the original so this got a coat of primer at the same time as all the other parts and I'll be making a new mould using this as the plug.
And that's us pretty much up to speed. There was a lot of secret extra work going on for the next build, I'd honestly say probably about this much work again. I'm also working on another one of my personal builds that may show up here or on YouTube at some stage and on top of that planning a lot of personal life stuff that will be announced in the coming months. So as you can see I've been incredibly busy, hence the nearly month long waits for updates.
It's been very hectic. I always hated deadlines on builds and swore I'd never do them, but this time I have no choice and so I need to get these things wrapped up.
I can't say for sure when the next update will be but as you can see I've done almost everything I can in preparation for paint so we're super close now. I can't wait to show you guys the colour. Some of you have probably guessed it already but once it's on the car it's going to be so sick.
Catch you all later. 🤙🤙
Comments (2)
Awesome update, thanks!!
My pleasure! Only probably a few more posts now until it's painted and ready to reassemble