
Skateboard design, part 2
Process breakdown:
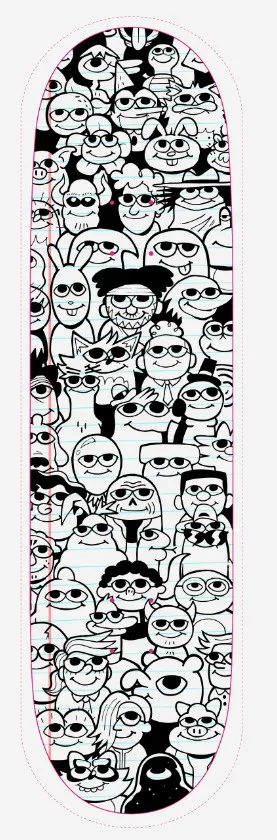
Design finished, added some notebook paper lines to fit the vibe I was going for.
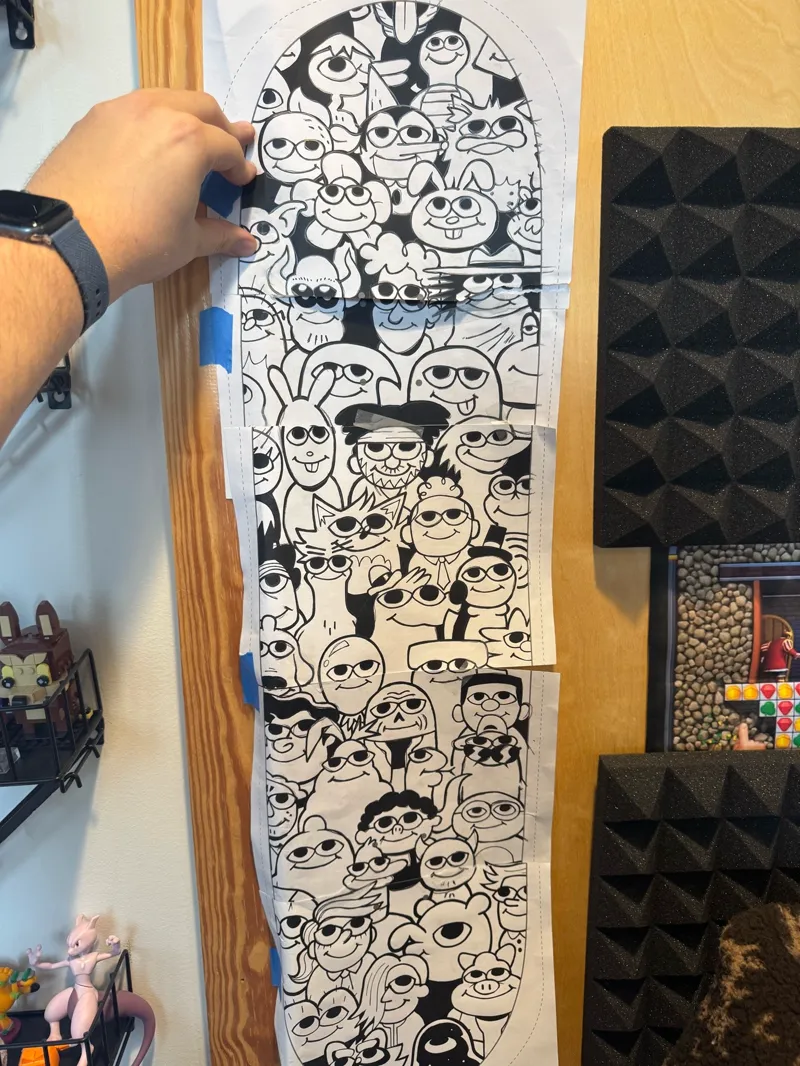
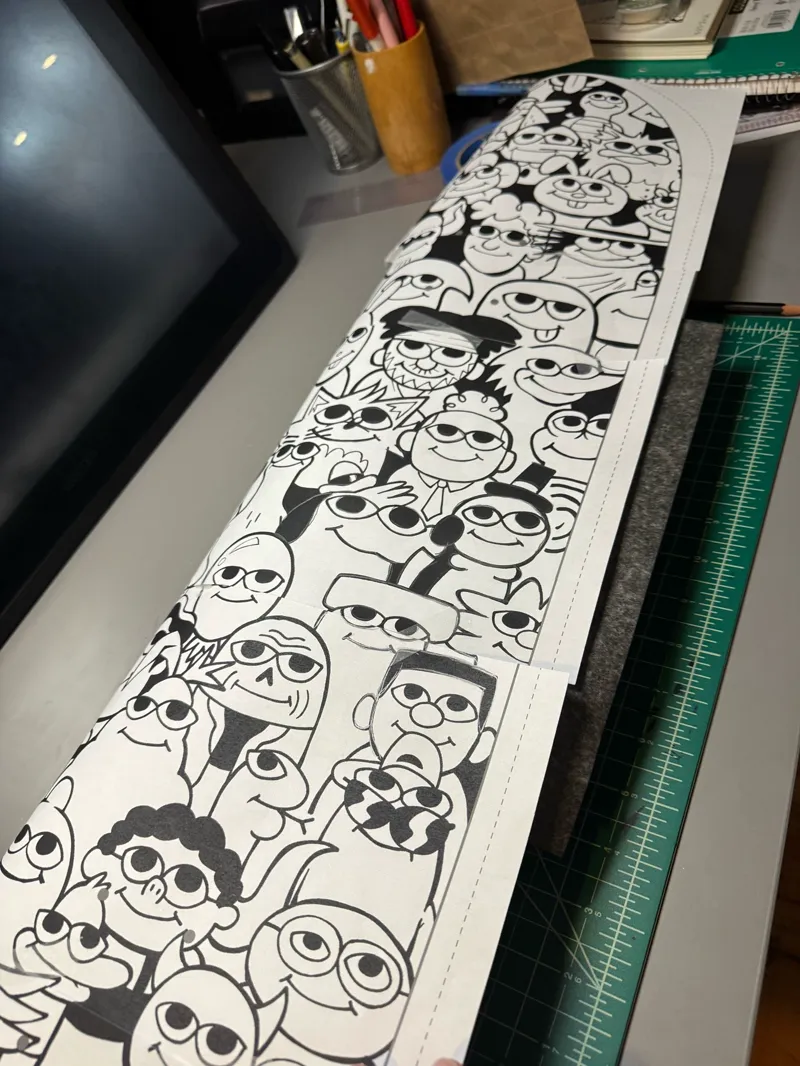
Printed the design on 5 sheets of regular computer paper and taped those together. It 95% fit on the skateboard, there were some misaligned edges here and there, but that's okay. It can be fixed in the remaining steps.
Taped the design to the skateboard so it fits enough over the length of the board. Get some Carbon Tracing Paper and found the correct side up.
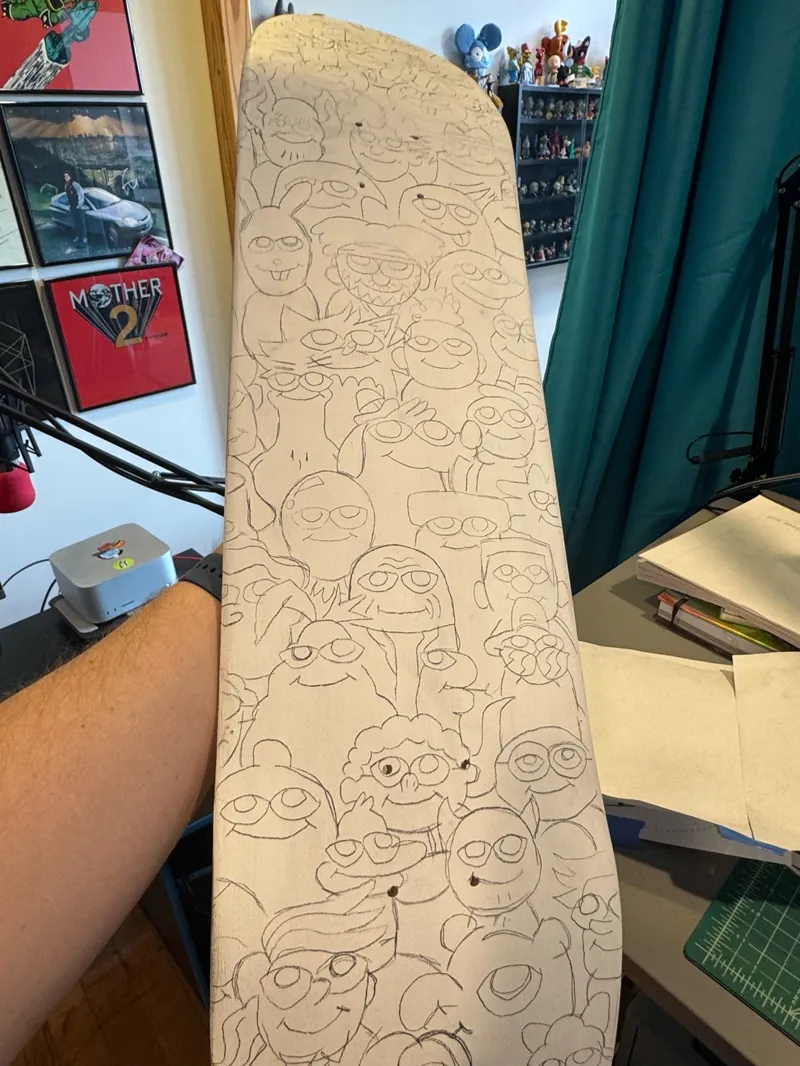
Took pencil or and traced the design over the skateboard, holding down a bit hard so the carbon paper does what it should. Some bumps in the transfer process occurred, but it's graphite, so it can be erased and fixed.
Now I got a solid template to actually start painting over it. But I'm keeping it very easy for me with some acrylic paint pens I've bought for the occasion.
Comments (2)
That’s extremely great
Too cool — er, I mean rad.