
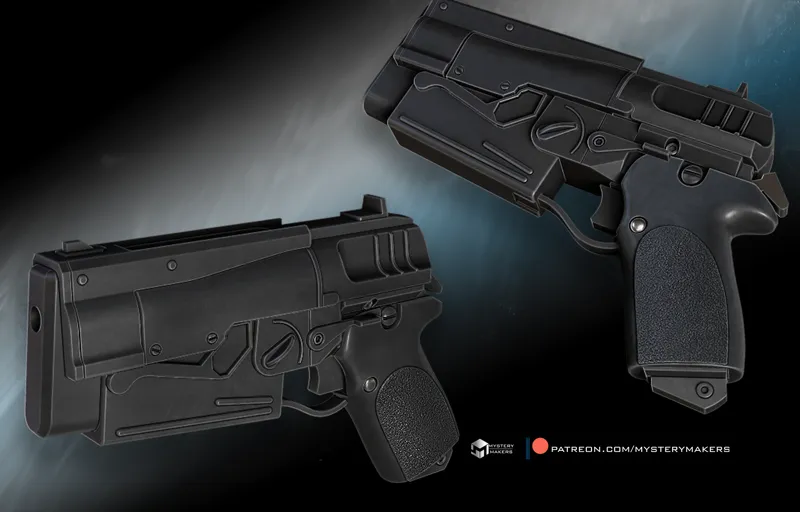
Another 10 mm :)
Im on a Fallout frenzy :D
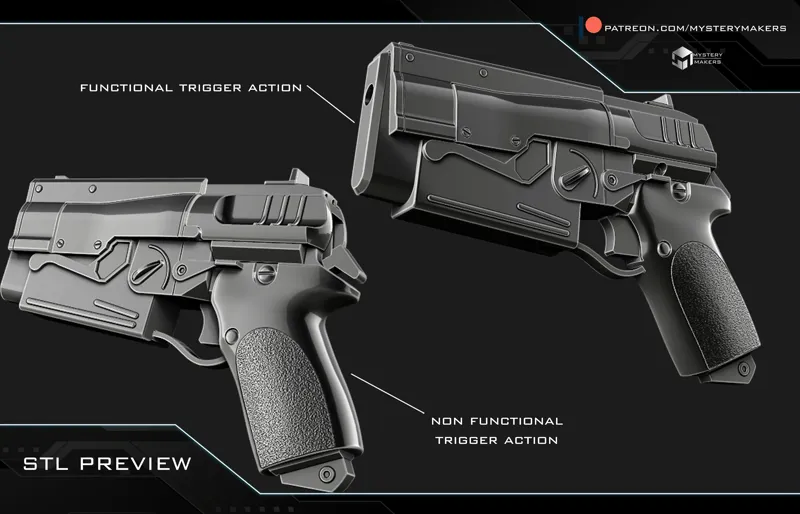
The other 10 mm blaster was done and uploaded as well. Once again included are:
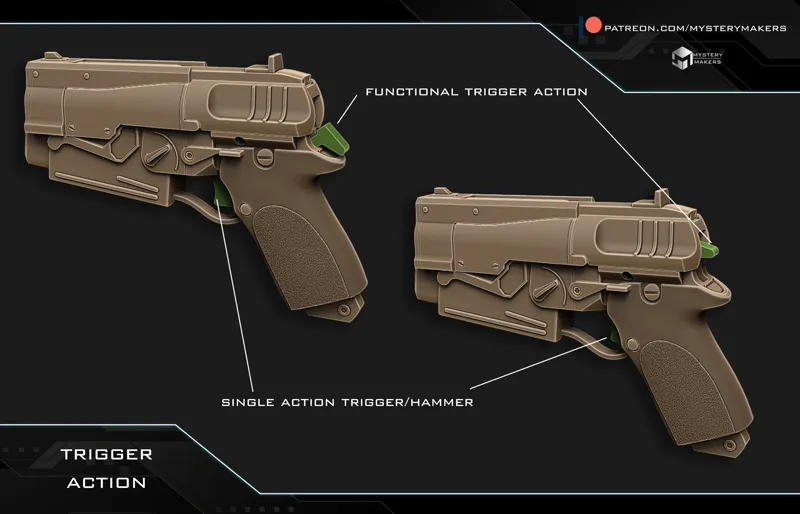
- functional trigger and hammer single action
- non functional version
- fully combined non functional version
- 3mf functional trigger project files
- 3mf non functional trigger option files
- assembly guide and instructions
A bit about this blaster. This one was first seen in the Fallout 4 game, however they have adjusted the shapes and design a bit for the tv series, so i did my best to replicate the one we have seen in the show, not the one from the game. They are quite similar, only some shapes and proportions are different, as well as the color scheme in the show.
As before trigger action works very well, i have tested it out, and i will showcase the trigger action soon.
I have to be honest, I have been inventing these 3d printable triggers for several years now, but this might be the one I'm the most proud of the most ( other than the westar of course) , but more on that once you see the video :;)
As per last poll - pip boy is the winner, so i'm about to tackle this one, gonna be a crazy ride :D
Thank you all for the amazing support for all the new and innovative stuff you are allowing me to create here :)
Lets fire up our printers :D
Comments (17)
are you guys just gluing it together? Minus the magnet part.
yes, you can see the assembly here, its for the first blaster, but same principle aplied :) https://www.instagram.com/reel/C6E9SdXKDwk/?igsh=Mm91aDE0Zng3NGJj
Hey there, new member up in this bish, I wanted to know, how were the piece meant to be attached to each other? Am i missing printable pegs that are to be super glued for those holes on most of the pieces? Or are those meant for magnets? Just wanted to find that out, for both 10mm pistols actually, as it seems that one is also similar. Thanks!!
its the 8x8 pins - they are in the folder, if you open up the stl folder, you will se an stl named 8x8 ,thats the ones i use in all my designs. the idea is they are 3d printable pins used for combining parts, but if you wish to use magnets instead you can do that also, however for the 10 mm blasters onl the "mechanism" access parts use magnets, it is all explained in the assembly photos :) just in case here is the assembly video, so you get a better idea :) https://www.instagram.com/p/C6E9SdXKDwk/
Absolutely love it! just wish the clip was removable but the detailing on the rest of it more than makes up for that <3 <3 <3
We never saw the clip being removeable in the show , so it kind of slipped my mind to make it thst way 😅
Great work again
thank you :)
Can we get power armor next!!?
based on last poll you guys voted for the pip boy , so that one is next :)
THATS WHAT IM TALKING ABOUT, LETS GO!!!!
yessss :D
Great work! I can't wait to start printing this bad boy. Almost done with the other 10mm.
the trigger function works so well :) just a word of advice, cut the springs in half, they will be easier to insert :D
Well now I just have to request my favorite mod ever in a little model like the ones they’re putting out of Maximus. Tumbajamba’s Combat Power Armor. Aka Algernon’s armor from the sim settlements 2 mod
So pretty! And the trigger function... *Chef's kiss*
it works so nicelly :D i’ll make a video soon to show you guys :)