


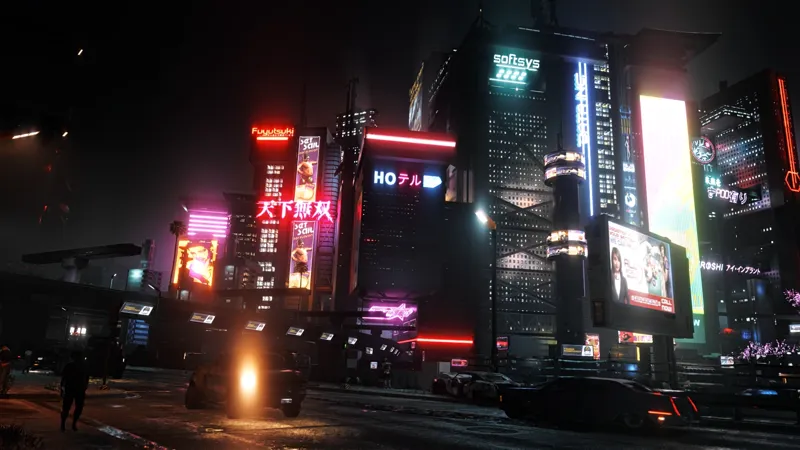
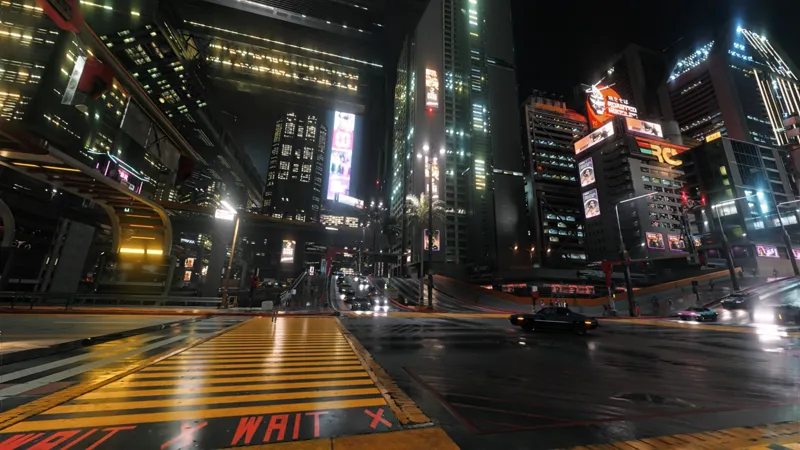


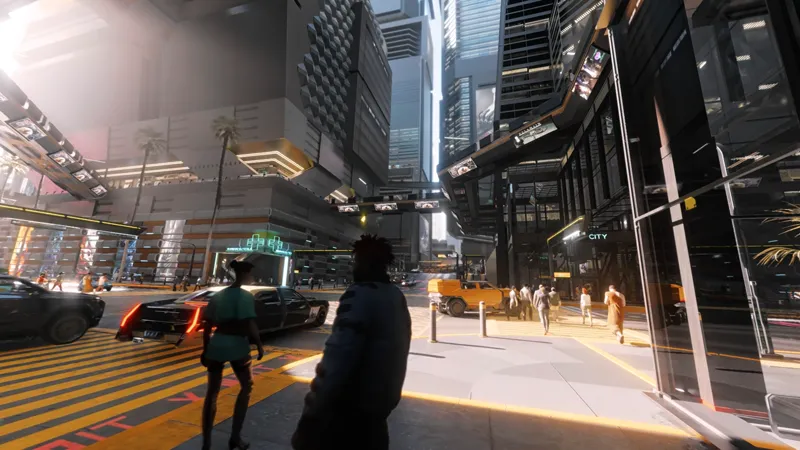




ARCADIA TRUELIGHT 1.2.3 Update - HDR & SDR - Cyberpunk 2077 [PC only]
What's new in this update:
Highlights and shadow detail
Bloom intensity
Color rendering and saturation
Contrast and overall image balance
Visual clarity and consistency
Version 1.2.3 is another careful polishing pass, bringing the image slightly closer to the balance I'm aiming for.
TrueLight will continue to evolve through these small refinements as I test the setup across different environments, weather conditions and lighting scenarios.
Enjoy the update! 🌃
Before You Start
Choose the section that applies to you:
🔄 Updating from Arcadia TrueLight 1.2
If you already have Arcadia TrueLight 1.2/1.2.1 installed, you do NOT need to reinstall ReShade.
➡ Section A — Update Existing Installation
🆕 First Time Installing Arcadia TrueLight
If you have never installed Arcadia TrueLight before, follow:
➡ Section B — Full Installation
-- -- -- -- -- SECTION A - UPDATE EXISTING INSTALLATION -- -- -- -- --
(If you already have Arcadia TrueLight 1.2 installed)
Download ARCADIA TRUELIGHT 1.2.3 (at the bottom of this guide), extract the .zip
Open RESHADE FILES>PRESETS and choose HDR or SDR
Copy the .ini preset of your choice and paste it in Cyberpunk 2077\bin\x64
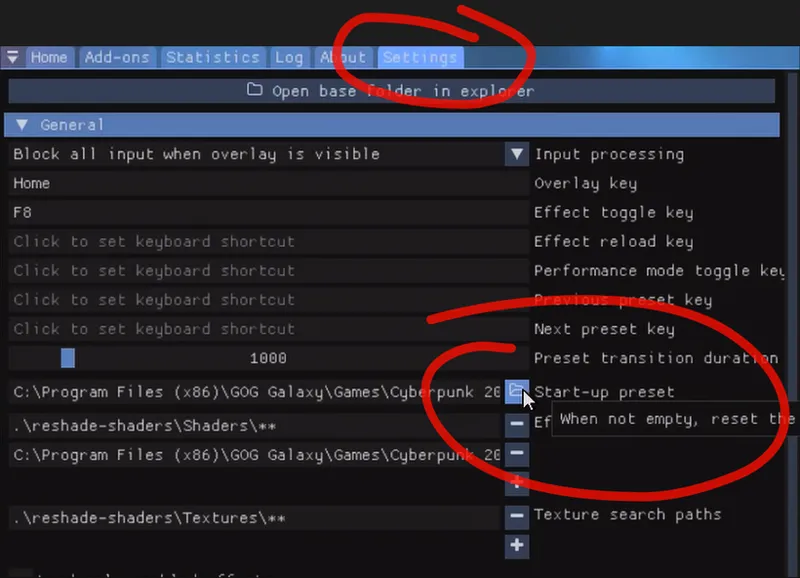
Once in game, open Reshade, at the top of the interface, select Arcadia TrueLight 1.2.3 preset from the preset dropdown list.
To set it as default:
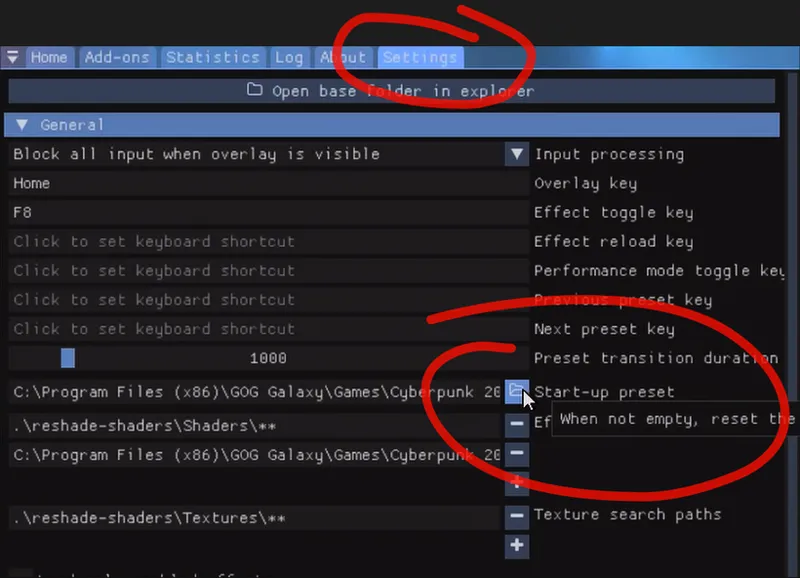
Go to the Settings tab
Find the “Startup preset” dropdown
Select the Arcadia TrueLight preset
This will make ReShade load it automatically every time you launch the game.
Adjust RenoDX_Settings following the image located in Arcadia TrueLight 1.2.3\RESHADE FILES\PRESETS
-- -- -- -- -- SECTION B - FULL INSTALLATION -- -- -- -- --
(If you have never installed Arcadia TrueLight before)
Reshade
Download ARCADIA TRUELIGHT 1.2.3 (at the bottom of this guide), extract the .zip
Open RESHADE FILES > PRESETS and choose HDR or SDR
Copy the .ini preset of your choice and paste it in Cyberpunk 2077\bin\x64
In the RESHADE FILES, copy the "reshade-shaders" folder and paste it in Cyberpunk 2077\bin\x64
Download ReShade with full addon support
Launch the ReShade_Setup
Select Cyberpunk 2077
Select DirectX 10/11/12
IMPORTANT: during the installation, select the preset “Arcadia TrueLight Reshade_1.2.3” you copied in the previous step.
Don't check any other effect, it will select them automatically; Click "Next"
Skip the following section for add-ons, don't check anything there.
Download RenoDX and just copy-paste "renodx-cp2077.addon64" in bin/x64)
Reshade Setup
Once Reshade and RenoDX are installed, launch the game, Reshade will load up, you can click the "HOME" key to open Reshade, you will see the RenoDX tab as well, open it and copy my RenoDX_Settings (check image included)
If your HUD appears blurred or flickering in-game, it is caused by the Cinematic DOF shader.
This effect is not designed to work with the HUD enabled.
You can toggle it off at any time by pressing “O”.
ARCADIA add-on modules
Inside the “Arcadia Truelight 1.2.3” folder you’ll find three modules:
Arcadia TrueAtmos (environment & lighting)
Arcadia TrueSkin (skin materials)
Arcadia TrueGraphics (engine tweaks)
Open each folder and copy the file you find inside.
IMPORTANT: Do NOT copy the Arcadia folders directly.
Open "Arcadia TrueAtmos_1.2.2", copy the "Arcadia TrueAtmos" file you find inside and paste it in Cyberpunk 2077\archive\pc\mod
Open "Arcadia TrueSkin", copy the "Arcadia TrueSkin" file you find inside and paste it in Cyberpunk 2077\archive\pc\mod
Open "Arcadia TrueGraphics", copy the "Arcadia TrueGraphics" file you find inside and paste it in Cyberpunk 2077\engine\config\platform\pc
OTHER MODS RECCOMENDATIONS
Third-Party Mods Notice
The following mods are optional third-party recommendations that I personally use as part of my setup.
Because these mods are created by different authors, compatibility may vary depending on your hardware and existing mod configuration.
Some users may experience crashes, stuttering or performance issues when combining multiple heavy mods.
Neither Reshade nor the Arcadia modules themselves should cause startup crashes or major instability under normal conditions.
For the best experience, install carefully and avoid conflicting mods.
Remember to check the description AND requirements page of mods you download to better understand what they do and how to use them.
-ESSENTIALS (required to run most mods)-
The following are essential “core mods” that act like the foundation of Cyberpunk modding: they don’t change the game by themselves, but they allow other mods to work properly. Without them, many mods won’t load, will cause errors, or simply won’t appear in-game.
That’s why I recommend installing them first for any build—they make everything more stable, compatible, and easier to manage as you add more mods later.
Cyber Engine Tweaks is a simple tool that adds an in-game menu and console, letting you easily change and control settings for many mods. Even if you’re new to modding, it helps you manage and tweak things without needing complicated steps.
When you first start the game, a window will appear prompting you to choose a keybind to bring up the Overlay. Pick any key you want and save it. You can open up the CET overlay with that key from now on.
-UTILITY-
Shift : Used for Camera tweaking, refer to the included documentation (“Shift Settings”) if you want to replicate my settings.
Nova Optics : fixes exposure inside vehicles, refer to the included documentation (“Nova Optics Settings”)
Toggle HUD : Used for turning on/off the HUD. To create a keyboard shortcut, open the CET overlay, select "Bindings", scroll and look for Toggle HUD, input your desired key, then Save and close the CET overlay.
Weather Switcher : Useful tool if you want to quickly change weather/time of day
-GRAPHICS-
(My settings: 6 Rays, 1 Bounce. Alter 4 Rays, 1 Bounce)
I need MORE Rain: I'm using "INMR_Merge_Mesh_fastened"
(check in archive/pc/mod of your main game directory that you haven't installed "####Manually_Enhanced_Rain_FX.archive" or any other rain mod. If you have delete them otherwise they'll conflict)
Particles Flickering Fix : (Removes a bug from Vanilla that causes flickering on smokes and neons in some areas)
Dogtown Location Visuals Nulled
Disable Fake Lights with Path Tracing
Inplace Streamingsectors Nulled
Improved Distant Shadows (Volumetric Fog Leaking Fixed)
Not So Good Draw Distance Mod: (OPTIONAL, it has a huge fps impact)
Recommended Optimized settings:
Enabled : Yes
Level of Detail : 5
Lights : 30
Decals : 10
Terrain : 1.2
Debris : 1.2
Roads : 1.5
Culling Offset : 150
Improved Vehicle Lights Draw Distance
Extended and Improved Headlights
-TEXTURES-
Cyberpunk 2077 HD Reworked Project
Environment Textures Overhaul (2K recommended)
Preem Water 2.0: (I’m using "Canon" version)
Morph Texture Removal - Cleaner and better skin details
4k Complexion and Body for Female V: (ONLY IF YOU PLAY WITH FEM V, I’m using Better Body 4K and Better Abs 4K)
NPCs Enhancement - Hyst Bodies
High Res Architecture - V's Apartment
-ENVIRONMENT-
Enable Advert Animations (Ads)