
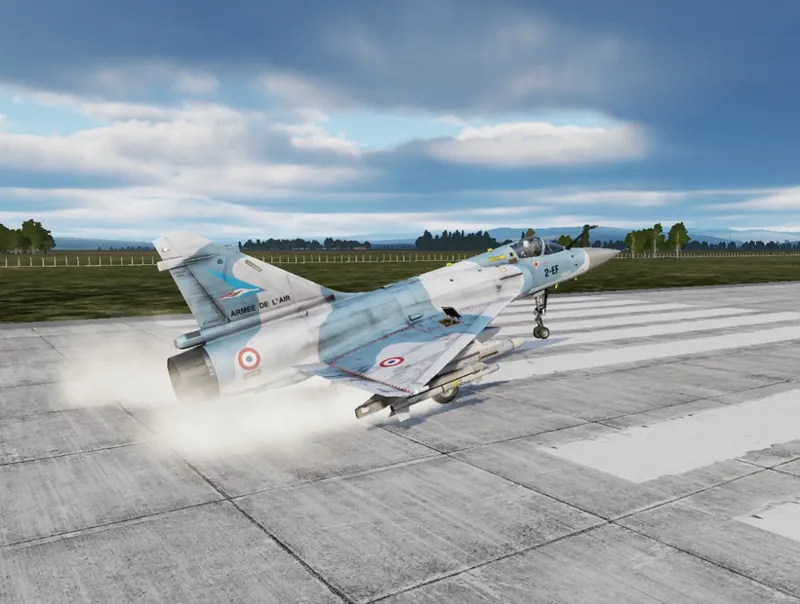

Overhead Break: Demo, Tacview Track and Training Mission
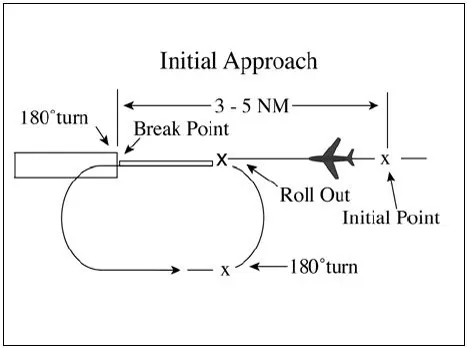
Following up on the recent post about the origins of the overhead break and some of the common errors often seen in DCS tutorials, I’ve put together a short replay. It includes both a standard overhead break landing as well as the comparison with a more dynamic tactical break (in cyan).
To support your own training, you'll find attached:
The Tacview tracks so you can overlay your own landings and directly compare them with the demonstrated patterns.
Mission file (.miz): a simple setup with your aircraft established at 10 NM, 450 KT, landing weight, and 1,500 ft above runway elevation (you can aim for 3,000 ft QNH in the pattern).
When analyzing your flights in Tacview, I recommend using the “Merge” function: it makes side-by-side comparison with the reference patterns straightforward.
As always, I encourage you to share your own tracks if you’d like feedback or have questions.
Comments (1)
Great post, man! I realized I’ve been a little too focused on the whole “wait until the runway’s 45° behind you” thing before turning to final. This series on the overhead pattern has been really helpful — appreciate the clarity 👍🏾