














3D printed bodykit; fitting and problem-solving.
Hope everyone had a good x-mas and you're all enjoying the break.
It's been pretty nice having a few days off but I'll be getting back to work on this Stagea soon. In the last episode I briefly went over the 3d printing and fitting the parts, and so I'll go over it all in a little more detail here.
Starting off with the car, the exact positions of the kit were measured from the finished side and transferred over to the new side so I knew where the new fenders had to line up.
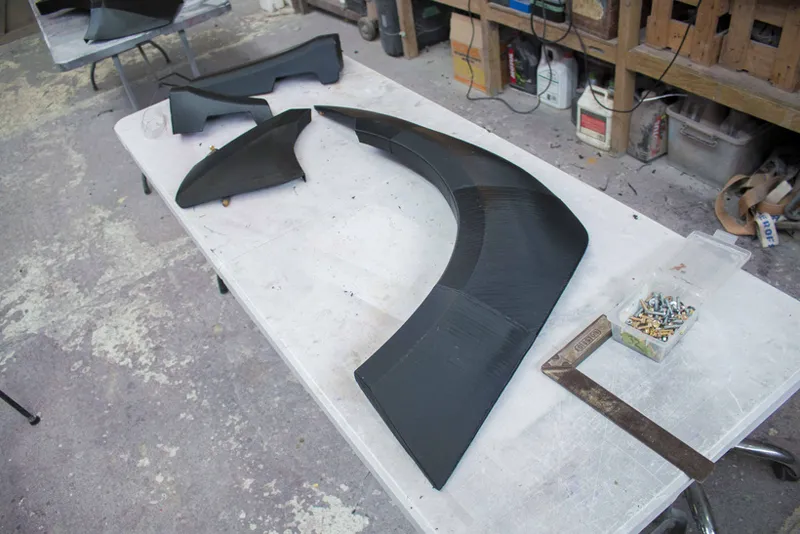
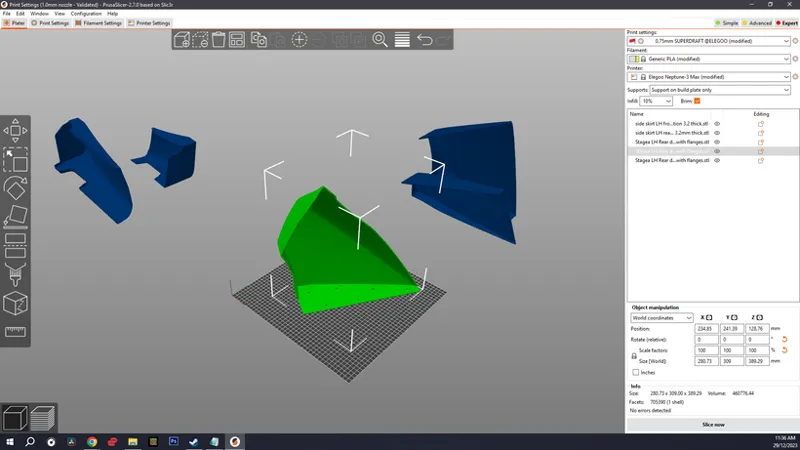
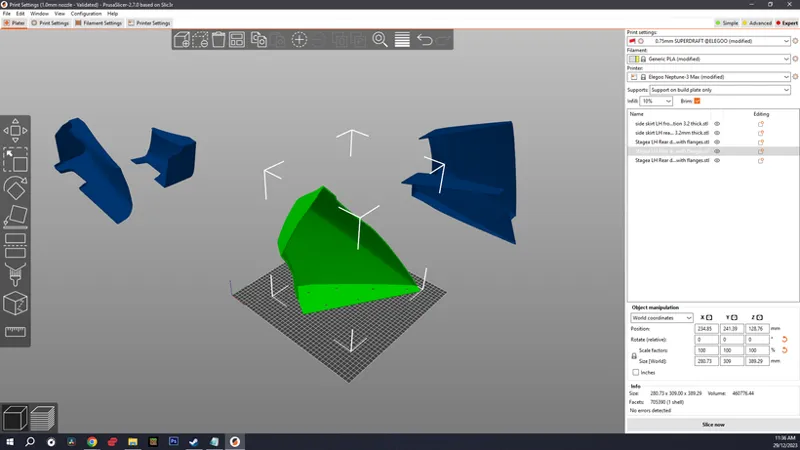
I'm using the Elegoo Neptune 3 Max to print off these parts which has a print volume of 420mm x 420mm x 500mm, that wasn't enough to print the whole pieces in one go so Stan and I split them up with flanges and then used epoxy to bond the prints together.
I made a few mistakes here with the 3D prints. The first started with the print itself with a lot of warping of the prints that I didn't pick up on until I had already printed everything and started assembling them.
I've got a lot of feedback and advice of varying helpfulness but we've also been looking into this for the past few weeks and the leading idea of what is causing the warping was the shape of the cross section as the part prints is very thin and has a gentle curve. What this meant was that as the layers cooled they had a tendency to pull inwards, bowing the part on each layer, and this was causing the bottom of the print to lift off the print bed even with adhesive.
We tried raising / decreasing the temps of the print bed and nozzle, changing the print speed, running heaters next to the printer to simulate and encolsure (this printer would need over a 1m³ box placed over it to fully enclose it, and additionally, I have spoken to a lot of people using this printer with no enclosure that are getting no warping at all) and lastly I tried changing from the 1.0mm nozzle down to a 0.6mm nozzle, closer to the original 0.4mm that came with it. I also tried running more cooling on the printer to try and minimize contraction but it actually made the result significantly worse.
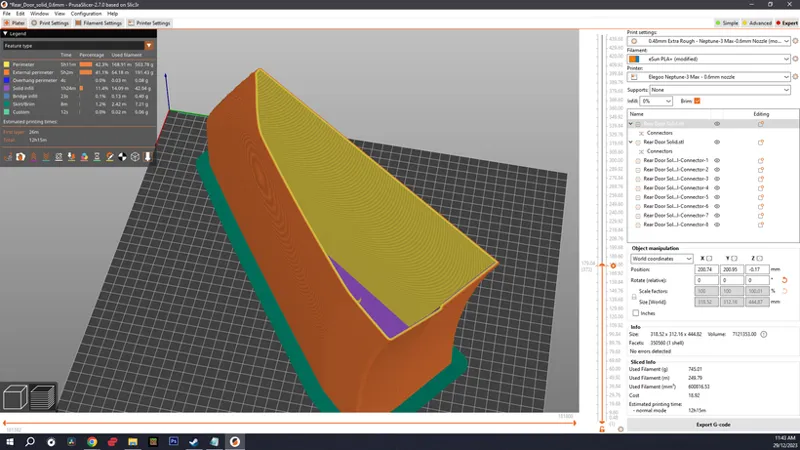
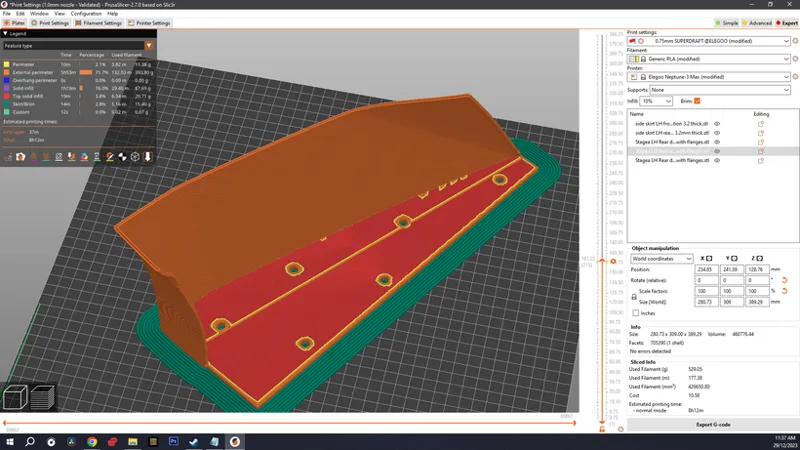
So far none of those changes had really made a difference and so what we've done now is added a back to the print so that instead of printing as a thin cross section it prints as more of a solid shape. Hopefully making it a solid shape will limit how much it can contract and give a more stable print.
I'll be printing these new pieces off in a few days and will be sharing updates here on how it goes. The goal is really to figure out the optimal settings or advice for printing these large scale prints so that I can share that for anyone else wanting to try this. I'd love to be able to do it without using an enclosure as that would take up a huge amount of space.
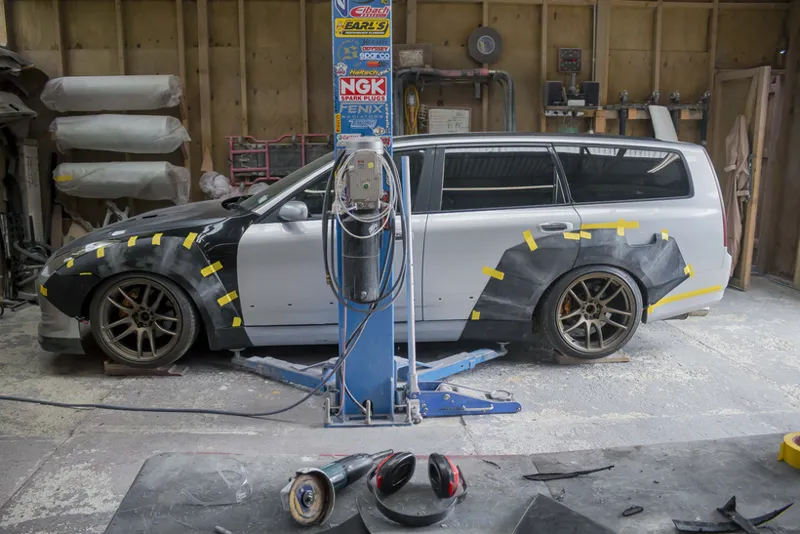
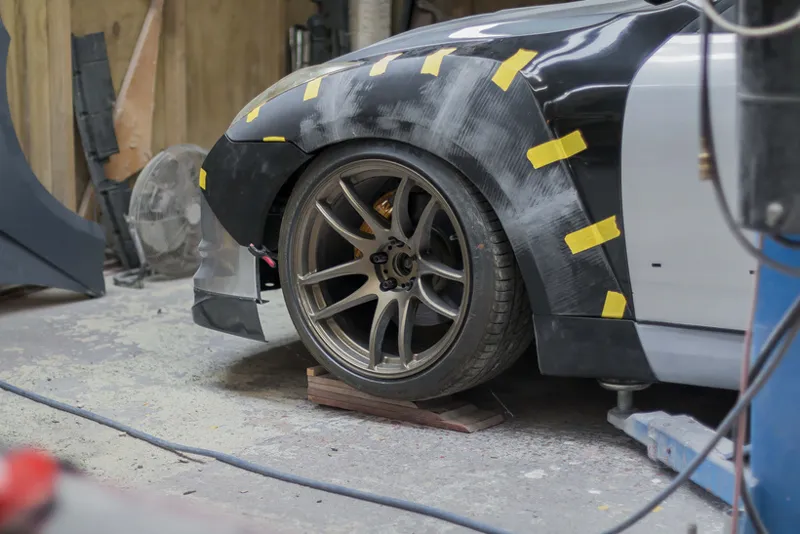
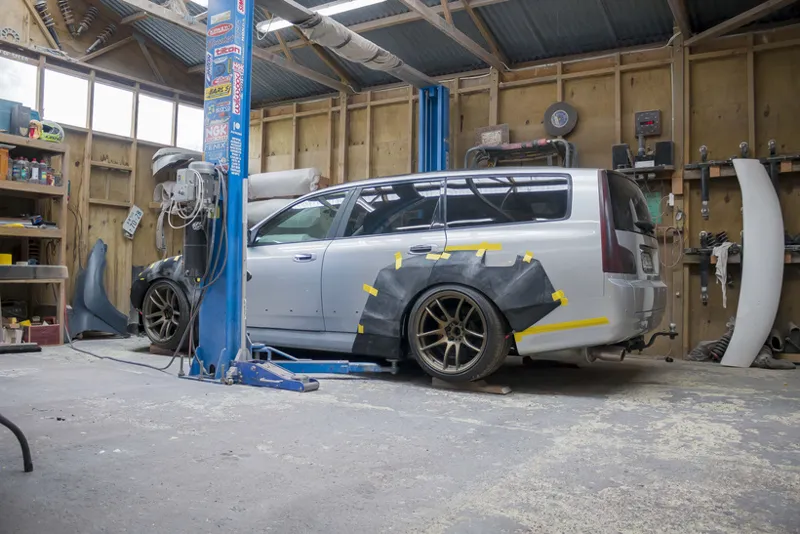
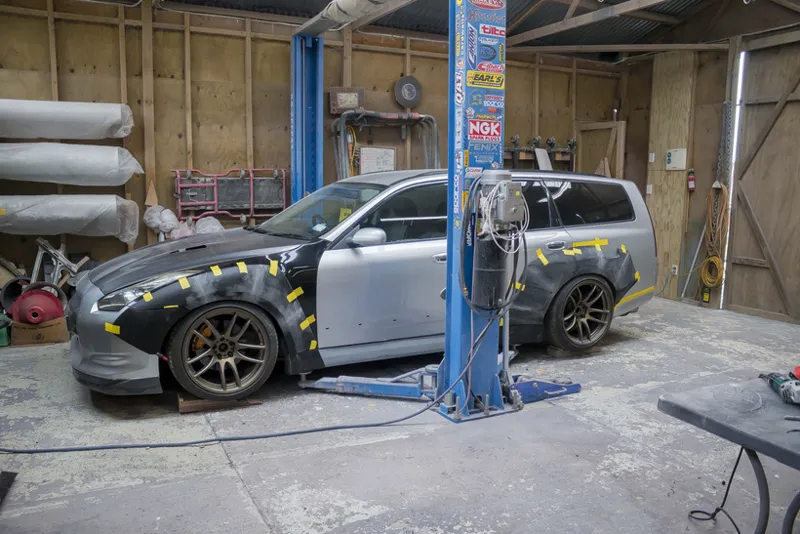
But back to the prints for now, test fitted on the car.
Another thing worth mentioning is that these were printed with eSun PLA+ filament which I'm told is pretty good, I've got no point of reference as it's the only one I've ever used but I agree that it prints pretty nice. But the downside of PLA is that they are very temperature sensitive and I had this car parked outside in the sun over xmas and even just one day outside was enough to warp the prints.
Luckily it was mostly the rear flare that was badly damaged, (the front got a little soft but I ended up using that to my advantage and taping it down to the fender for an even better fitment)
Obviously these prints are not staying on the car, and the car is not something that gets left outside while in this stage, so PLA is fine for plugmaking.
The fitment of the front flare was honestly ok, I think I'll be able to work with that if I can securely bond it the whole way around the edge to the fiberglass fender. But the rear just was not even close. There was so much warping in the top of the print that it wouldn't sit on the door, and the lower section didn't match the contours of the car at all.
I think a small part of the warping could have been caused by acetone / epoxy that was spread on the back side of the print that could have made it warp even more and so I'll be careful to avoid that in the next prints.
That's this build thread up to date for now and hopefully that covers the latest video in a little more detail. As mentioned over there I won't be uploading for a couple months and I'm going to use that time to focus more on getting work done on this car.
I'll be experimenting with the front fender off camera and so will likely bond the print and start work on the body filler in between episodes so that I know what I'm doing. But I'll be sure to record the whole process for the rear fender so that none of the steps are left out.
Not sure when my next update will be but I'll be keeping this Patreon up to date as we go along.
Comments (2)
Merry Christmas! The Progress on the printing side looks very promising ;-) On larger prints like this (even on my Voron 450) the eSUN PLA+ starts warping after a while. Normally if i do something like big flimsy parts i'd like to use NX-2 from Extrudr on a 1mm nozzle. this works pretty much every time. Also if it’s a big print and it’s not a “fit-on”-part I use 1mm nozzle, close the part like you sowed and print it in vase-mode. After on it’s filled with non pressure PU-foam to stabilize it. It’s much quicker for prototyping ;-) I love those updates from the other side of the world. Every time its a pleasure to read your updates 👌🏻
Cheers mate. I had a look into that NX2 filament but it's not stocked anywhere here in NZ. We really just have super limited options when it comes to stuff like this. I am thinking that I'll go back to the 1.0mm nozzle as changing to the 0.6mm was nice for the precision but it's not really something I needed. Curious if you ever had to use an enclosure on your larger prints or what temps / cooling settings you were using to minimize warping.