
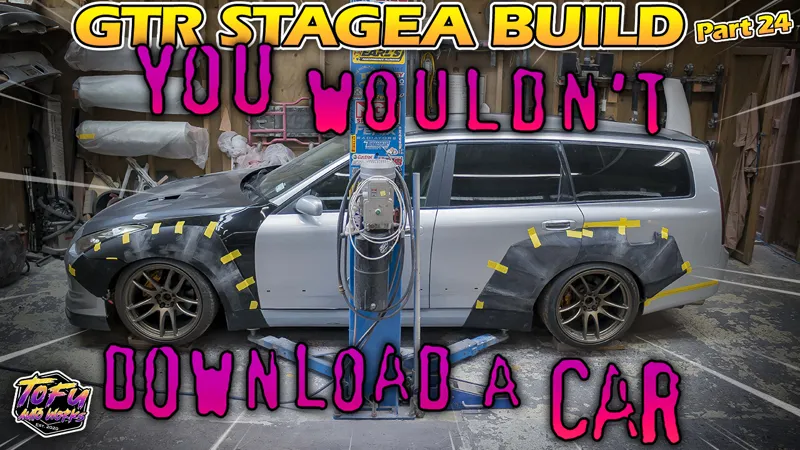

Fitting the 3D printed widebody! Sky-gea Build: Part 24
We finally move on to the second side of this widebody and in this episode we make a start on assembling and test fitting the 3D prints. These parts have been printing off in the background for the past couple months. Unfortunately I ran into some issues with warping and so I have to re-print the rear flare, but that was going to take too long to fit into this episode so it's a slightly shorter one this time.
Also a short announcement that this will be my last video for a little while, most likely a couple of months as I focus more on completing this build than editing and posting videos. I will still be capturing all of the major steps and these will be covered as soon as videos resume.
Thanks again to Stan for his help with his work on the 3D scans and his advice on 3D printing. He has a website and Instagram where you can check out the work he does.
https://www.stanscustomcreations.co.nz/
https://www.instagram.com/stanscustomcreations/
As well as his personal Instagram for cool updates on his Datsun Fairlady Z. https://www.instagram.com/stan260z/
Comments (2)
Solid progress! Having fought with a 3D printer myself (and lost many times) these sort of warping issues are very common. Maybe some sort of ridges or bracing modeled on the internal sides of the prints to help them maintain their shape? Anyway, I hope 2024 is a great year for you and your channel. I always enjoy seeing your projects!
Yeah so with the printing, I've been troubleshooting with the guys the pat few days and figured out the main issues were from the geometry of the part. Printing them as really thin profiles that were open at both ends meant that when they cooled down they shrunk and caused the shape to bow in, so we're going to modify them and make them print more like a box so that they are better constrained and then trim the excess off.