





































Starting the new build
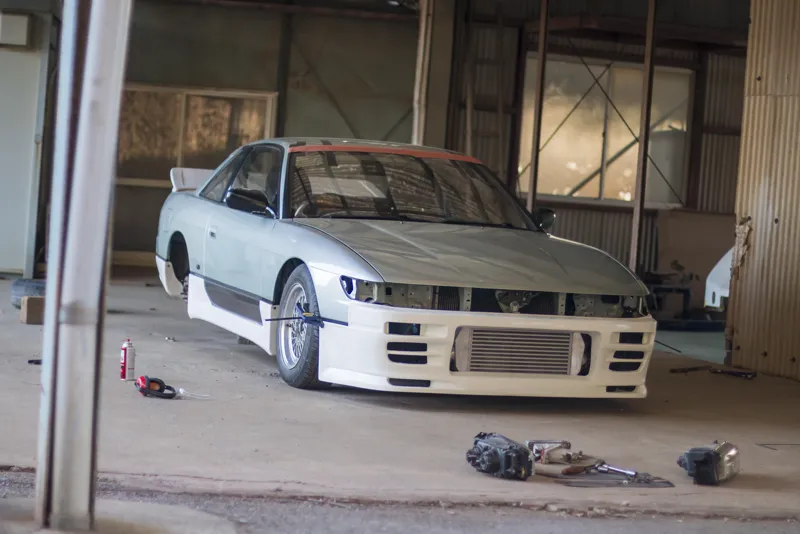
In an earlier post here I announced the two new builds, my S13 that I've had since I was 15, and the new Choro-Q styled group C Twin build, and as of this week I've officially started on the S13 build.
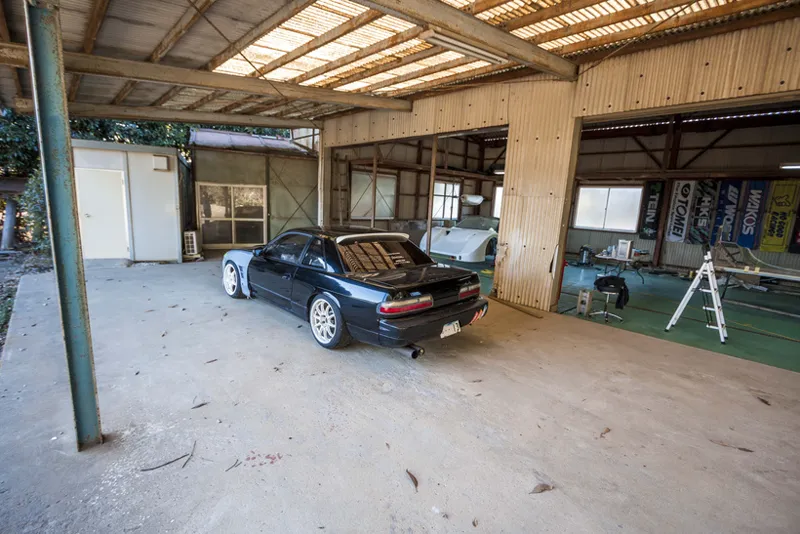
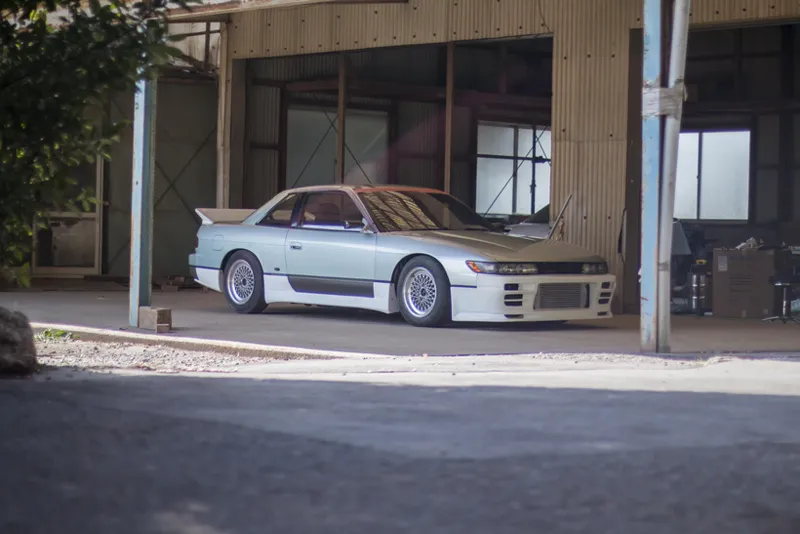
There have been a couple teasers in my latest videos where you can see two different Silvias sitting outside the garage. One that caught a few people off guard was this black one.
I couldn't help but grab a few photos while my friend @heinne_in_japan had his S13 stored with me for a few days. The timing couldn't have been better as that exact same week my S13 was rolled off a trailer and we were able to get a few photos together before we both got started on our own builds.
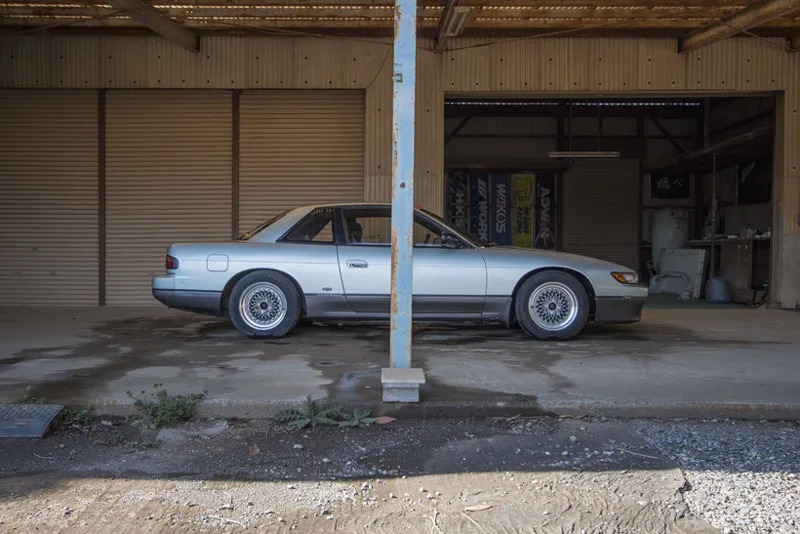
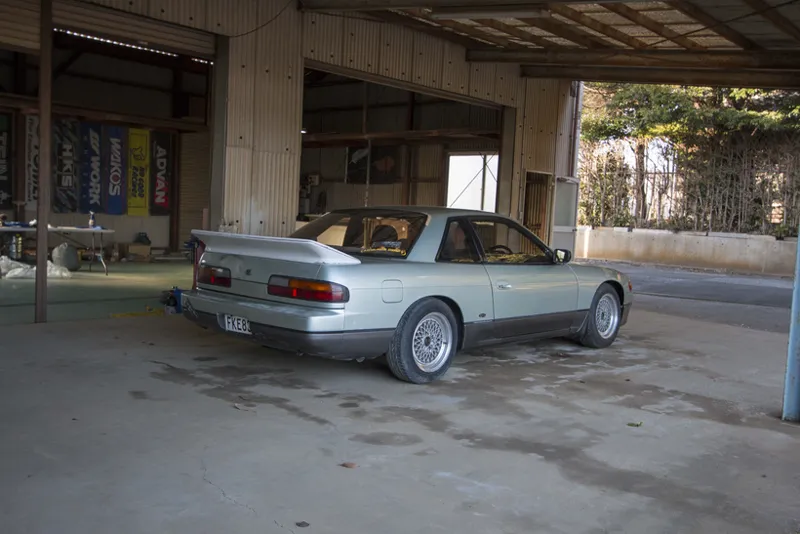
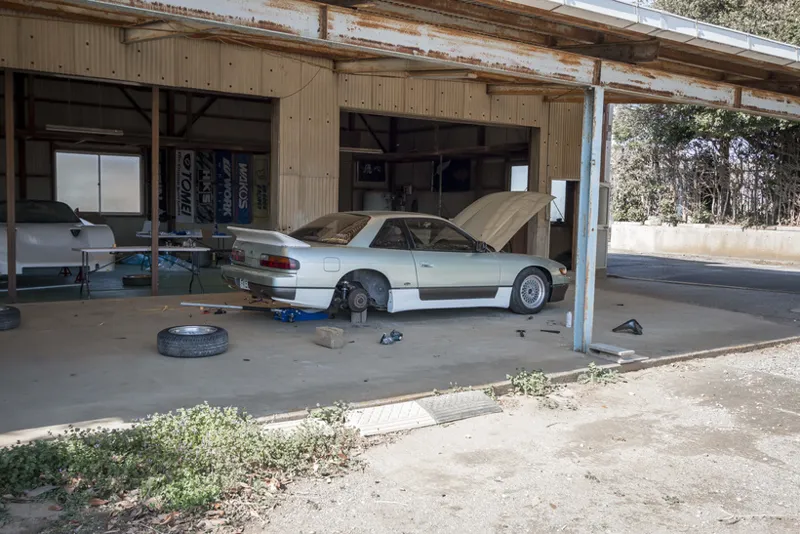
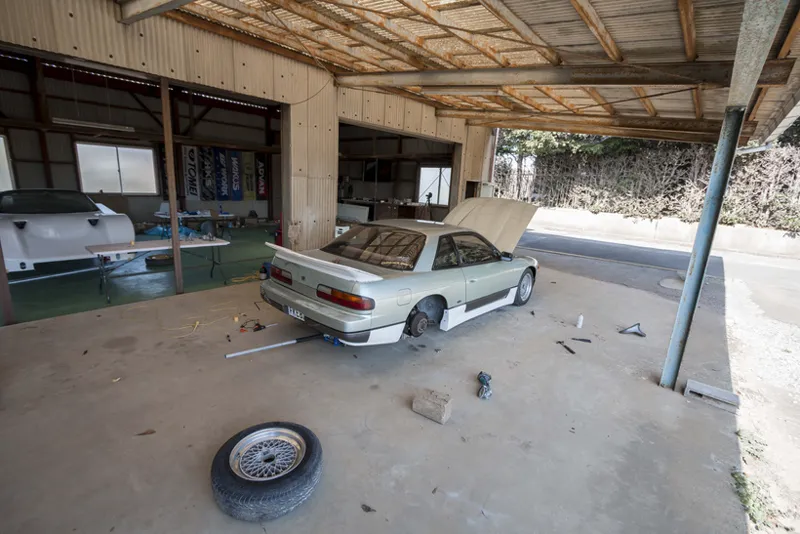
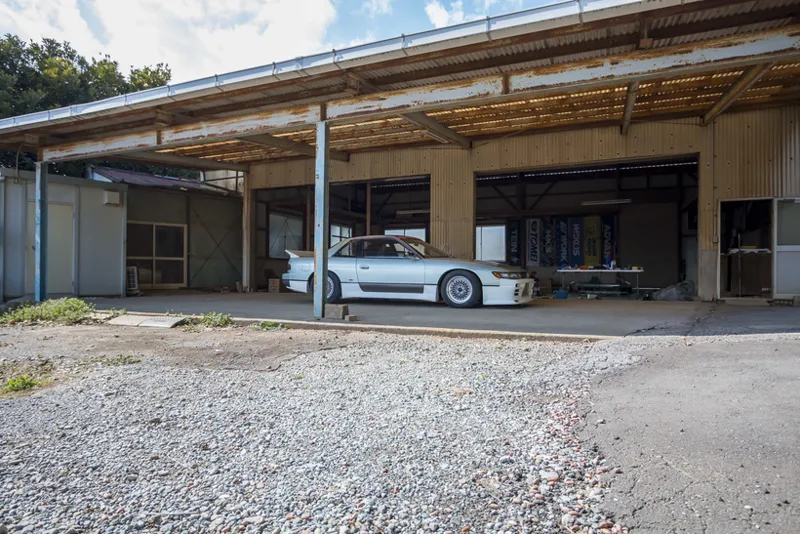
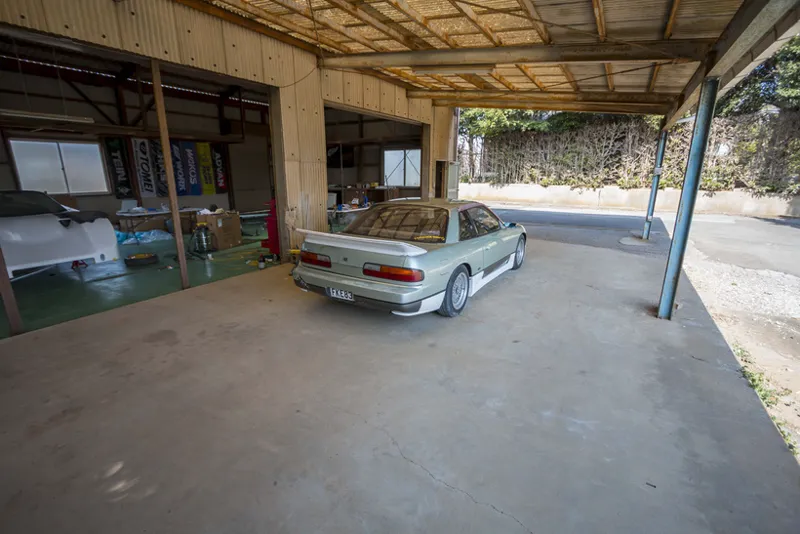
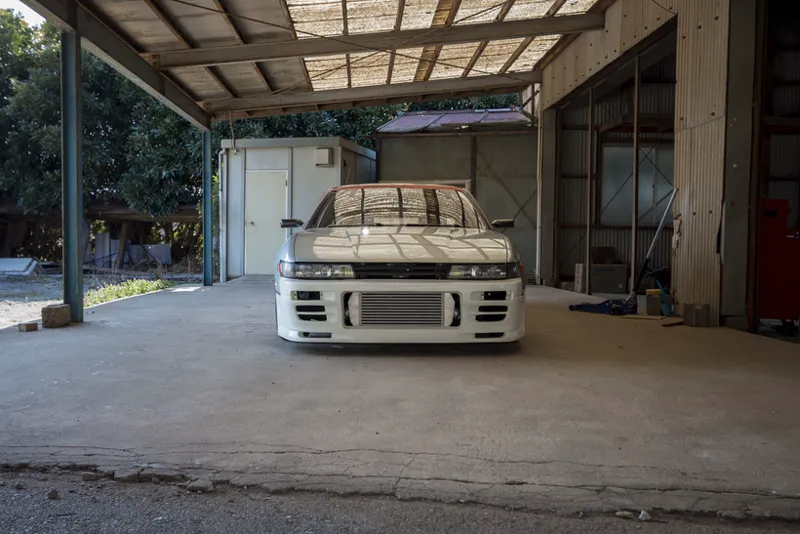
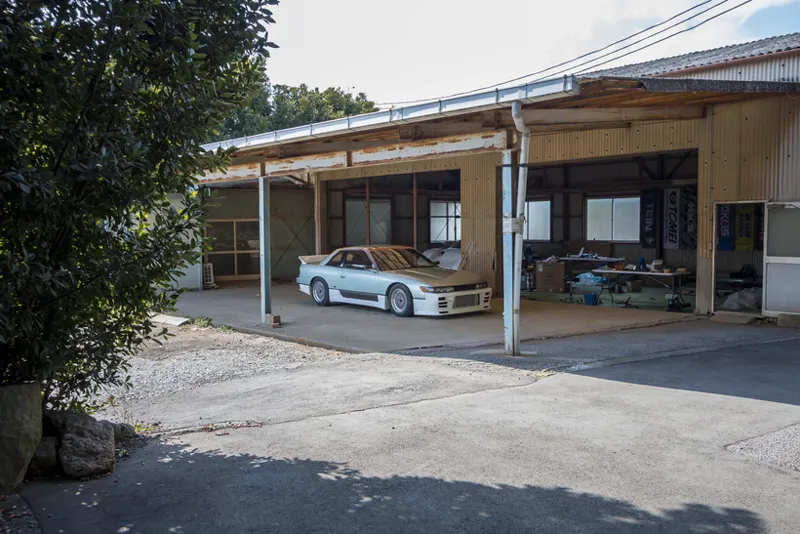
The black Silvia (technically a Onevia) is now back at Heinne's place and so I've pushed my Silvia into the carport to start working on it.
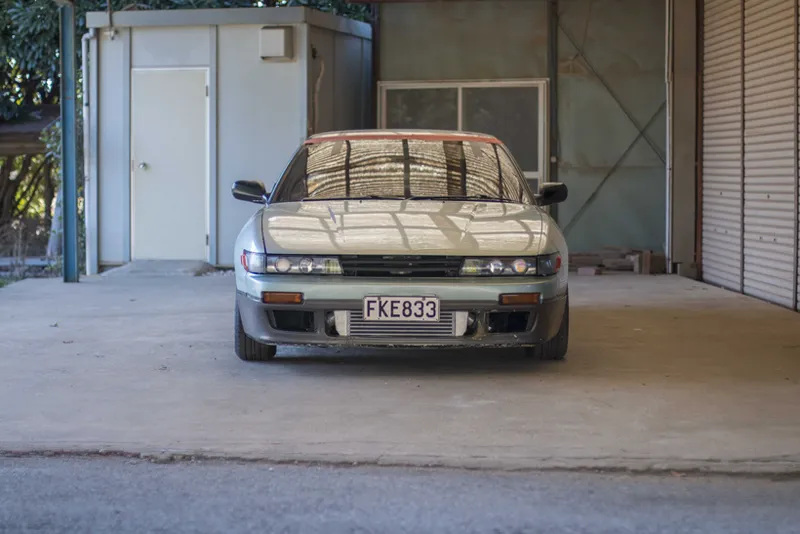
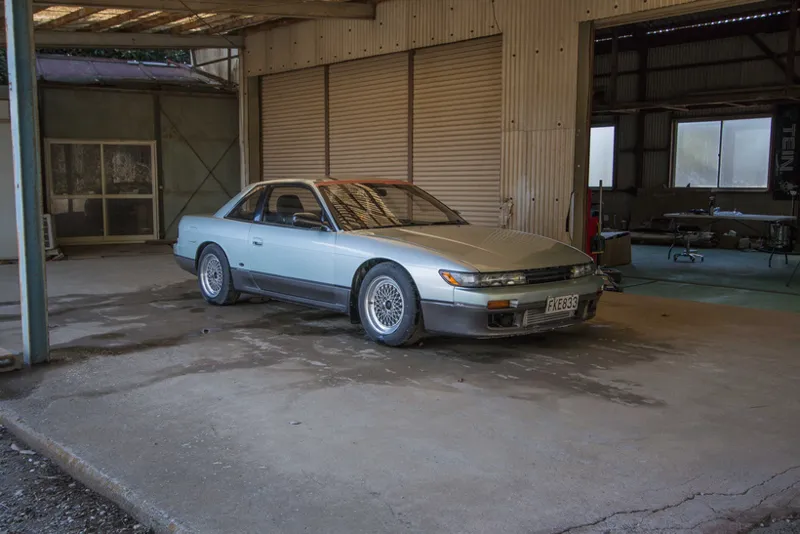
I figured since the weather has been so great lately I'd work on it outside, also because there's just something so nostalgic about working on a Silvia outside.
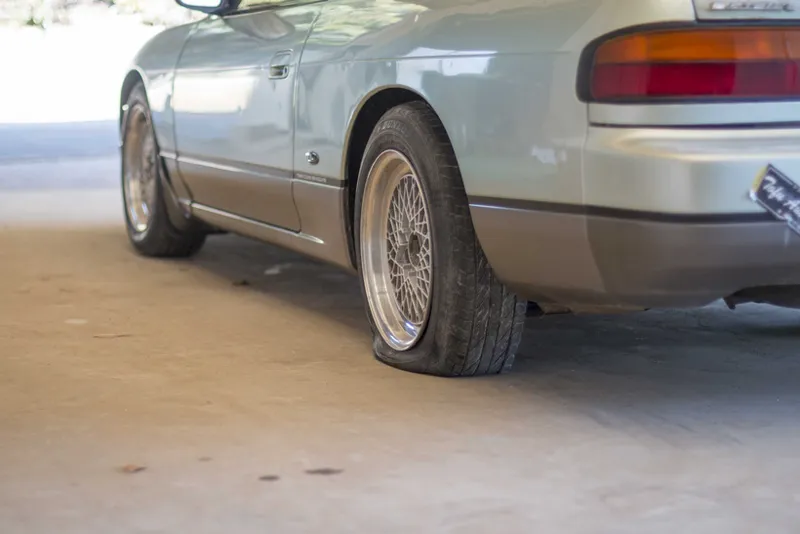
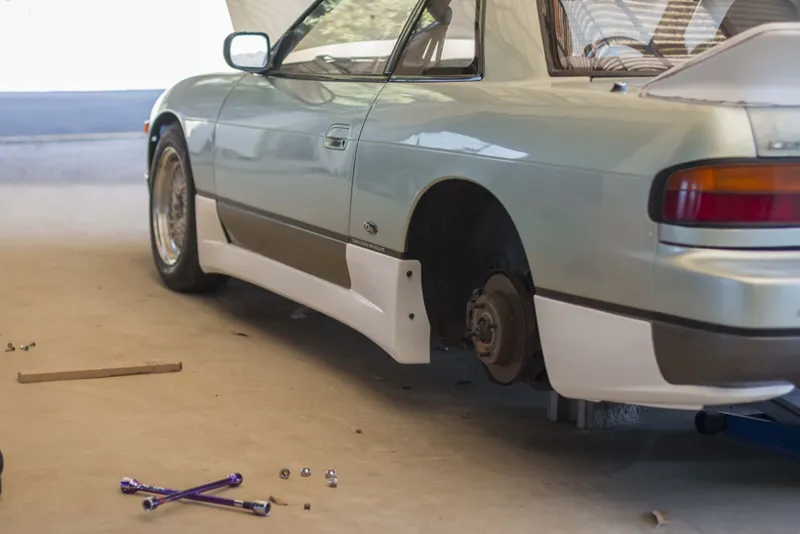
The other reason for me wanting to push it as little as possible is because the 10 year old tires on the back are completely rooted and the one on the left wont even hold air anymore.
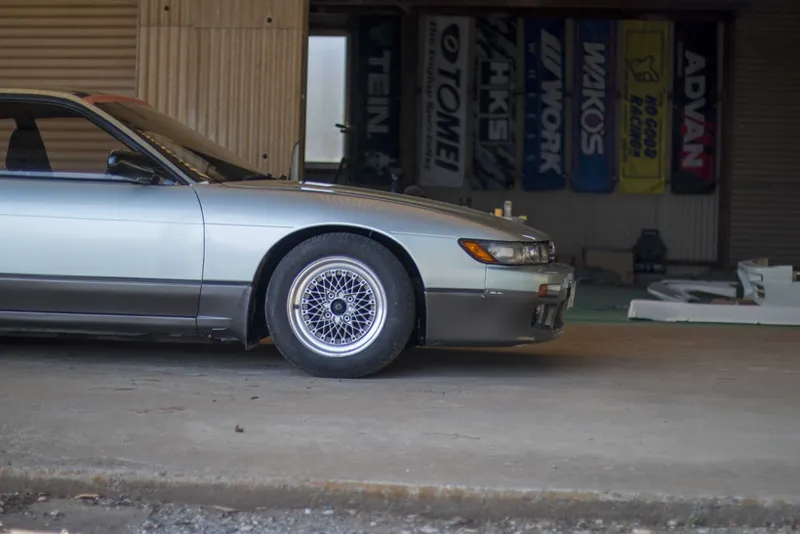
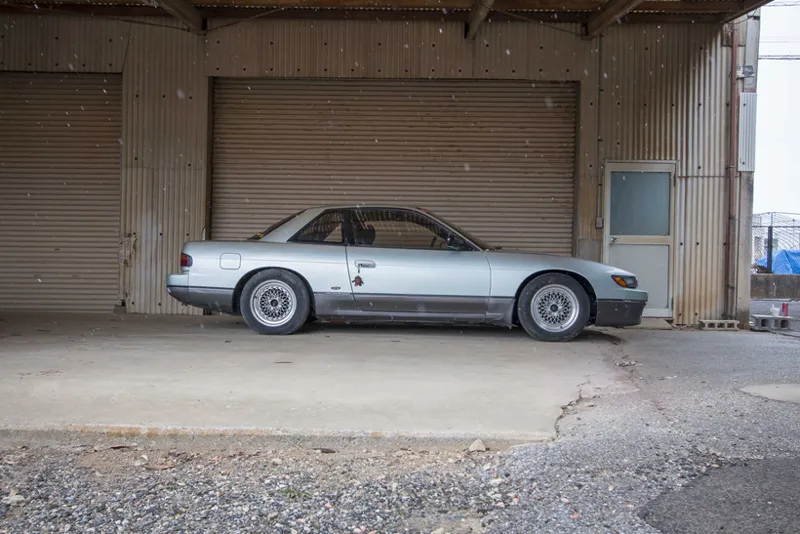
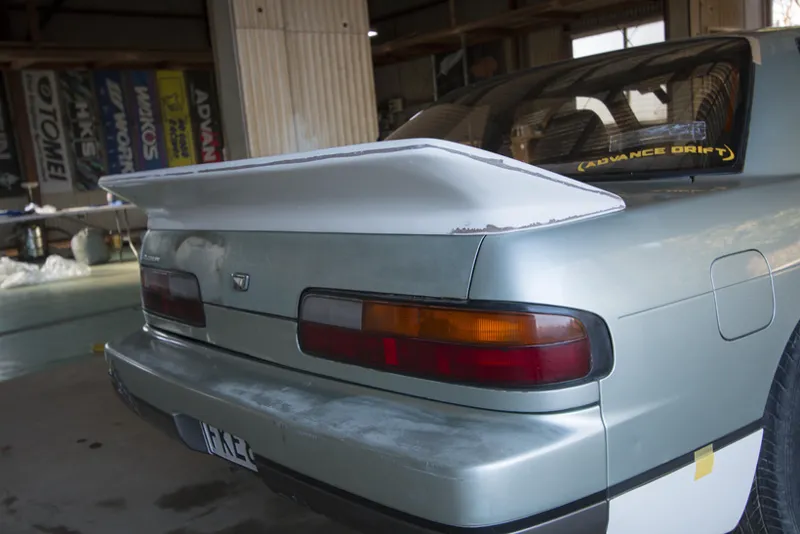
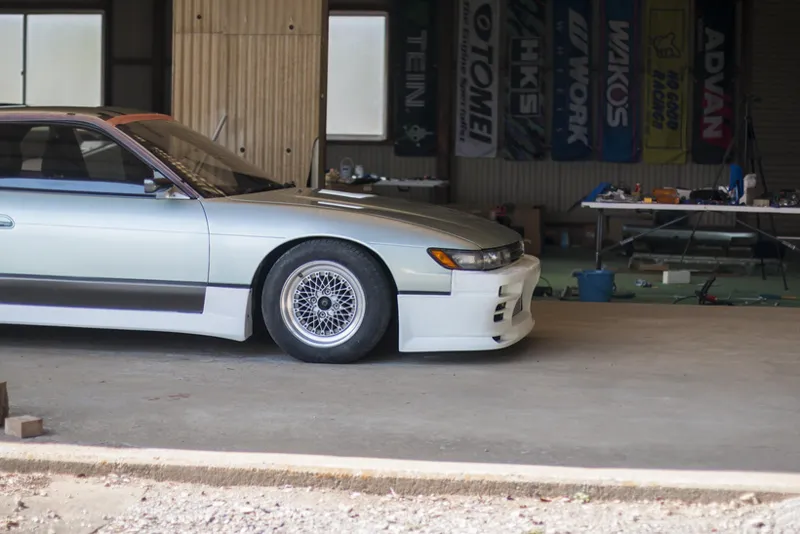
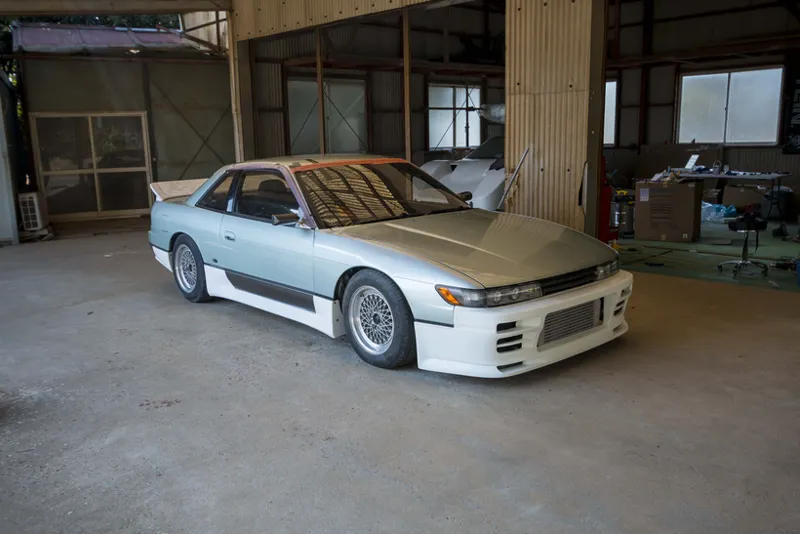
But even with that, once you step far enough back that you cant see all the chips, dents, scratches, paint fade, mismatched colours and wonky panel gaps, it's still such a beautiful car.
One of the comments I get most is how everyone loves the colour, and I'm so glad that I was able to resist the temptation as a teenager to paint it something stupid. Back when I bought this, these seafoam green ones were easily the least popular but I guess with time these sorts of things get more popular.
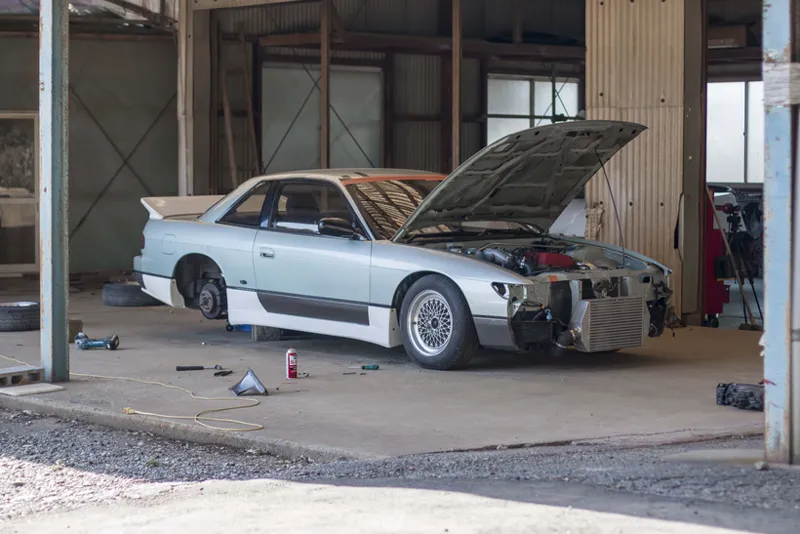
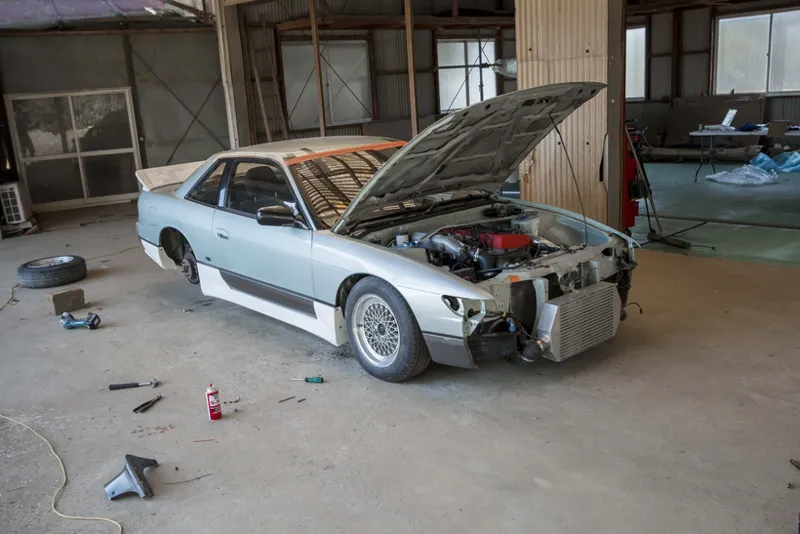
With the car back I was able to check over the engine and oh boy is there a lot of work for me to do.
During one of it's several rebuilds, a shop stripped all the protective coating off all the bolts and accessories on the engine and so everything including somehow my stainless steel bolts have started rusting. I'll need to take the whole thing apart again just to take care of all the rust.
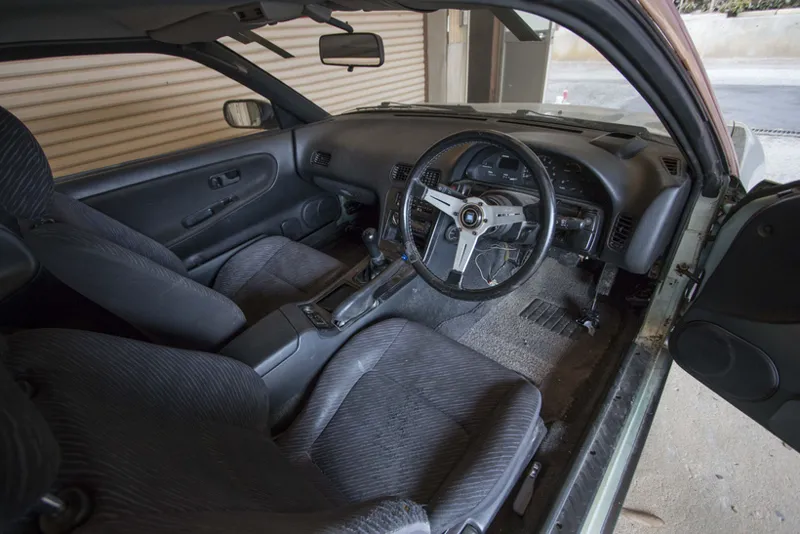
The interior on this car was always the best feature. For years I'd managed to resist screwing it up and so it's still pretty clean. Unfortunately as it passed hands through the numerous shops and shipping company, they managed to lose the kickpanels and a few other interior pieces which is a bit disappointing.
On top of that someone has clearly put gorilla tape on my steering wheel at some point and when removing it also pulled a good bit of the leather off. So that's nice.
As you'd expect, nobody is taking any ownership for any of it, but I can't say that I honestly expected it to get back to me in the same state I left it in. There's more things I could list but I don't wanna get too bogged down in the negatives.
Silver lining here is that I live in Japan now so I should hopefully be able to replace these fairly inexpensively by jumping on yahoo auctions.
But while I was ruminating in the consequences of trusting anybody but me to actually do their job properly, the universe decided to reward me with another fresh dump of snow, way better than the last one.
This place looks like a frickn fairy tale in the snow.
So with the rundown on the car out of the way, on to the actual good stuff.
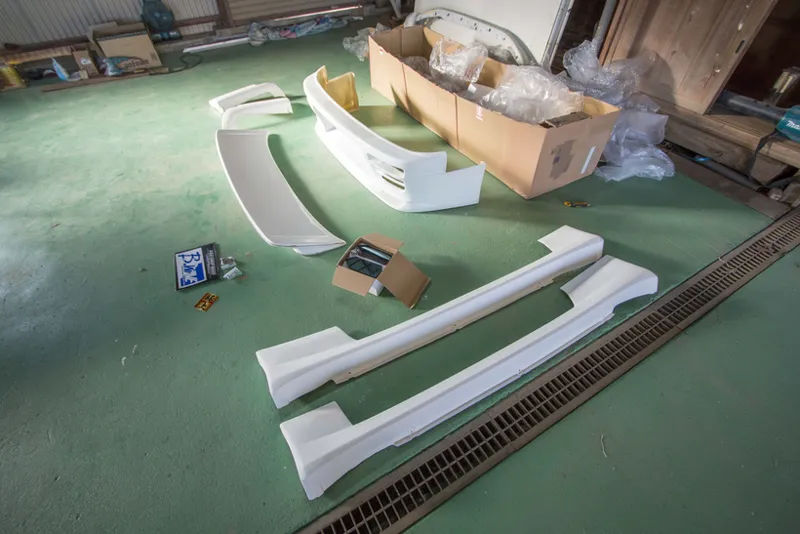
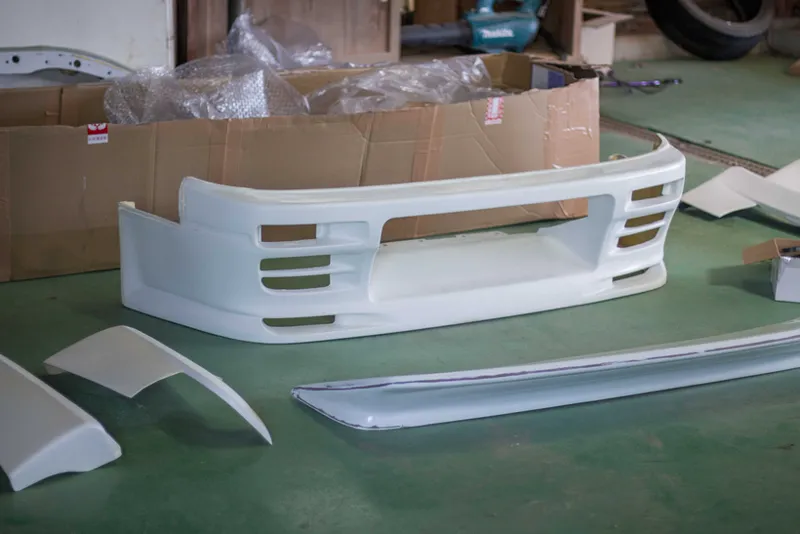
Along with my car, I also received a box of goodies.
To run through the parts, over the 15 years I've owned this car I've put together a list of what I consider to be the best of the best parts in terms of achieving the perfect 90's period correct build.
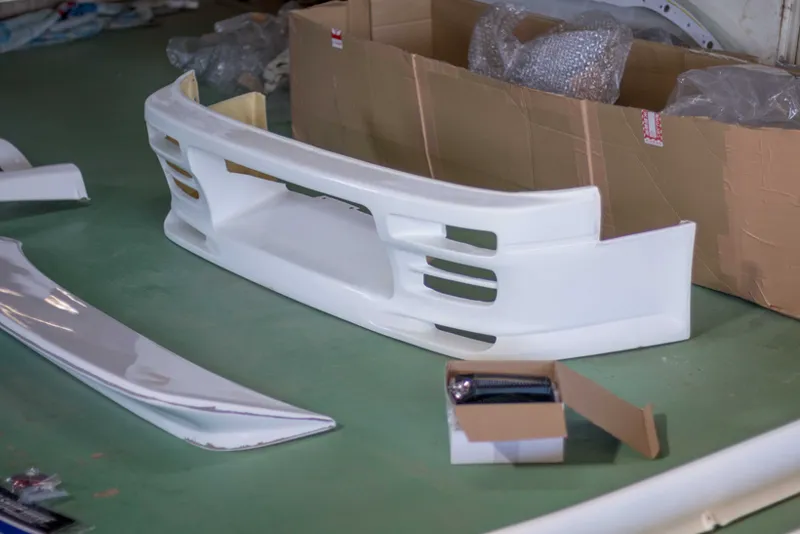
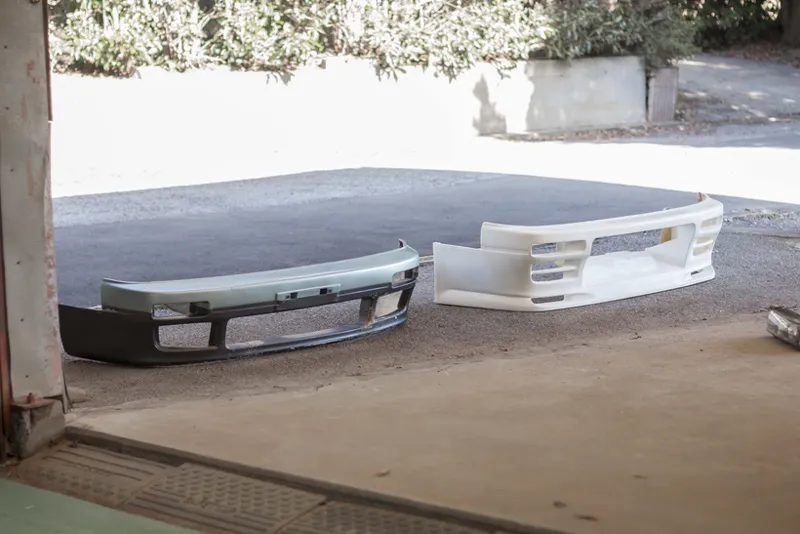
Starting off with the TBO front bumper. These are pretty iconic and are characterized by their OEM styling with a massive front opening. The main reason I went for this is the extra airflow in that front grille.
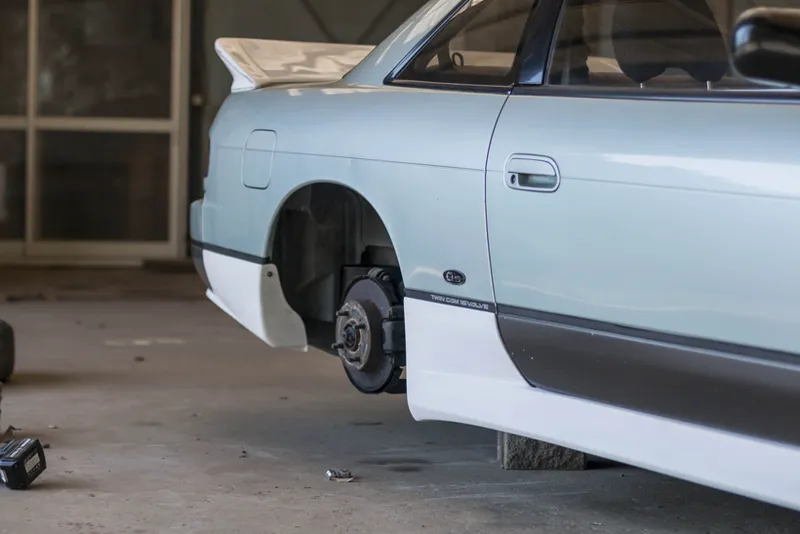
Following on from that we've got the sideskirts and rear valances. These are fiberglass replicas of the original and now massively overpriced plastic ones from Nissan. The sideskirts are originally for the "Chuki" 180sx, they are the lowest of the Nissan optional sideskirts and help blend the much lower front bumper in with the rest of the kit while still looking factory.
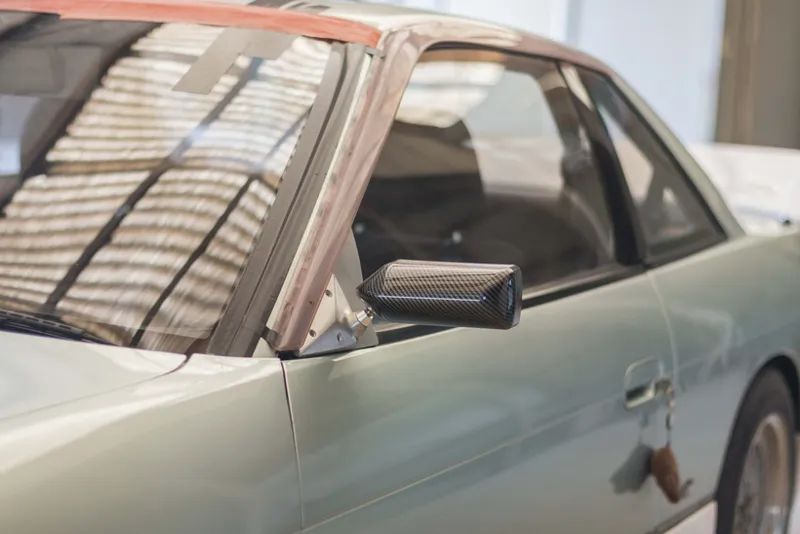
In the small box I've got some universal racing mirrors. I was going to get Craft Squares but it didn't seem to make sense to pay nearly 10 times the price for something when there's not really anything original about the design.
And then lastly we've got the big boy, the B-Wave Wangan Wing. These wings are an acquired taste for sure. I hated them when I first saw them, but over time I grew to love just how unconventional they were and I'm glad I bought them because the quality from B-Wave is unreal.
Along with the quality of the fiberglass which is fantastic, they also included a big ass sticker, 3M mounting tape, metal brackets to bolt it to the bootlid without damaging anything, and a full brochure of their whole parts lineup. B-Wave deserve all the love they get, it's refreshing to see a company take this much pride in their products.
I was itching to get these parts on as soon as I laid them all out but before I could work on the car it kind of desperately needed a bit of a clean.
I've got some monster truck ride height in the front that I address in the video. But basically since the engine is so much taller, we had to mount it a little lower than it would normally go, and as a result the sump is dangerously close to the ground meaning we had to raise the car a little bit. I hate this solution so when I can I'll be redesigning the sump and making a winged and baffled version that sits above the subframe.
With the car as clean as it was gonna get I started with a quick and dirty test fit of the rear wing.
And oh boy I can't even tell you guys how effortlessly this went on. Even some of my own fiberglass parts don't go on that nicely. If it weren't for a few ripples in the top I could just spray it green and be happy with it right there.
Since that went on so easily I figured why not test fit the side skirts and rear valances as well.
Here the fitment starting getting a little closer to the typical fiberglass we all know and love.
Unfortunately the moulds were made directly off the OEM Nissan parts, which means as fiberglass shrinks, the moulds ended up a couple mm shorter than they should be, and then the parts from those moulds ended up a couple mm shorter than that. So what happened was the side skirts are incredibly tight and don't sit exactly how they should.
What you can do to fix this on something like sideskirts, is when you're making your mould, add a layer of sheet thickness / offset wax to the ends. This will make the plug 3 - 4mm longer than it was, which counteracts shrinkage. Sometimes it's not necessary, but it can help.
So what it means is I'll have to probably cut it in half and add about 5mm of material just so it sits with a bit less strain.
After this test fit I decided enough screwing around and finally got into the install.
So the wheels came off and I got playing with them to try get everything in place.
To be fair, they did eventually end up sitting more or less where they should and so I am actually pretty happy with how it came together.
With all the easy stuff out of the way we then moved on to the front bumper, which I could tell just from the quality of the fiberglass alone was going to be a much bigger job.
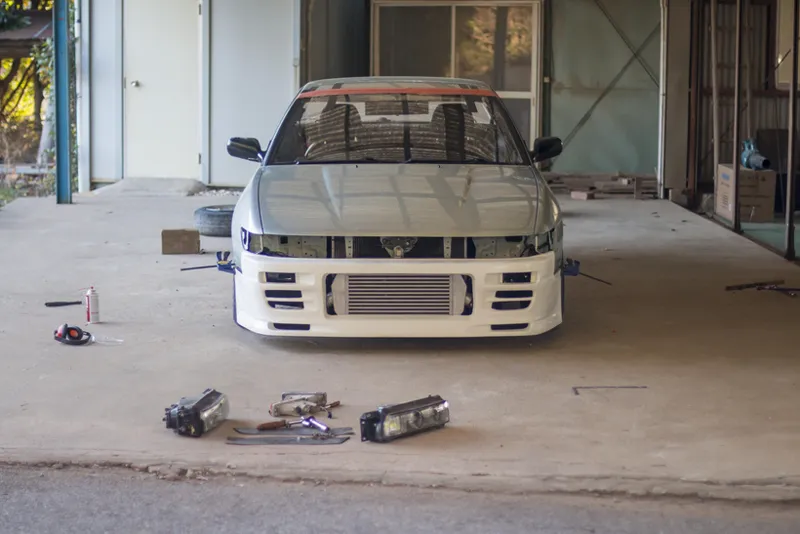
Fitting the new bumper meant that the metal bumper support had to be trimmed to make space for the much larger grill. I'd already trimmed mine slightly already to make space for the intercooler, so no point in holding back.
Of course after cutting it and spending a whole day working with the bumper, it turns out that there was no chance this was ever going to fit in the new bumper. The bumper has a completely different that no longer matches the fixed shape of the metal bash bar.
So I gave up on the bash bar and just tried to at least get the bumper to fit on the car.
Fitting this bumper was a bit of a case of "don't meet your heroes" and I really quite didn't know how to feel. When I bought it the shipping label clearly came from TBO headquarters, so I know it's genuine. But it's just... Really not good.
To be fair, this same mould has probably been in use since the 90's but come on, at some point you have to remake it.
There's a lot I can say about getting this bumper to fit but my mother always told me if you don't have anything nice to say, dont say anything, so I'll just:
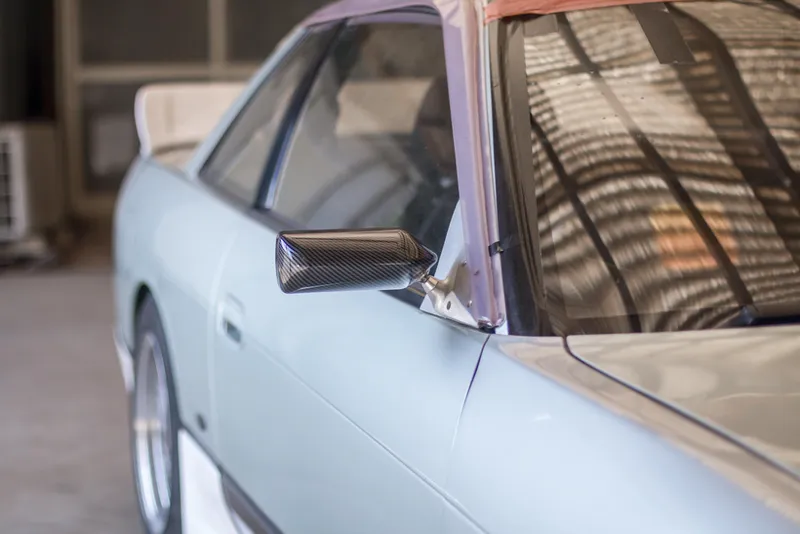
Then I installed the wing mirrors. These were fun. I didn't have a little adapter plate but luckily there was a 3D model someone had made that I downloaded and printed out after making a few changes.
They're just temporary ones printed in PLA so I know they'll warp in the sun, but I've only got about a week left in Japan to get this video finished before I need to come back to NZ and try to renew my Visa so they'll do for now.
Honestly I really like these mirrors. You can see I also mocked up my monsoon covers that I bought as I always wanted these. Something about that oldschool faded purple plastic just looks so at place on this build. I'll try get rid of some of the fading by polishing them when I get around to the proper install on those.
I mentioned with the wing mirrors that they were just cheapies off yahoo, and so they're plastic with a hideous fake carbon print on them. My plan is to sand these back and skin them in real carbon since I don't really care about weight, and while I'm doing that I'll also remake the adapter plates out of carbon as well.
The wing mirrors were the last part of the install and so after that I just gave the interior a bit of a clean and got some UV protectant for the dashboard since it hasn't cracked yet and now that's getting pretty rare.
I also took my Broadway mirror off the Twin and put it in here which was kinda the plan from the beginning.
With that done though, that's pretty much the end of what I'll be going over in the upcoming episode. So definitely a bit of an advance viewing for the Patrons.
And that's a wrap on not just the Silvia for now, but also my first year in Japan.
I'll be back in NZ for a couple months most likely, seeing the dogs and catching up with friends and family before heading back to Japan. In the mean time I hope to work on the Mx5 a little bit as well.
For anyone who clicked on this post maybe hoping I had something more to say about the Choro-Q Twin project, things are moving along. The donor body is getting dropped off this week and once my printers are free I'll start making it. Here's a quick sneak peek to close on.
That's all for now.
Comments (3)
I miss my Acura Legend Coupe even more now. That’s a sweet build.
That twin looks epic! I hope your going to get a chance to at least take photos - bring a client build i understand if you cant
It will most likely end up being it's own build series on YouTube.