










3D Printed Moulds - GTR Stagea Update
Woah, two updates for 2 different builds in the same day. I'm a mad man.
Anyway I wanted to drop this in here since I figured I might as well get you fully caught up on everything in the shop right now.
So let's go back to the Stagea, we'd 3D printed 2 separate sets of over fenders for it only to learn that the original fenders weren't symmetrical and that I had to basically start again from scratch with the passengers side.
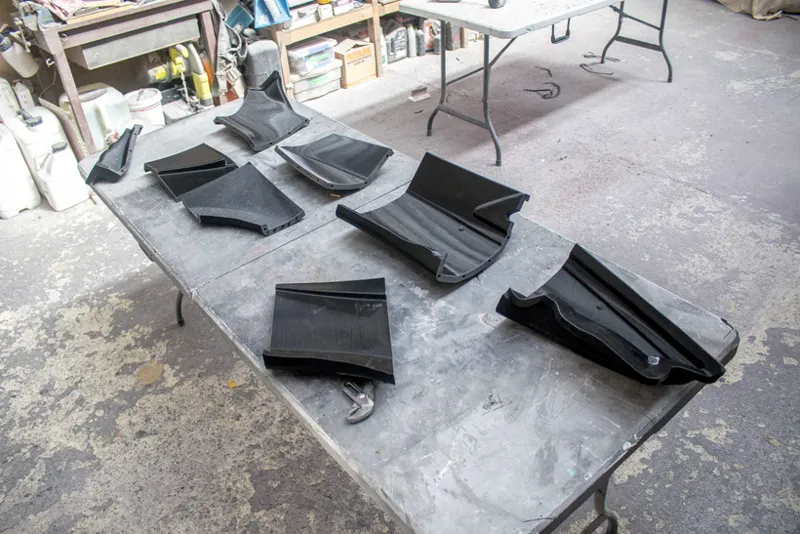
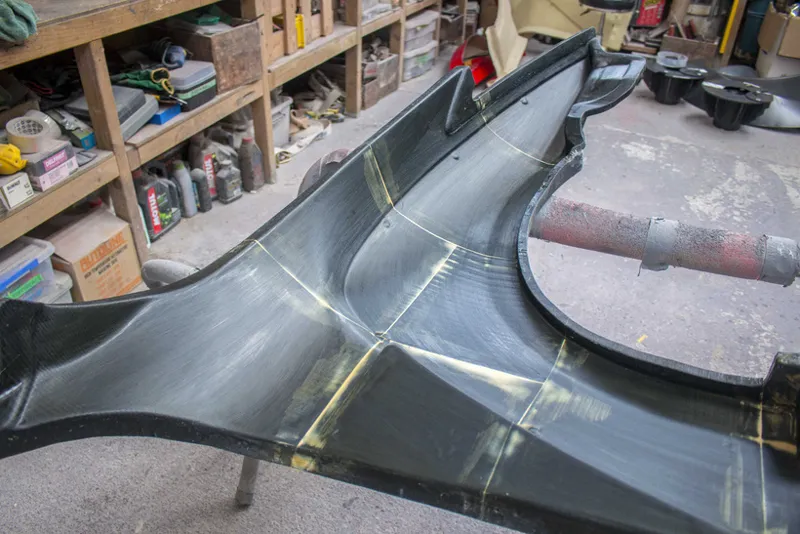
So in an old post here I showed me scanning the completed moulds for the drivers side, fenders and over fenders, and I took that scan data, mirrored it, thickened it, cut it into pieces, and started printing off MOULDS for a new set of fenders this time instead of printing the fender itself.
Here are the completed pieces. Each one took about a day to print and I went through all my remaining black filament to get these done. To anyone who missed it, the black eSun PLA+ filament I have been using turns out to have known issues with shrinking and warping and I've been struggling trying to correct for that for MONTHS. Now that I've used it all up I'll be going with a different colour and hopefully not have to worry about warping anymore.
The way I chose to print this mould was to take the scan of the mould which was just a surface, then thicken that up to 15mm. I then loaded that model into Prusa Slicer, a free slicing program for 3D printing and then I placed all of the cut lines in that software. Prusa has a cool feature that allows you to add locating pins in the part when cutting it into pieces and so on each join I placed 3 - 4 holes for 6mm wooden dowels that would hold everything in position while gluing.
I printed all of these parts with a 0.6mm nozzle at the lowest resolution I could get away with, double wall thickness and 15% infill.
I was really happy with the strength of these and the 15mm thickness gave plenty of surface area for the glue to have a really solid and self aligning bond.
The pieces were glued together with the same West Systems epoxy resin and 413 filler blend I use as a make shift adhesive on a lot of parts. I find it works incredibly well on PLA prints and it's something that I have on hand in bulk.
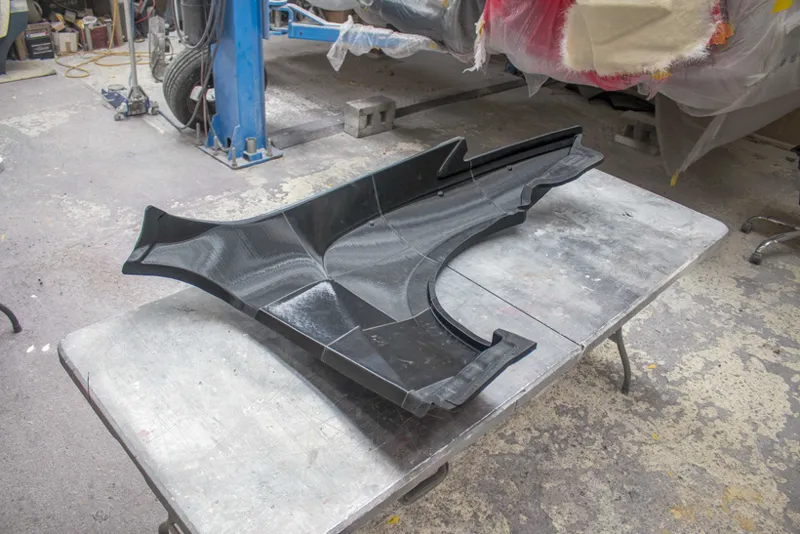
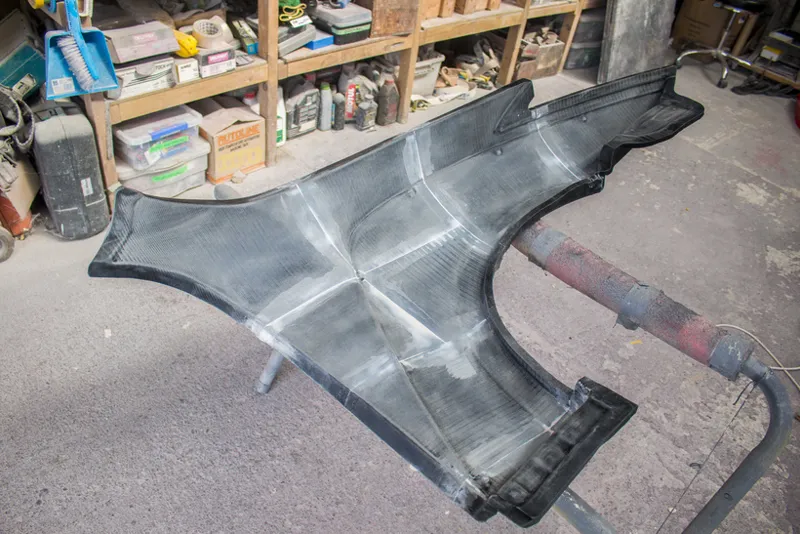
After sanding the surface I applied a skim coat of filler to all the seams, you can see most of them were really good and didn't need much filler at all. After filler I sealed the mould surface by spraying a couple coats of Polyurethane varnish on it. No need for anything special, just your standard gloss flooring varnish is fine.
After that had cured I applied a layer of wax, left that to harden without buffing it off, then sprayed a layer of PVA over top. Wax and PVA is still a great way to get a good reliable release on any single use moulds. You see me using that TR 900 FD semi permeant release agent a lot but that's only for production quality moulds.
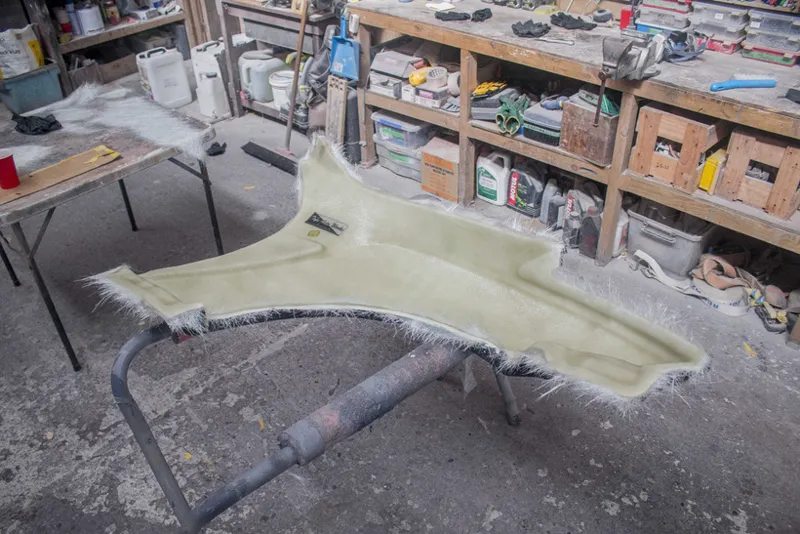
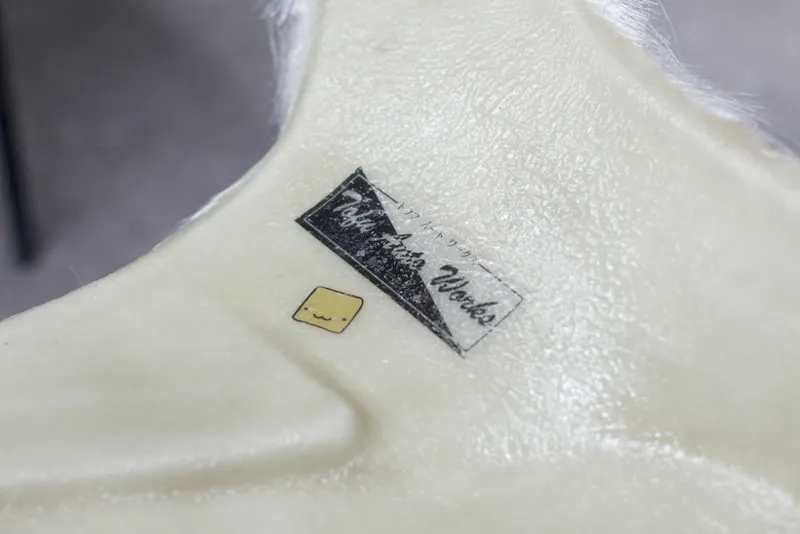
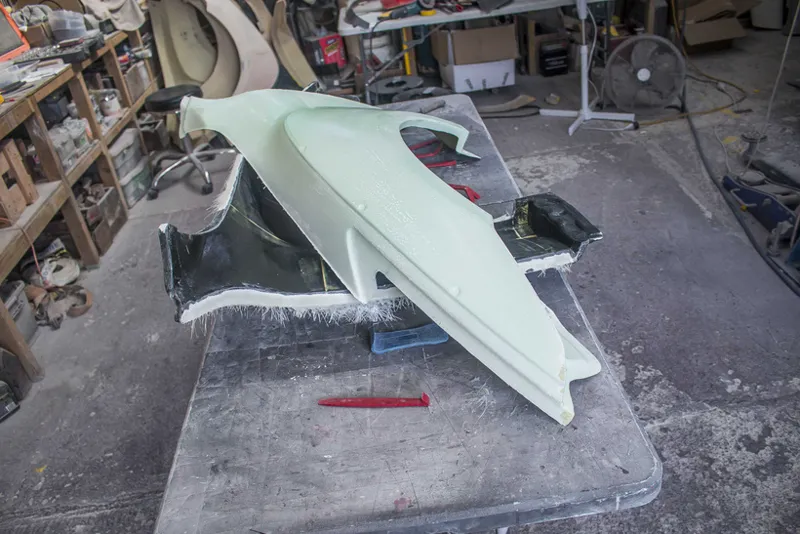
For the fiberglass part I decided to use my old white gelcoat this time. Because the mould was black, it would be hard to see thin spots if I'd used a black gelcoat so I chose to use up my white in this case. This gelcoat was OLD, like at least 4 years old so I gave it a full day to cure before putting any resin over it.
Then I did my usual layup of 225gsm chopped strand mat, waiting for that to cure, and then applying 2 layers of 450gsm mat to finish.
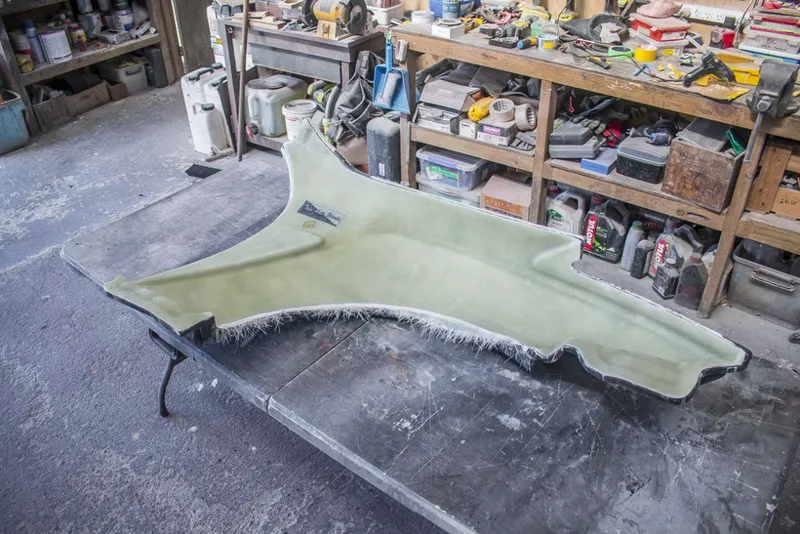
Because this moulds was only being used once it meant I could trim the edges inside the mould which is always a bit easier.
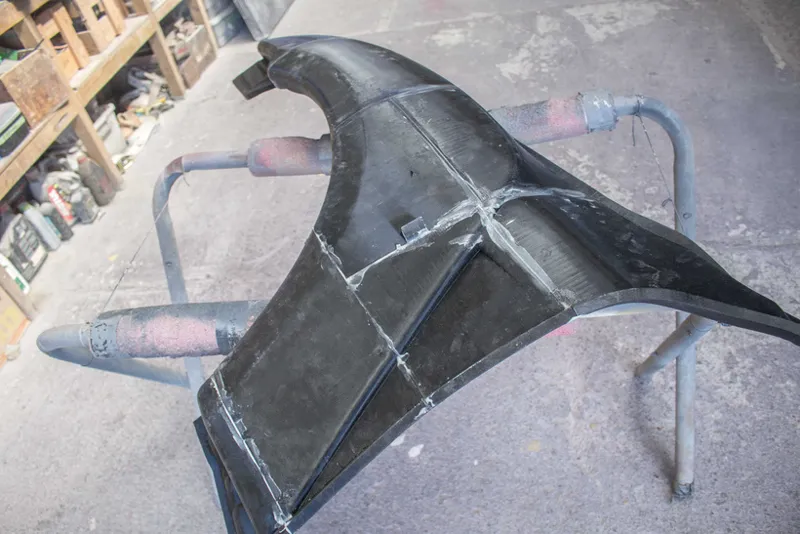
The part came out of the mould super easily thanks to the release agents, I was glad to see nothing weird happening with the polyurethane or the PLA. It behaved just like any normal fiberglass mould.
I am incredibly happy with how this came out. I've test fitted it to the car already and it looks like it sits absolutely perfectly.
The next thing I have to do is cut this section off the current fender and then bond this one in place. That way I can re-use the other 2 parts of the 3 piece mould for these fenders. I'll explain better when I get around to fitting it.
It's such a relief to finally have something that has worked. Pretty much this whole time I've been struggling with these 3D prints trying to figure out how to get them to print nicely and how to get them to stop distorting on the car. I really think this will be my approach moving forward, 3D printing the moulds so that I can make a fiberglass part which is full rigid and not going to warp in the sun or crack or do anything unpredictable. Just a nice stable part that I can spend as long as I need to getting it perfect.
This method is also actually way better for people making one-off vehicles because with the old method, you would have to 3D print the part, fix that to the car and make a plug, do all the sealing and polishing and waxing and making flanges so that you could make a mould, then do all that again to make a final fiberglass part.
Whereas with this method you 3D print the mould, seal it quick and dirty with some flooring varnish and PVA, then make a part out of it and straight away you've got your finished fiberglass piece.
This is the way I want to do it from now on, for sure.
Comments (2)
Printing moulds is a game-changer – that’s an overused expression, but it’s exactly right here. Mould-making has been done one way (mostly) for decades. It’s time to break through that barrier.
We're reaching the age where 3D printers and scanners are becoming so cheap that this has opened up parts creation to just hobbyists rather than huge companies. I remember only a few years ago the only way to do this was to pay thousands for a one time scan, and then get it machined from foam. I hope this leads to more creativity in the car scene moving forward.