

























New Fenders for the Chimera (one-off fiberglass parts tutorial)
HUGE update on the Mx5 in this post. This covers everything in the last episode as well as most of what's coming in the next episode.
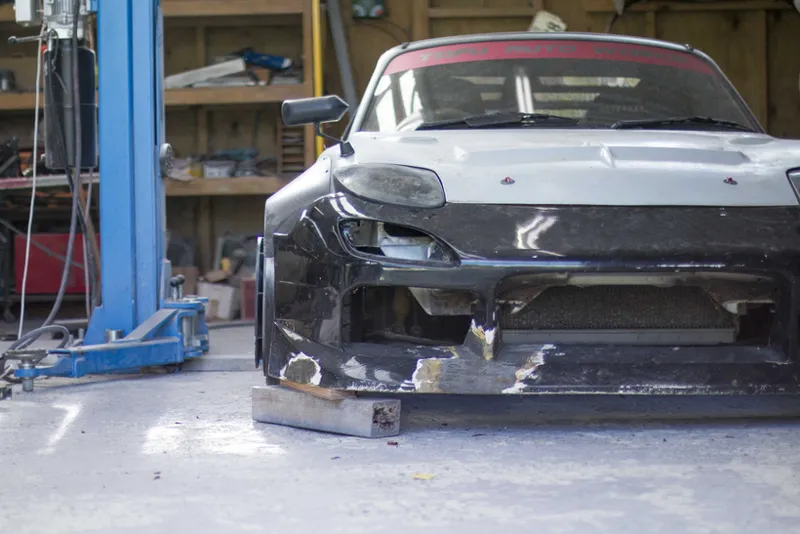
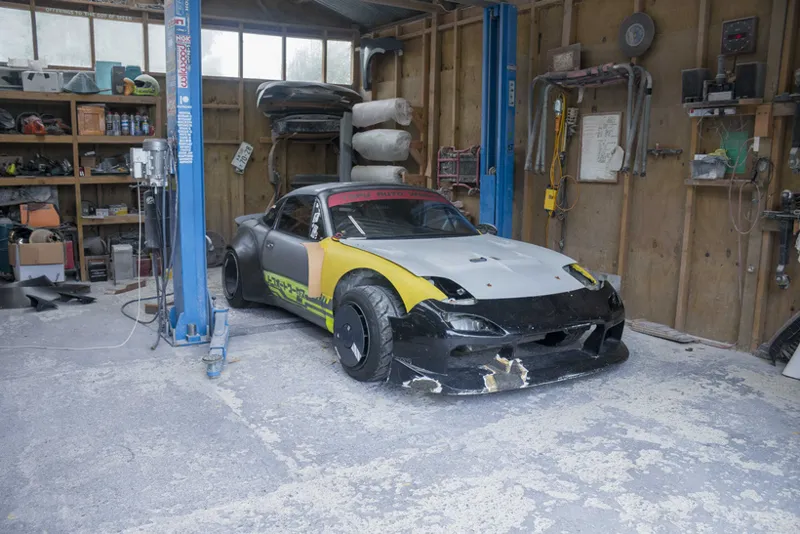
So the last time we touched the Mx5 I pulled off the original front end and mocked up the new Rx7 front that I'll be doing.
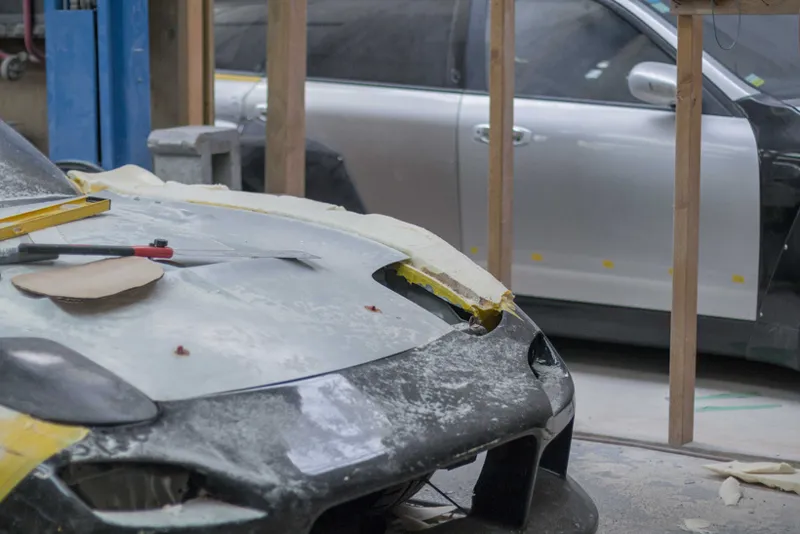
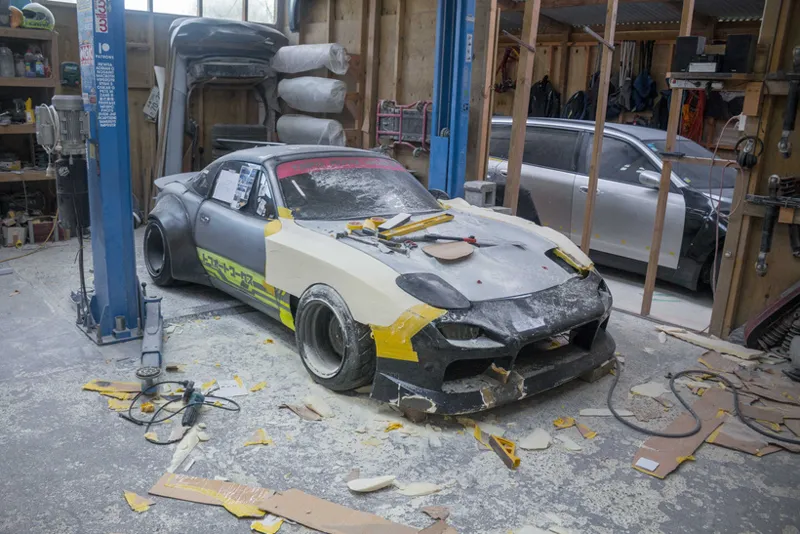
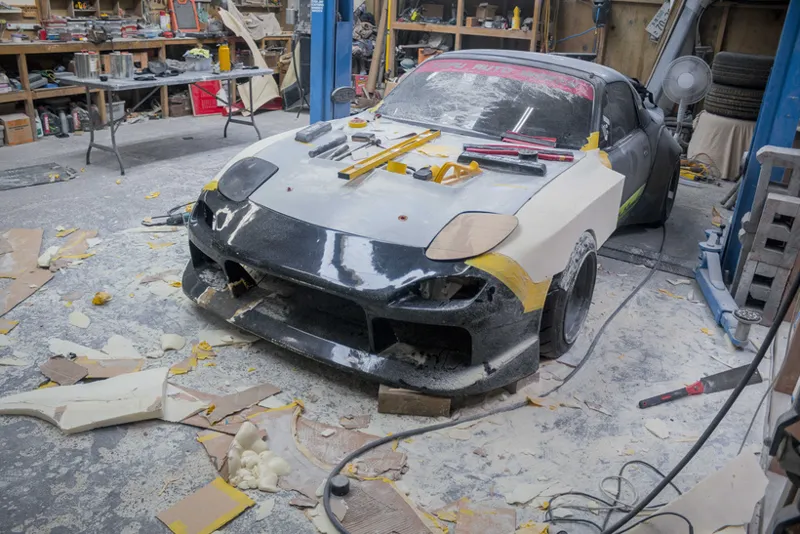
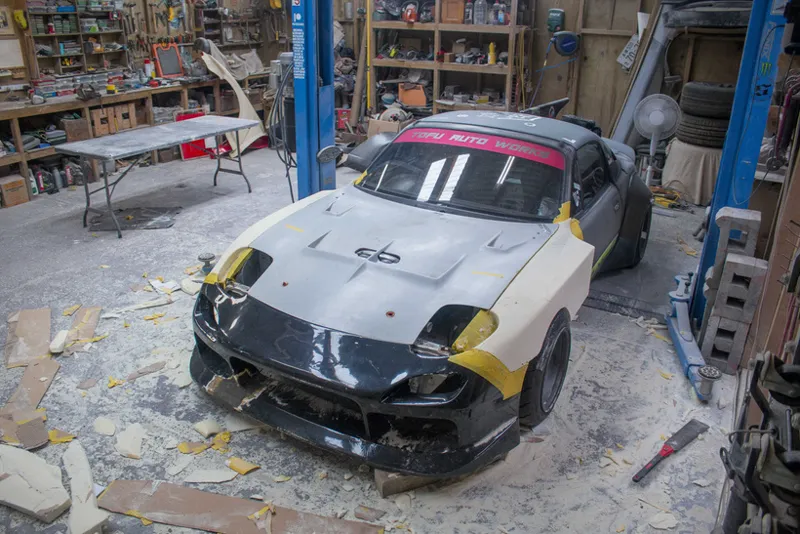
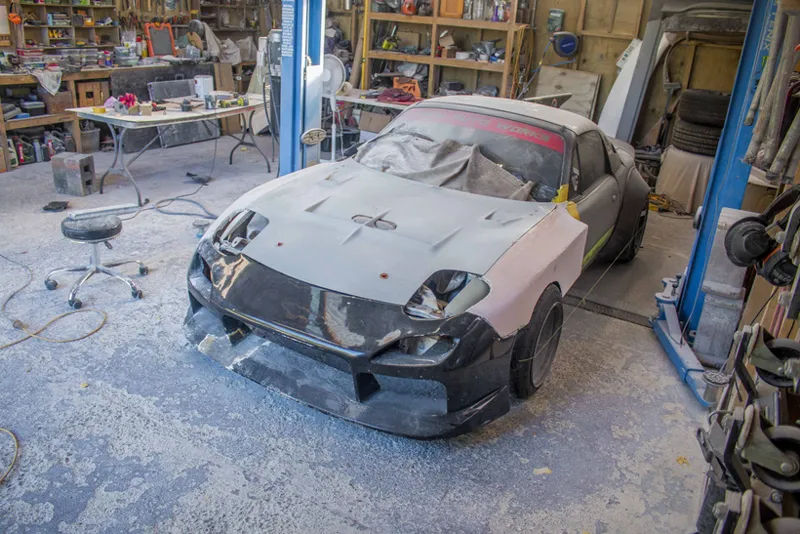
It's finally time to get the custom fenders made to tie the front bumper in with the rest of the car and so to start that off we removed the original fender flares and began boxing up the car so we could pour our starting shaped with expanding foam.
The foam I used this time was high density expanding foam. I spoke to my suppliers about the issue I was having when I shaped the Stagea fenders, basically the normal expanding foam would shrink back after shaping it meaning if you spent longer than a day working on the forms, they would shrink and change shape by the time you were ready to make moulds off them.
This high density stuff is supposed to be better and I guess it is, but it also expands less than half as much as the old stuff did so of course it would have less shrink back. I'm still trying to decide if it's worth it.
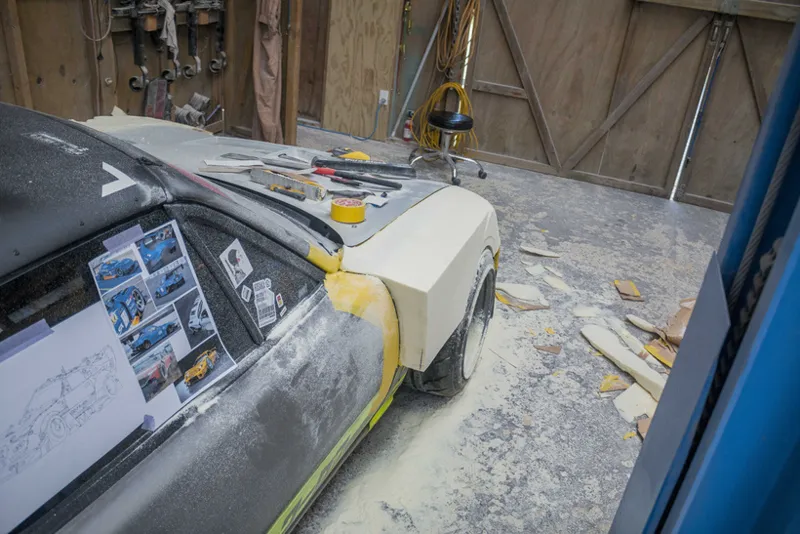
After giving the foam 24 hours to set to give it the best chance of not moving around while I was shaping it, I started roughing in the shape of the new fenders.
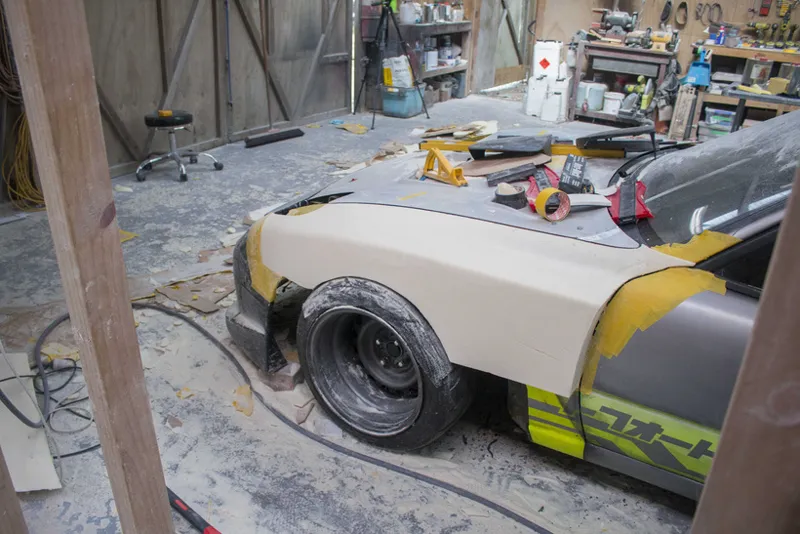
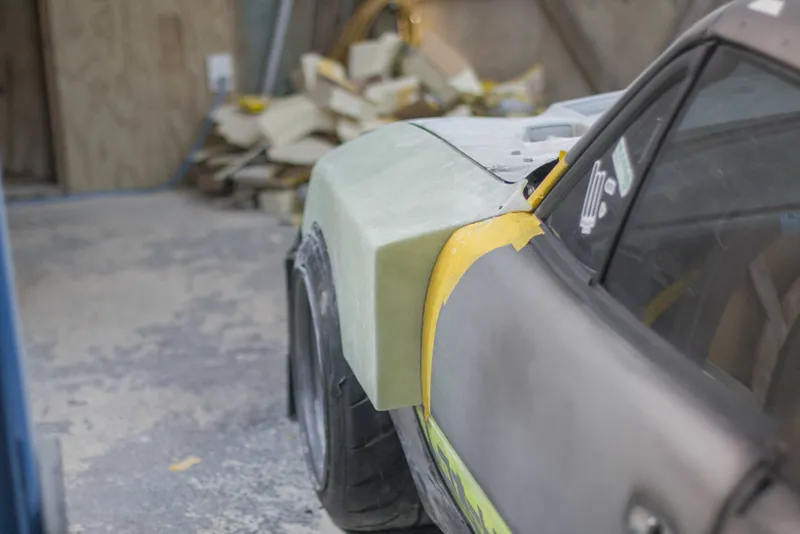
My inspiration for these fenders were the JGTC Rx7 fenders, I wanted to go for a more 'boxy' style fender that pumped out wider and had a nice hard cut back at the back of the fender. I feel like this was the only way to get it to look nice with how much wider it had to be to line up with the front bumper.
Another change I made was to my shop infrastructure.
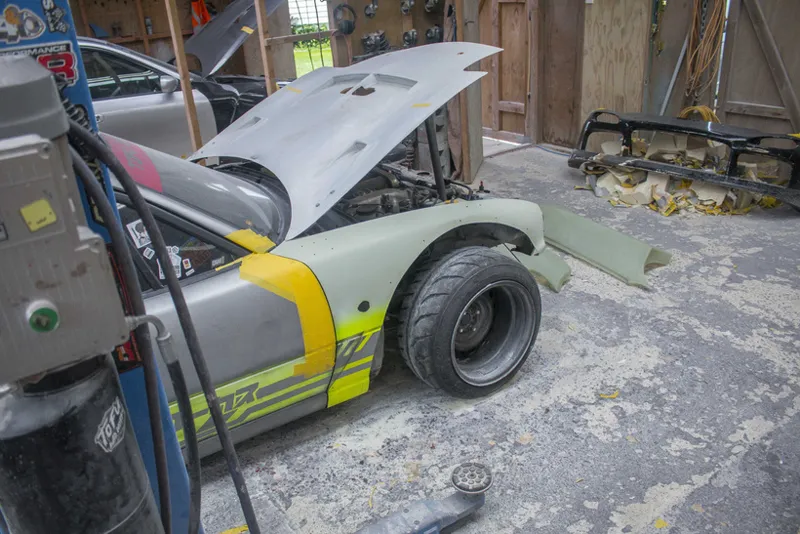
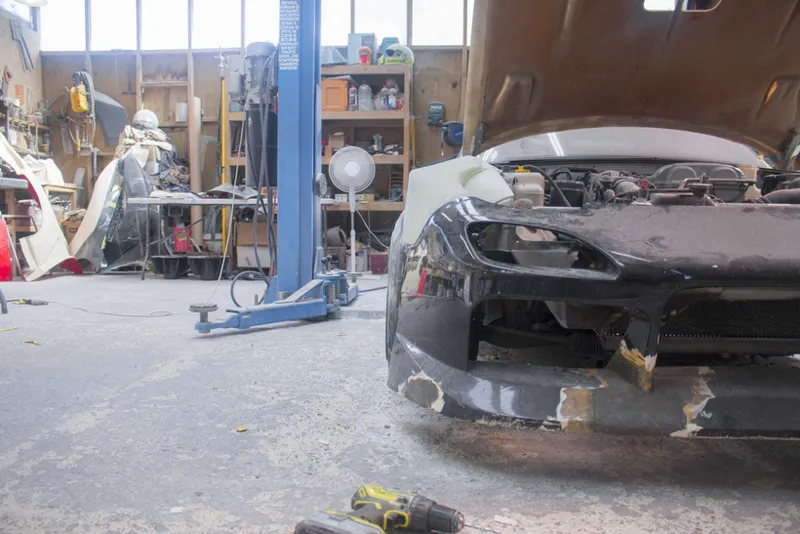
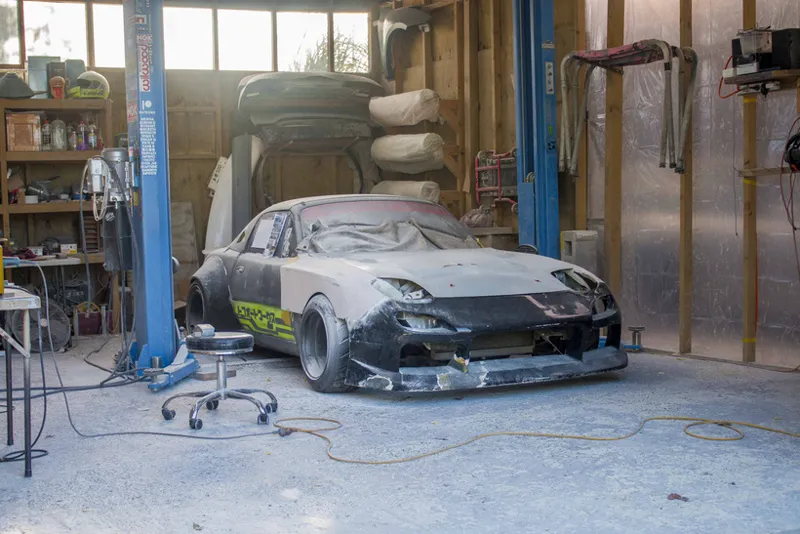
I temporarily removed the wall separating the main workshop with the lean too on the side, you can peep the Stagea.
One of the major advantages was just how much more light there was which made it so much easier to see what I was doing instead of being tucked up against a wall. But the other big thing was being able to step back and view the passengers side from a distance to make sure the lines were right.
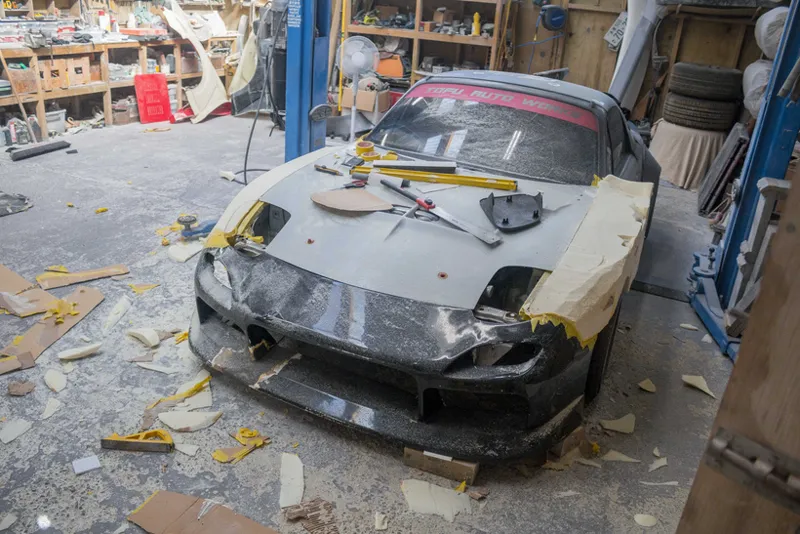
Once I was happy with the shape which was only about 2 days of sanding, this foam is incredibly easy to work with, I then took the fenders off to prepare them for skinning in fiberglass.
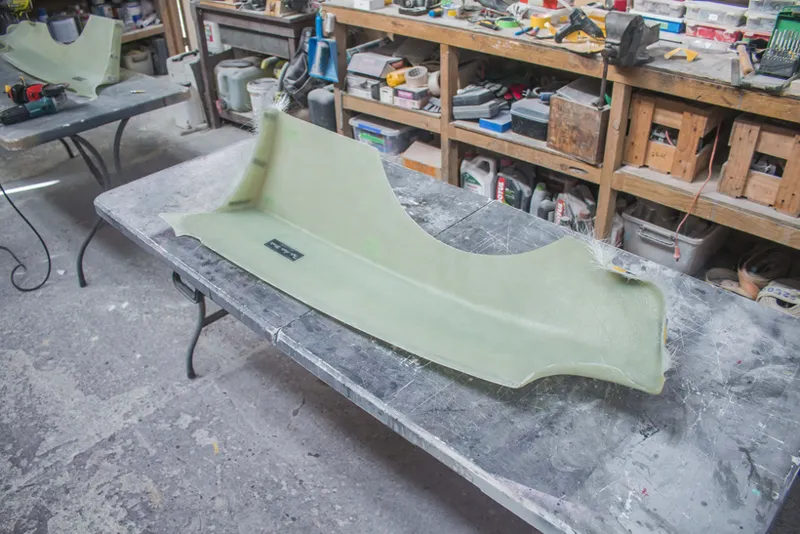
The method I'm doing here is directly laying your finished fiberglass part over the foam plug, skipping the mould making step. It's really the best way of doing one-off parts and one of the more common builders that uses this method is @ashiru_ito on instagram. I've actually spoken with him quite a lot in the past and so a fair bit of this advice came from him.
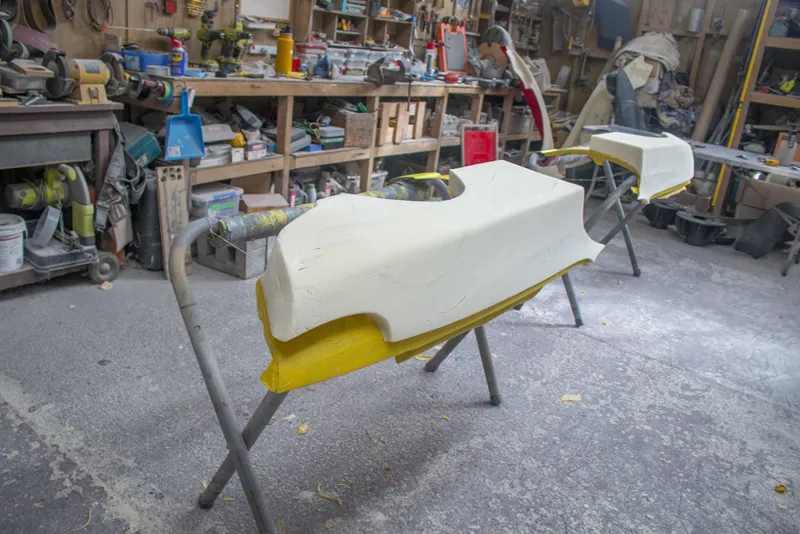
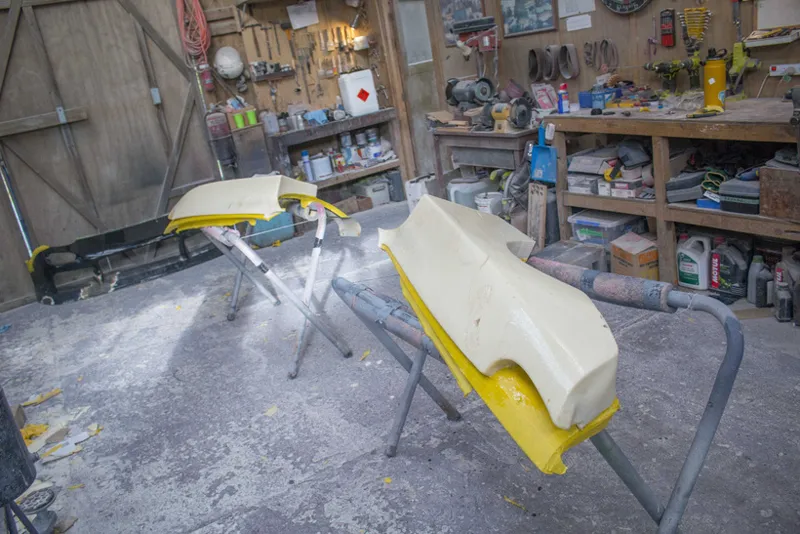
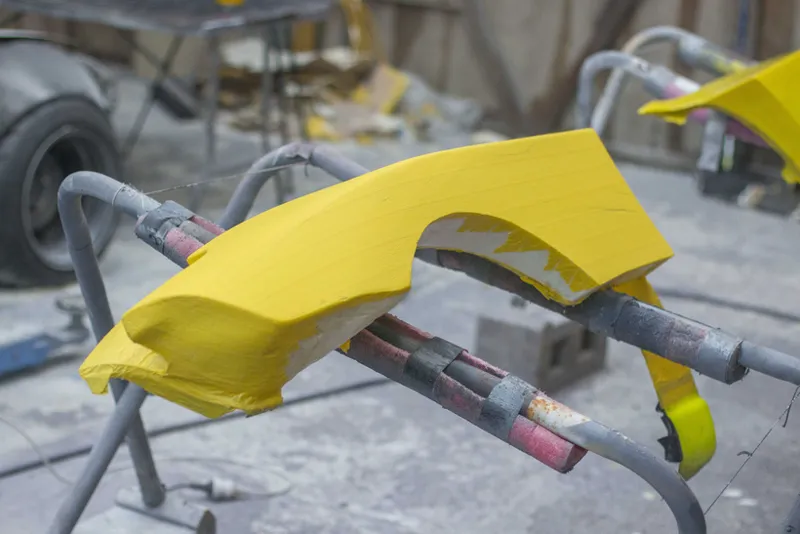
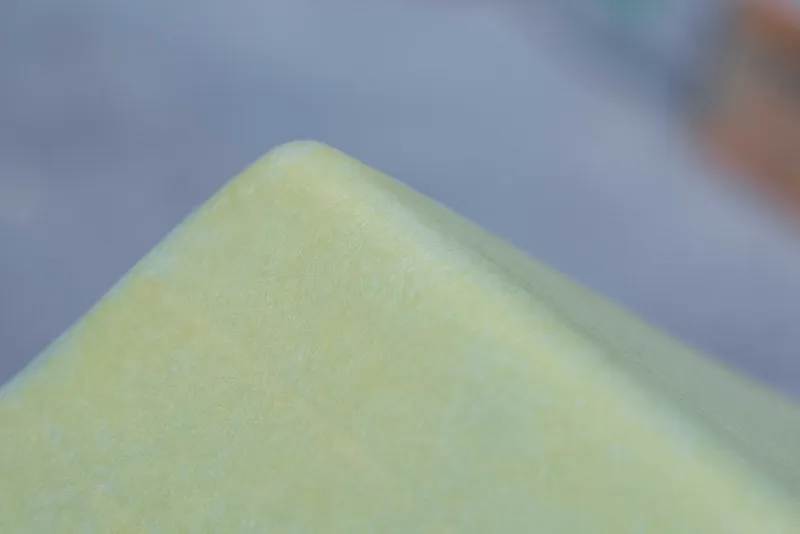
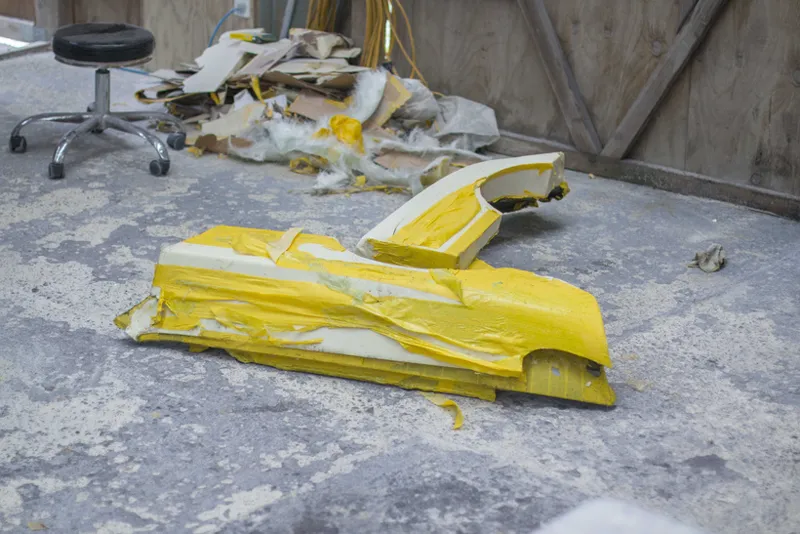
In order to lay the fiberglass over the foam you'll need to seal it so that the fiberglass part doesn't stick and can be removed after. To seal the foam the best method is to coat it with resin and then once it has hardened, cover the whole shape in aluminium tape.
I didn't have enough aluminium tape so I just made do with my normal masking tape which worked perfectly fine.
I really liked how at this stage, the yellow tape made the fenders look like the JGTC Rx7 I was styling the design after.
To stop the fiberglass sticking to the tape, I put a thick layer of wax on top and let it dry without buffing it off, then sprayed a few light coats of PVA release agent on top of that.
Once the release agents had cured I started the fiberglass layup. For this I wanted to see if there was any difference between my normal method of laying one layer of 225 gsm, letting that cure fully, and then laying the following 2 layers of 450 gsm, and just laying all 3 layers at once.
I also applied a layer of 30gsm surface tissue over my top layer to absorb any remaining resin and give a nice smooth surface that wont give you splinters when you pick it up.
I will say though that laying it up this way was quicker and used less resin than the other method, which is probably better for optimizing the fiber ratio and technically producing stronger parts, but they were slightly thinner and more flimsy feeling. The normal method gives a quite nice and rigid parts while these were pretty loosey goosey until they were bolted to the car but then they became incredibly rigid as all fiberglass parts do.
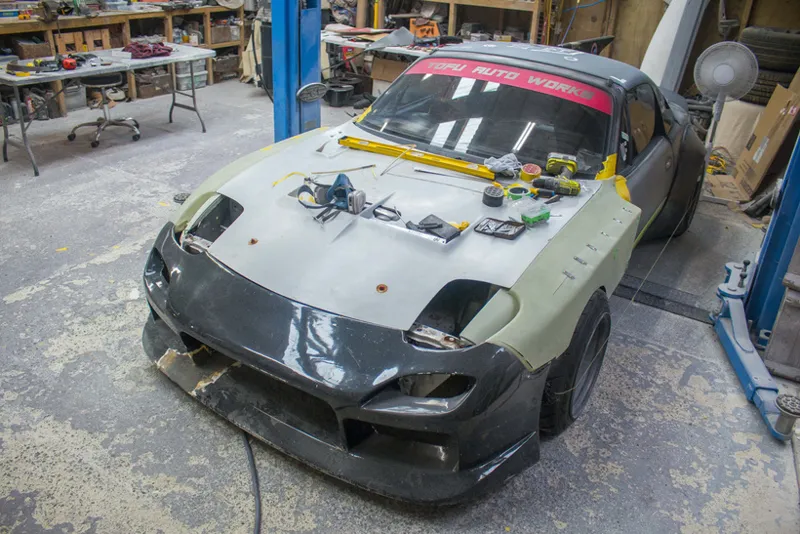
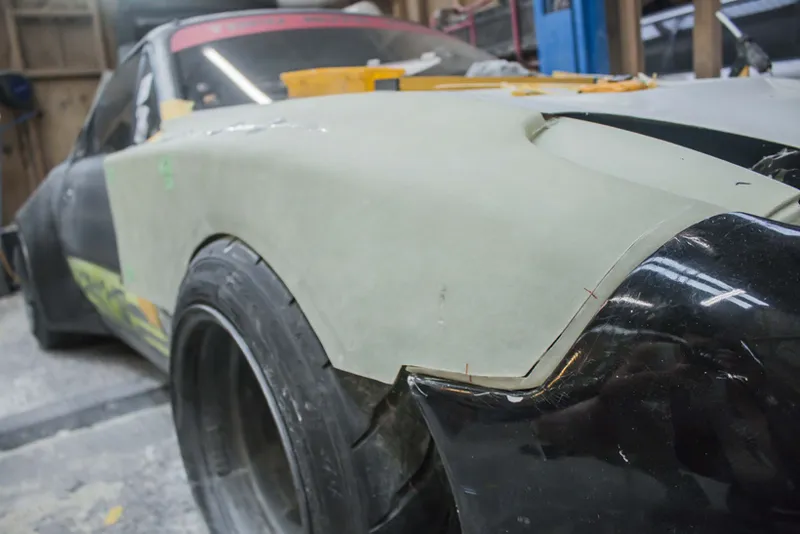
After trimming and fitting the parts it was just a matter of getting them aligned as good as possible and dialing in any panel gaps and fitment issues.
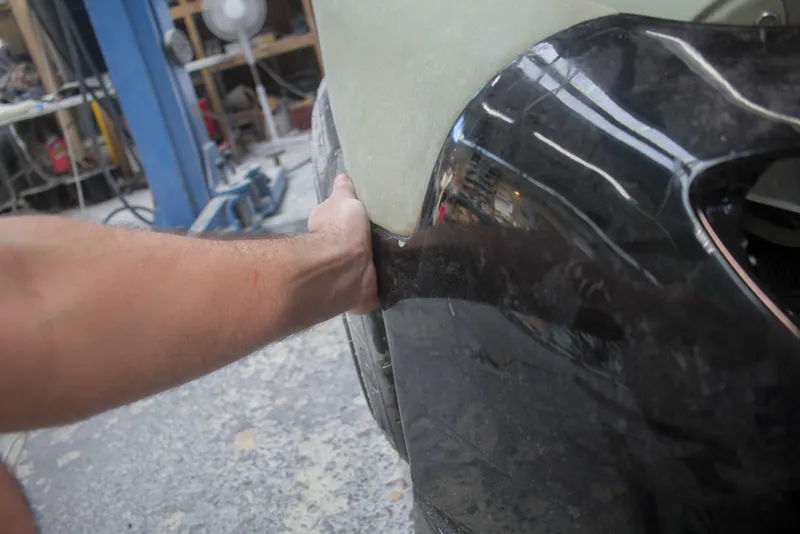
As you'd expect they weren't quite perfect, one of the issues I spotted straight away was how the join between the fender and bumper went out quite a lot and caused a < shape instead of a smooth line.
Fixing it was pretty straightforward and all I had to do was pull it in slightly, so I made a metal bracket that held them in place.
My builds are full of these little things, tiny details that basically nobody but me will notice and that's the reason it always takes so long, but how you do anything is how you do everything and even when I'm working on deliberately rougher builds like the Chimera, I still want everything to be to the same standards as the Stagea when possible.
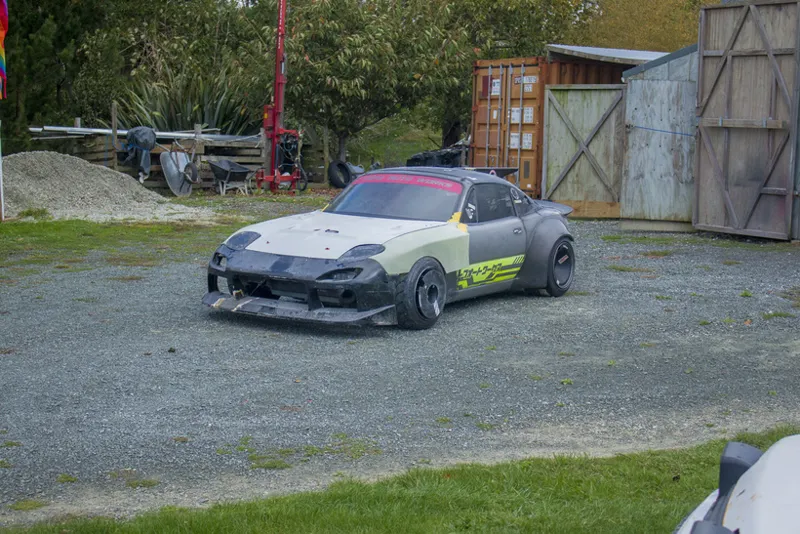
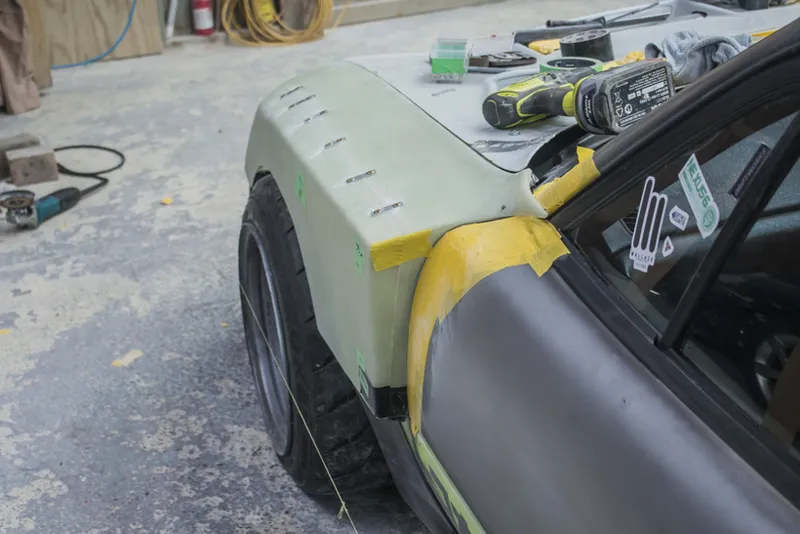
After rolling it out of the garage to get a look at it, I noticed a couple things I didn't really love. The wings kicked out more than I'd like and the way I had the bumper sitting while I poured the foam meant it was sitting at the wrong angle.
So I brought it back into the garage and trimmed the fiberglass until I was happy with the shape.
I used a stringline from the front and rear wheels and a spirit level to get the distance right on the wings and I ended up needing to trim over 20mm out to get them straight. In the end though it was actually really noticeable to me and a huge relief because just that small issue was really killing my mood on how they looked. But now that they're fixed I'm actually happy with how they're looking.
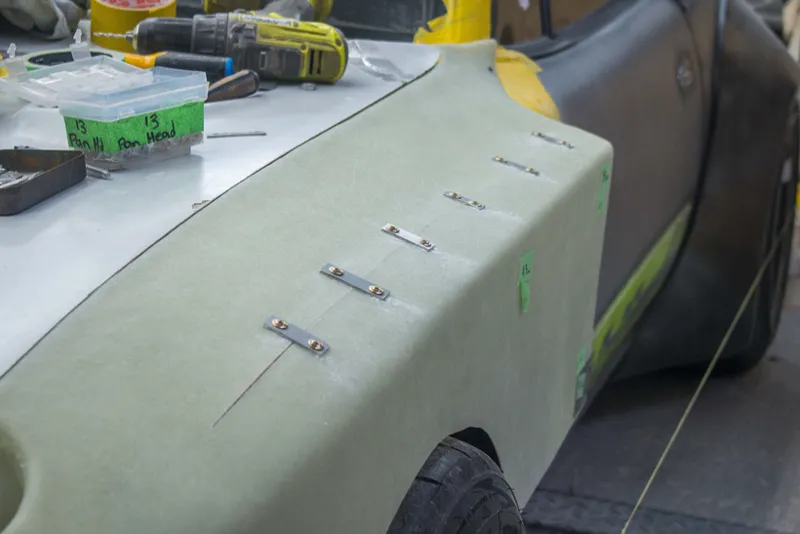
I also wanted to include all of this in the video because one thing that I hear a lot of people say is that they are afraid to cut fiberglass incase they mess up or want to go back, and I thought this was a good chance to show how easy it is to repair cuts in fiberglass.
The backsides of the repair were prepped for new fiberglass. I used screws with those metal tabs to hold everything in place, and then hot glue to fill it all in and stop any resin leaking through. I like using hot glue like this because it peels off the fiberglass really easily but it also adds just a little bit of extra rigidity which helps.
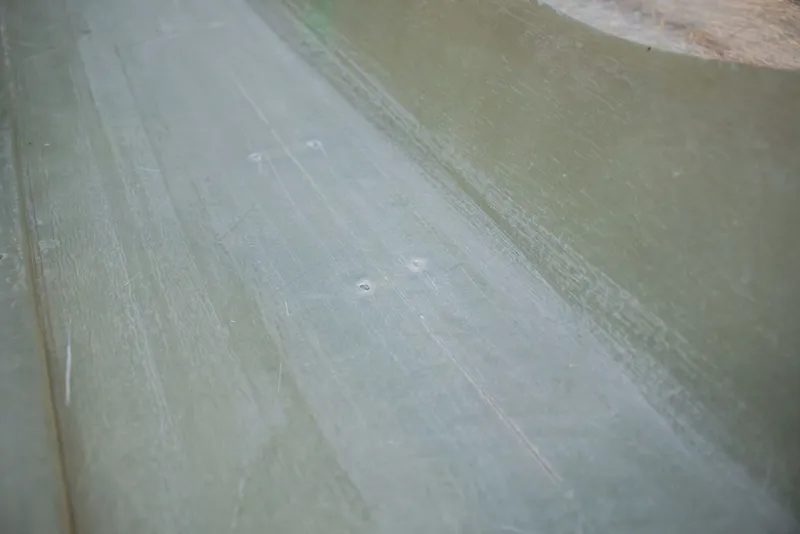
To prep for fiberglass the exposed screwheads were ground off, my trick for this is to not cut them off one at a time because then they will get hot and burn the glass and cause the remaining screw to loosen, instead cut a little bit of each one and move on to the next, doing this keeps them cool and keeps the part nice and tight. After that I always like to grind away the join slightly to feather in the repair. I sand / grind the edges until they are almost paper thin and then when applying my glass I will use 2 - 3 layers of 225 / 450 and make each layer slightly wider then the last, so a thin strip right on the join, covered by a slightly wider strip that goes maybe 2 - 3 cm past on each side, then a wider one another 2 - 3 cm. This gives a nice feather to the repair and makes it almost unnoticeable on a finished part.
Once that's all done and we're ready to apply filler, I always grind out the holes and the cut so that all the fiberglass is nice and smooth which helps stop any of those from showing through the body filler, then lastly the entire part gets coated in filler.
With all body work, the aim is to have as little filler as possible and so the closer you get your foam the less filler you'll need. Because you're always aiming for barely any filler, what I used to do was apply thin layers to the whole thing, and then be constantly sanding through layers as I'd run into low spots and need to apply more. I don't mess around now and I will just put one extremely thick layer all over and try and get my sanding done in one go. The more layers of filler you have the more varying hardnesses there are and it just makes sanding a nightmare so if you can do it all in one then you will save yourself a lot of time.
And because you guys are so awesome, here is another sneak peek / mockup from the parts bin
I cant wait to finish up the front and start working on the sides and rear of this thing. It is in some desperate need of balance with how heavy the front end is feeling now.
Comments (4)
Are the rear flares going to change to be like the fronts?
The fronts will be getting additional bolt on flares to match the style of the rears, and then both of them will be getting some extra aero pieces to bring the whole car together cohesively.
That thing looks awesome!
Cheers bro!