



Adventures in Sewing blog post - Facing Scallops
From the MrsDepew.com blog this weekend:
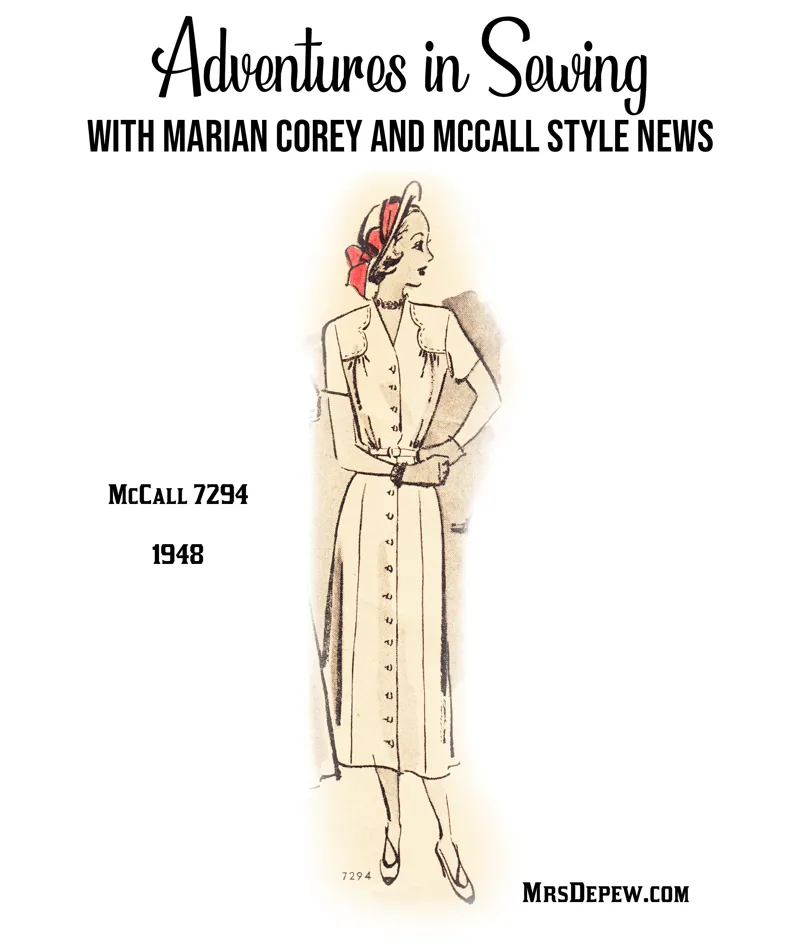
In the late 1940s, the McCall Style News store pattern advertising leaflet started printing a sewing advice column written by Marian Corey. These columns usually featured a how-to lesson on one of the patterns advertised in the booklet that month.
These little articles were one-page features called Adventures in Sewing and they were so popular that McCall's eventually hired Marian Corey to author their own sewing lesson book (a brilliant marketing move that Butterick had first created with their 1911 book, The Dressmaker). In 1951 the "McCall's Complete Book of Dressmaking" was published.
But before that, there was just the monthly nugget of sewing help gold tucked between sewing pattern advertisements in McCall Style News. I have recreated the page from June of 1948 for your use, should you ever find yourself needing to work with scallops or McCall 7294 from 1948.
"Facing Scallops by Marian Corey:
The easiest way is to put material, facing and tissue together, and stitch through all three at once.
Suppose you are making Dress 7294 on page 10. The yoke scallops are faced before being stitched to the bodice. The yoke is then stitched on a little way back from the edge, giving a tuck edge. Proceed as follows:
1. Cut out the yoke - either cutting around the scallop outline or else leaving a margin around the scallops. Take off the tissue.
(Please note that when working with a vintage pattern, you should always use a TRACED copy of your pattern, and not the original for a step like this!)
2. Cut the facing. But first, make sure that you have laid the facing pattern down on the wrong side of the material (if there is a right and wrong side to your fabric). Cut the scallops of the facing as you did those for the yoke. Leave the tissue on the facing.
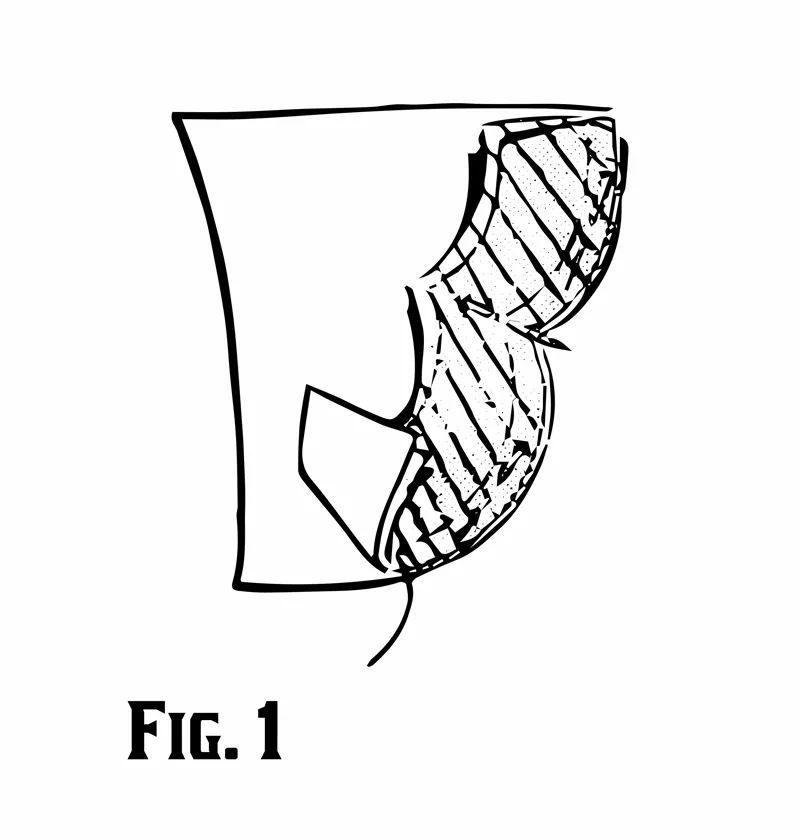
3. Put the facing to the yoke, right sides together, with the tissue on the outside. Pin all three together. The best way to do this is to pin the point of the scallops together first, and then pin the curved edges. See Figure I.
4. Baste, then stitch right through paper and material, following the outline of the facing tissue.
5. Tear off the tissue. Press.
6. Now trim the seam edge down to quarter inch width, and start notching it as in Fig. 2. Put one notch deep in the corner of each scallop and 4 or 5 more along the curve. (the corner notches have to be deep or the work will pucker when you turn it - take care not to cut into the stitching!)
7. Turn the work to the right side. Fix the corners first, putting a pin in each to hold the work firmly. Baste all the way around again. (Baste with silk thread to avoid marks when pressing.)
8. Press again. Remove basting. Finished!"
I hope that you find this as useful as I have when working with scallops.
Happy sewing!