





How to Use a Vintage Kaumagraph Transfer Pattern
In last month's blog post, I discussed at length how McCall and the Kaumagraph Company collaborated to manufacture hot iron embroidery pattern transfers for a decades long pattern partnership.
For today's post, I wanted to share more about how to actually use vintage Kaumagraph patterns.
For our purposes, it is always the very best practice to trace and use a copy of an original vintage pattern. This way you can protect and preserve your vintage pattern for the next generation to appreciate.
However, I know that is not always possible or preferable, and again, it is after all, your pattern.
That said, just look at this little beauty. I found this extraordinary pattern unused, and when I was ready to embroidery something with this darling little goldfish design, I first traced a copy of the original. Some day, this pattern will still be intact for perhaps my goddaughter or nephews to enjoy in a few decades.
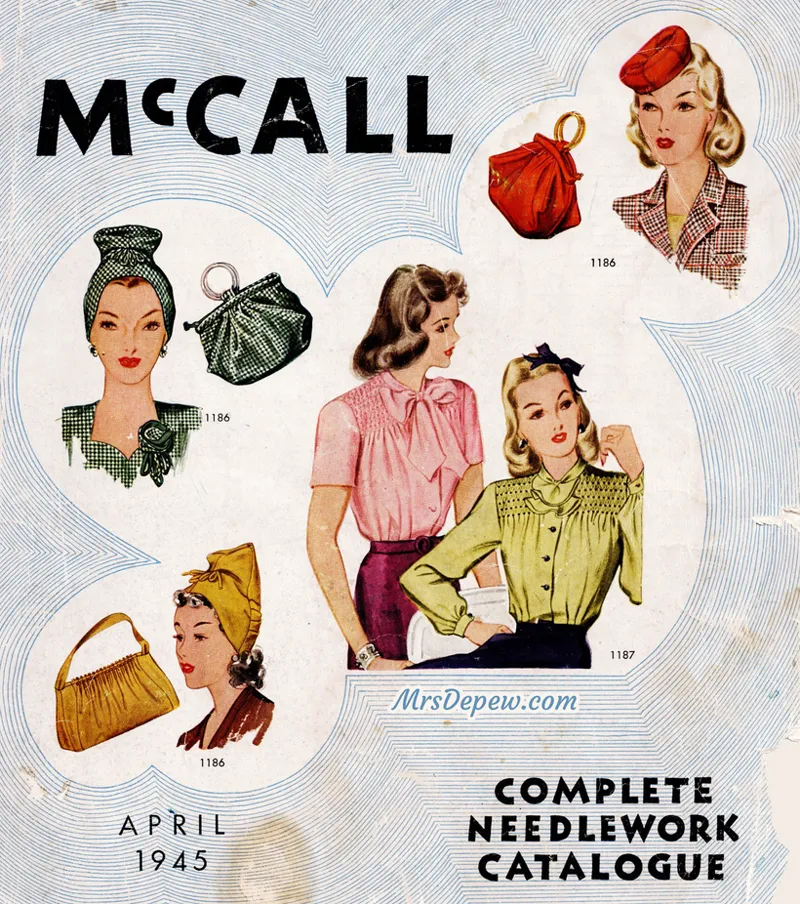
To start, I want to share this helpful tutorial from the index page of my April 1945 McCall Complete Needlework Catalog. If you would like to learn how to use a traced copy of your vintage transfer pattern, scroll further down for more on that!
How to Use The Original McCall Kaumagraph Transfer Patterns:
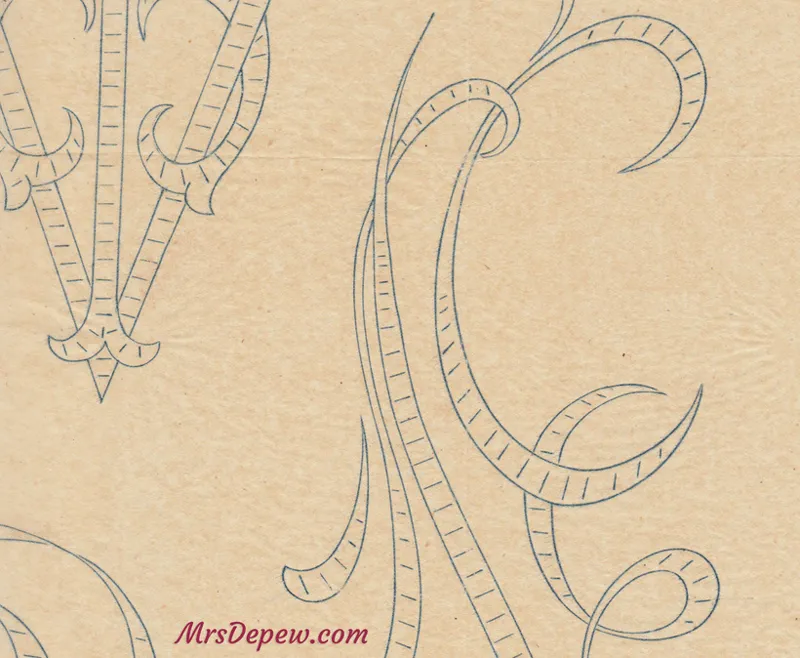
"The transfer patterns printed in blue will show on white and medium colored materials. The designs printed in yellow can be successfully used on dark materials as well as on white, yellow and other light colors, with the following exceptions. When using light red, light gray, coral and shades of light green, it is advisable where possible to use a blue transfer. The yellow will show on these colors but not as clearly as the blue.
The first step in using a transfer is to cut away from the pattern, the name, number and any part not desired. Then with a knife, remove any specks that may have flaked off the design in handling, and shake to remove any loose particles. Lay material to be stamped on an ironing board or any slightly padded surface. Lay the design with rough or printed side down on the material, pin or baste carefully in position so it cannot slip in the stamping. On most materials the stamping should be done with a quick up and down motion of the iron. Do not slide the iron along the transfer as in ordinary ironing. Before stamping it is advisable to experiment first with a piece of the transfer on a sample of the material that is to be stamped. A clear stamping depends entirely on the heat of the iron. Some materials require a hot iron, while others take a cooler iron. See paragraphs following.
To Stamp the Jersey Materials. When the iron just reaches the sizzling point, disconnect it (if electric) and stamp your design. This temperature is correct for the jersey materials. If the iron is heated to a higher temperature, the design will spread on silk and stamp only faintly on wool. Transfer design with a quick up and down stamp of the iron. If the lines of the design leave too heavy an impression to be successfully covered by the embroidery, place a piece of thick smooth wrapping paper or a clean piece of blotting paper over the stamped design, and press with a medium hot iron. This will absorb some of the excess stamping.
To Stamp Wool. Use a hot iron (not scorching). When the iron is the correct temperature disconnect it (if electric) so it will not become hotter.
To Stamp Cotton Material. Use a hot iron, never allowing the iron to reach the scorching point.
To Stamp Sheer Materials. On transparent material it is often advisable to stamp on the wrong side of the material, using a medium hot iron. The design will show clearly enough on the right side to embroider.
To Stamp Velvet. Use a hot iron (not scorching) and slide iron lightly over the transfer. Do not allow the weight of the iron to remain on the transfer as the imprint of the iron will show on the velvet. If the nap is pressed down, it can be steamed up as follows: wet a heavy piece of muslin and wring it out thoroughly; lay this on the stamped side of the velvet, then move a hot iron over it a little above the cloth (not pressing it). The same process may be used on material which shines from the ironing.
To Remove Transfer Stamping. After embroidering, if the outline of transfer shows, it can usually be removed in the following manner: For wash fabrics, use a good laundry soap, warm water and rub with the hands. Continue rubbing until all the transfer disappears. For woolens. Place the stamped material right side up on a clean piece of blotting paper, and rub gently with a clean cloth or a piece of the same material well saturated with naphtha or benzine**. When the cloth becomes discolored from the transfer, saturate a clean portion of the cloth and continue rubbing until the transfer has completely disappeared. For wash silks or rayons. First soak the material in naphtha or benzine for about five minutes, rubbing the material carefully. This will loosen and spread the transfer over the material. Now wash the material in lukewarm water and pure soap, rubbing the material carefully until all the transfer has disappeared. Then rinse in clear water, continue rinsing until material is clean. After washing spread out the embroidered part, and if necessary push any stitches in position that may have been disarranged in the washing. Place material wrong side up on a padded surface, cover with a damp cloth and press, using a medium hot iron. It is almost impossible to remove the transfer from white and light colored silks and rayons that are not washable, however, the following method is sometimes successful: soak in naphtha or benzine for about ten minutes, then rub carefully until all the transfer has disappeared. Rinse in clear naphtha or benzine until silk is clean, allow to dry, then press."
**A modern and much safer alternative to naptha and benzine is odorless mineral spirits. These can often be found in larger quantities at most hardware store paint sections. However, smaller quantities can be find at most art supply stores, look for Gamsol or Mona Lisa Odorless Paint Thinner. Gamsol is also safest for using on vintage fabric.
">
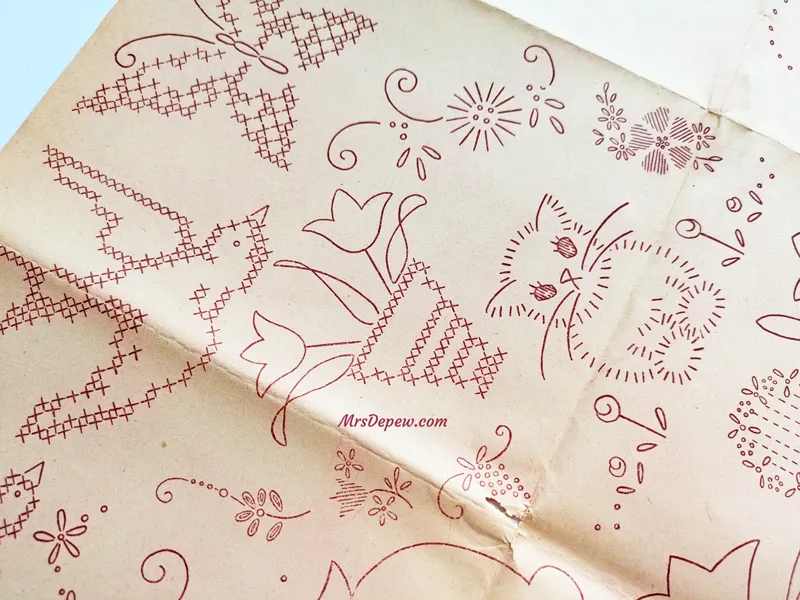
It is also important to note that vintage Workbasket transfers like the red one pictured above are not designed to be washable. It is assumed that the red will be covered by a thick enough strand of embroidery floss. If you find that you need to remove it, you may have some small luck with the method given above...
How to Safely Copy and Use Vintage Hot Iron Transfers:
And now on to how I like to make use of my vintage transfers without harming them!
Each of the following options depends on your budget, how many transfers you want out of each design, and how much use you might wish to get out of them for more projects down the road.
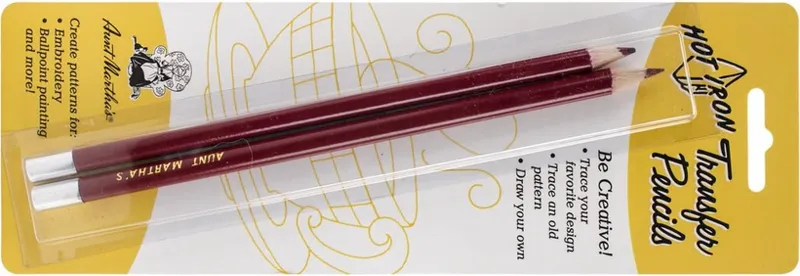
The most affordable transfer preservation method is to trace over your design onto a piece of tracing paper with Aunt Martha's hot iron transfer pencil.
These are great little pencils and come at a painless price point, but you have to keep them quite sharp as you trace or the lines can get rather thick when transferred. However, this red color is still the hardest to wash out, so keep that in mind when using. These are available at Amazon, but also at Michael's and Hobby Lobby.
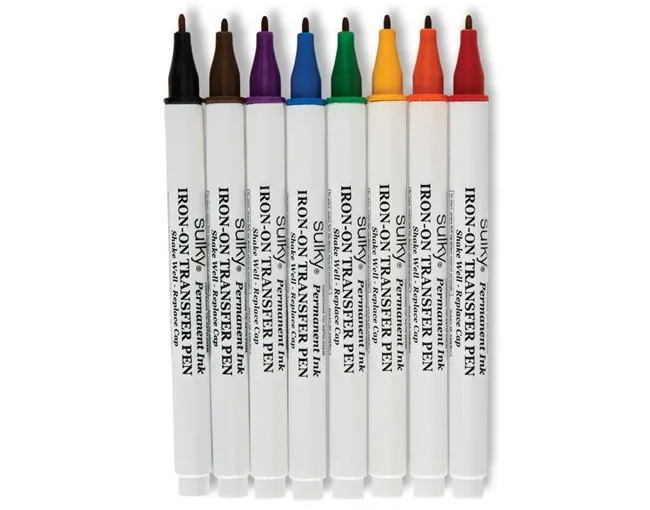
Another option are these handy Sulky Hot Iron Transfer Pens. They are on the pricey side but if you like to embroider often, they can be a great purchase. The best place to find these is online at Wawak.
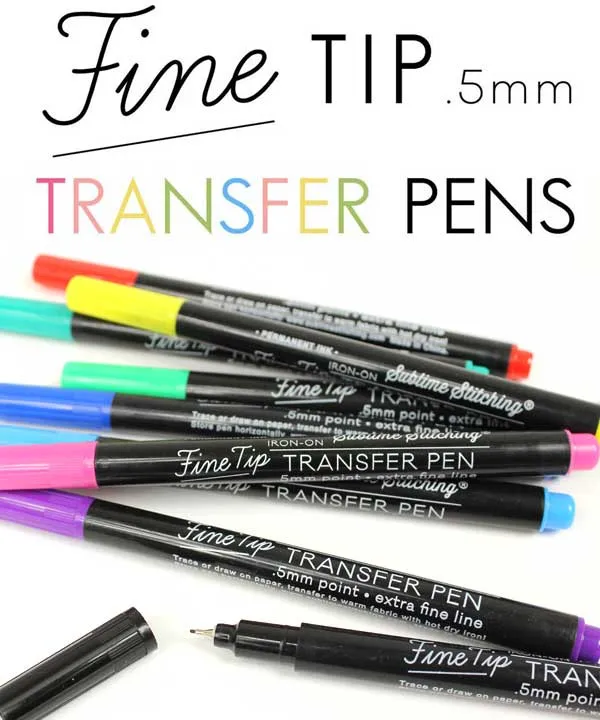
By far though, my favorite transfer pen is the fine tip transfer marker designed by Sublime Stitching. These are great because the fine tip allows for really clean, precise lines for delicate embroidery motifs. These are also really nice for just drawing out a design on something you feel like embroidering - that is, if you are good at free-hand...
I hope these help!
Happy stitching,
Anna
Comments (1)
Have you ever seen a legend for what the markings for stitches are? I have several 1940's/50's bucilla linens that have been pre printed. I can choose my own stitches for the designs, but I'd love to know what they originally meant for them.