
Early Release: RoboRattler!!
***THIS FILE IS NO LONGER INCLUDED FREE WITH SUBSCRIPTION.
Use the member's 50% OFF discount code if you want to purchase it.
Hey Everyone!!
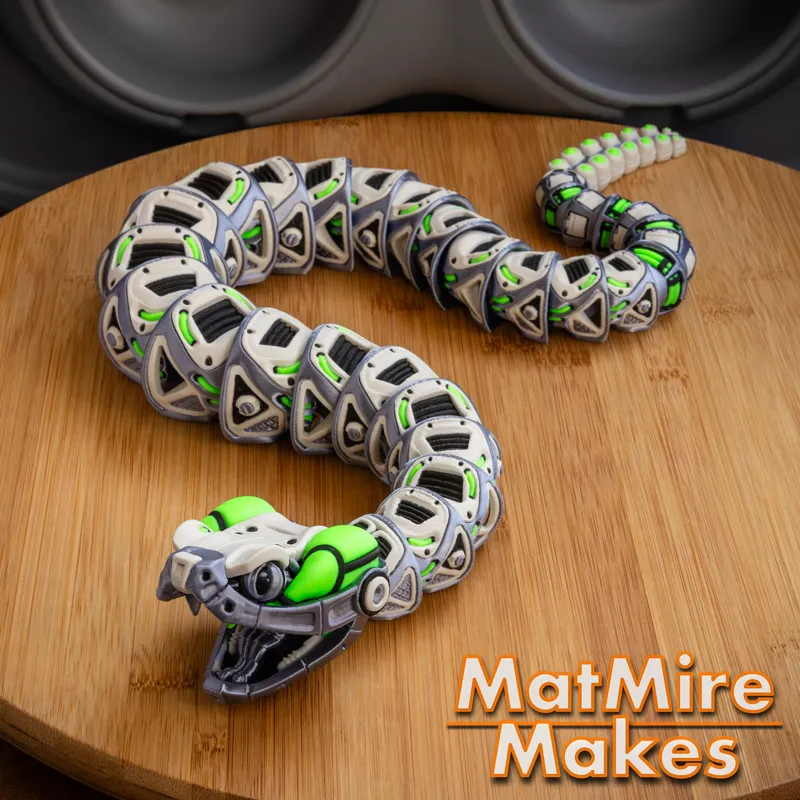
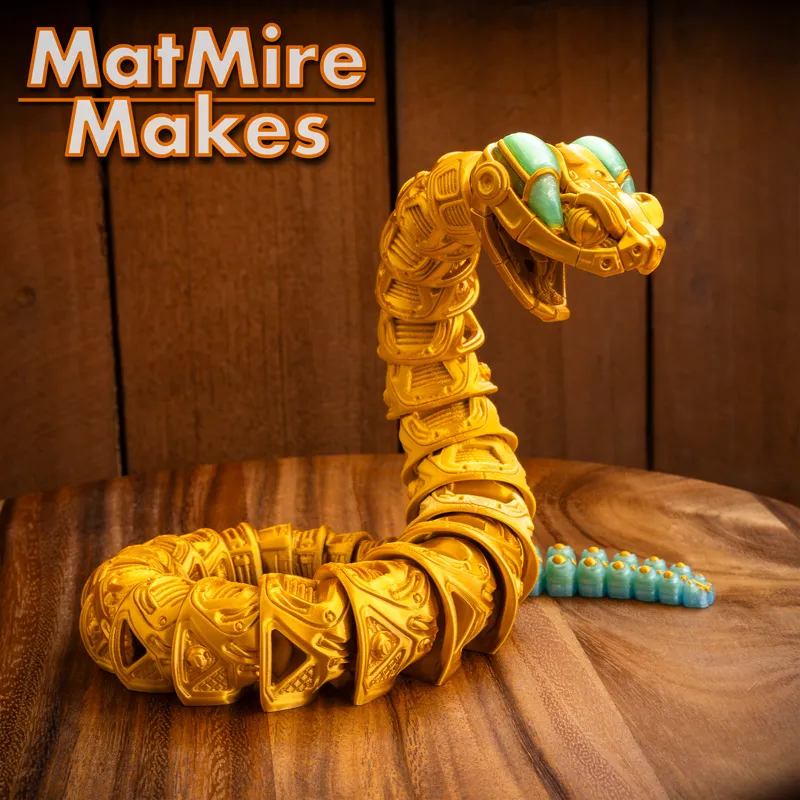
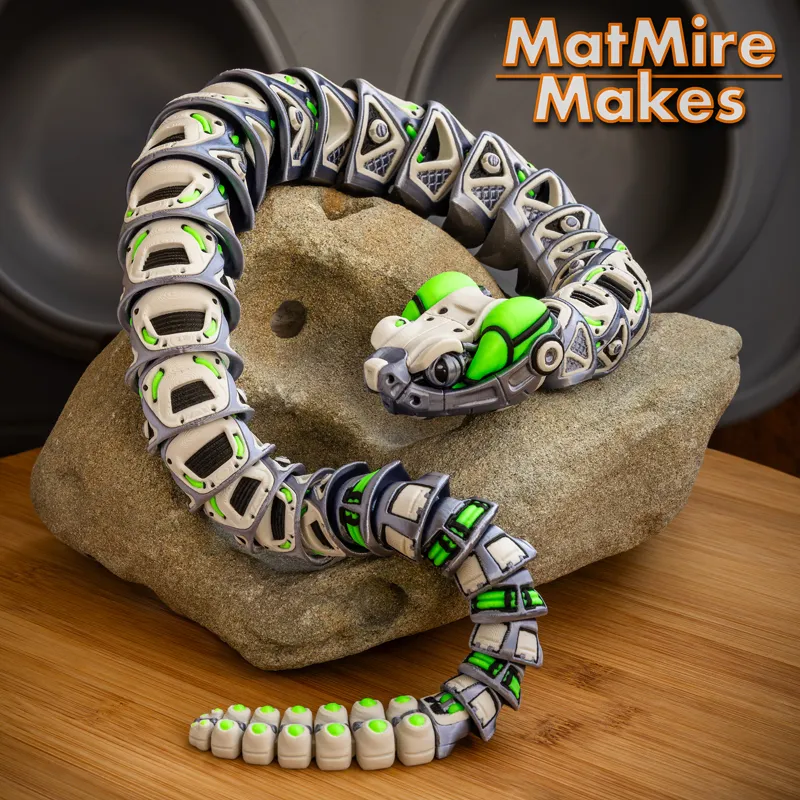
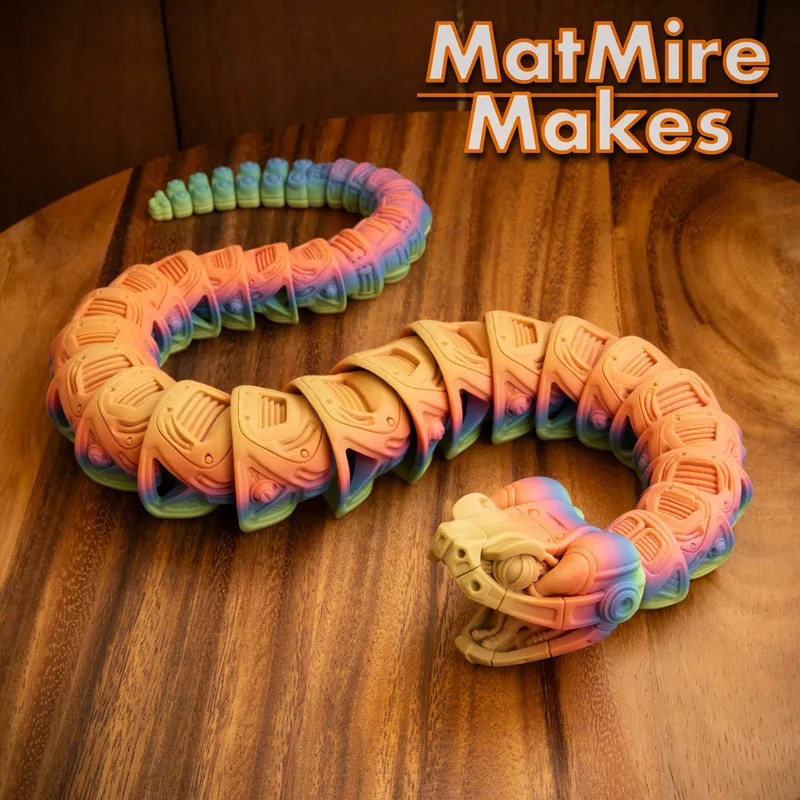
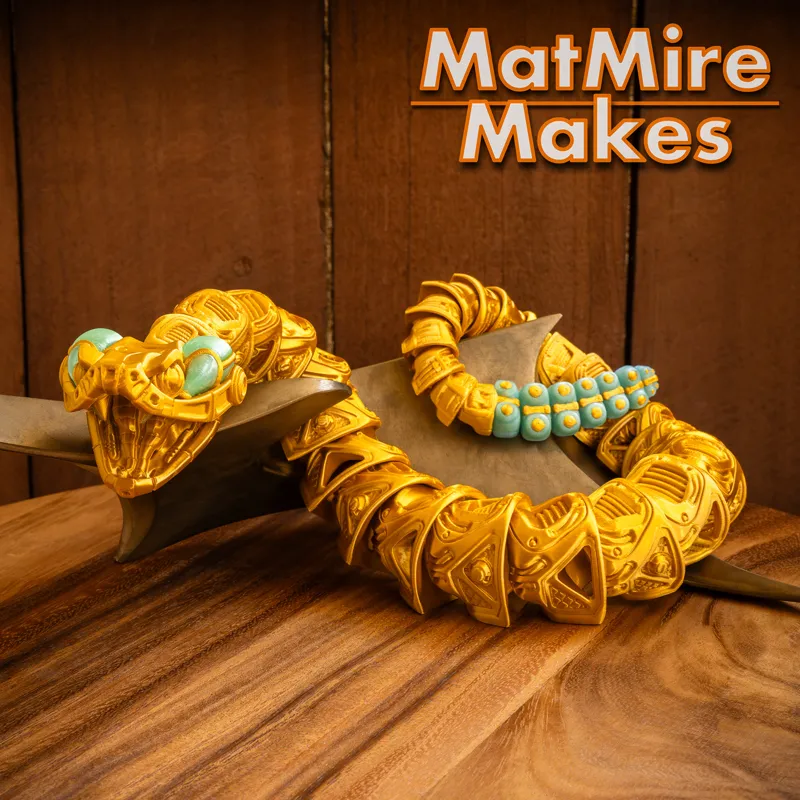
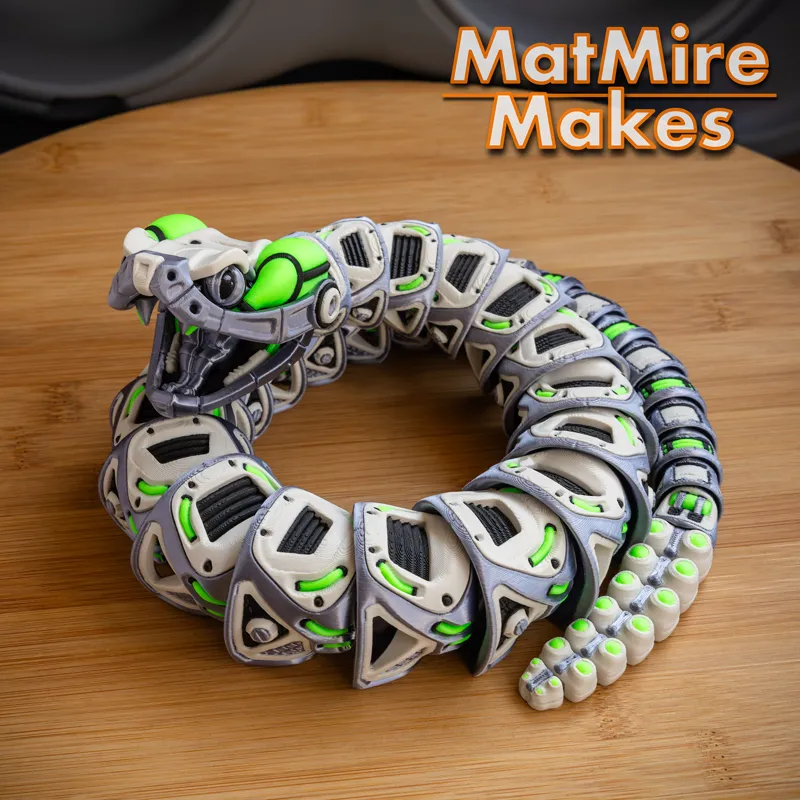
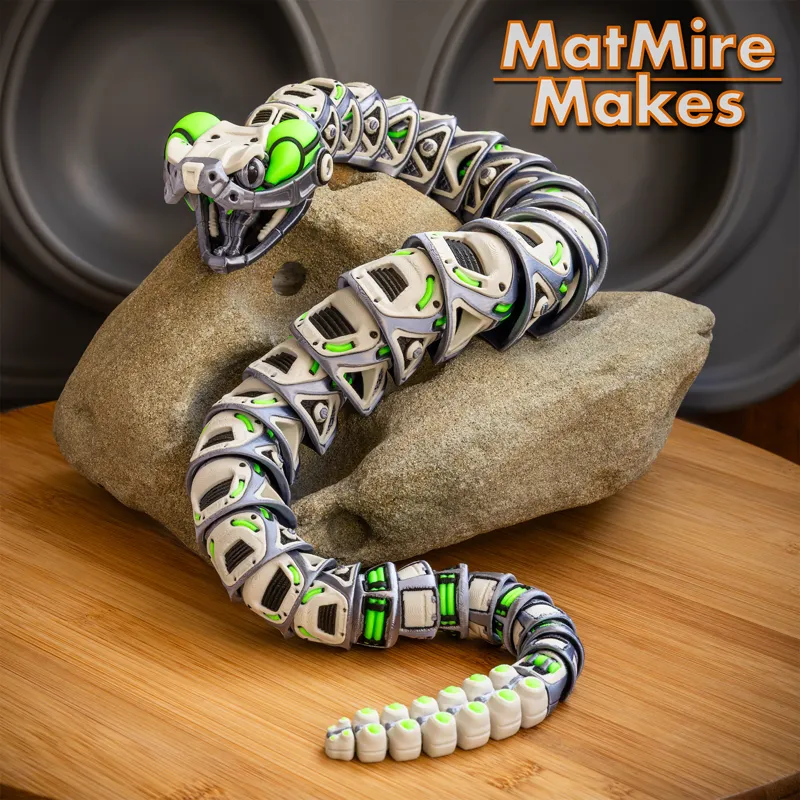
Introducing The RoboRattler!! I've been doing a robo design every year to celebrate the start of my MatMire Makes adventure. These are always a super-fun and challenging exercise. This year I decided to make a robot rattlesnake to mark my 3rd anniversary! I latched onto this idea that the RoboRattler's venom was both a defense mechanism and it's fuel. So, not only does it have the venom sacks on its head that lead directly into the fangs, but it also has venom tubes running through its body and into the rattle. It's fun to play with different fluorescent or translucent filaments for different venom effects. :)
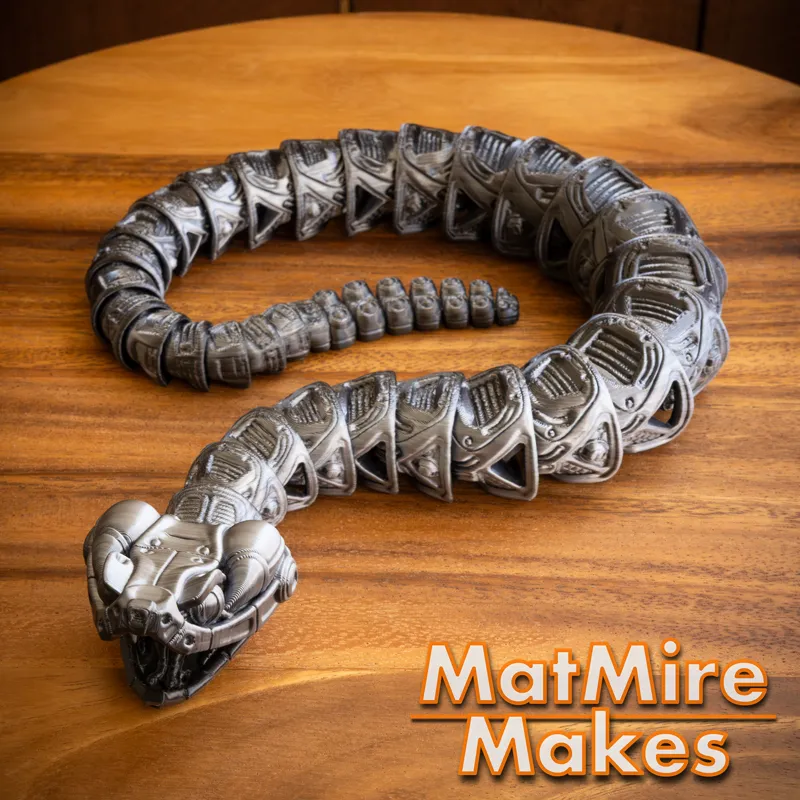
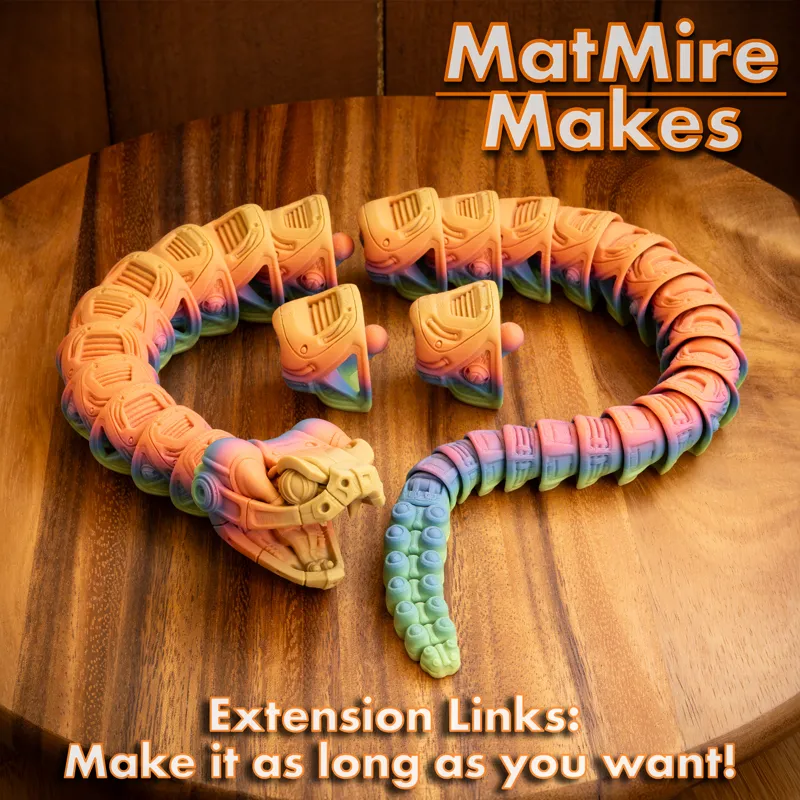
Like my other snakes, it features body extension links to extend it's size as much as you want (at 100% the base length is 25" and each extension adds about an inch). It also has a working jaw and rattle. See this assembly video on how it all works... Here.
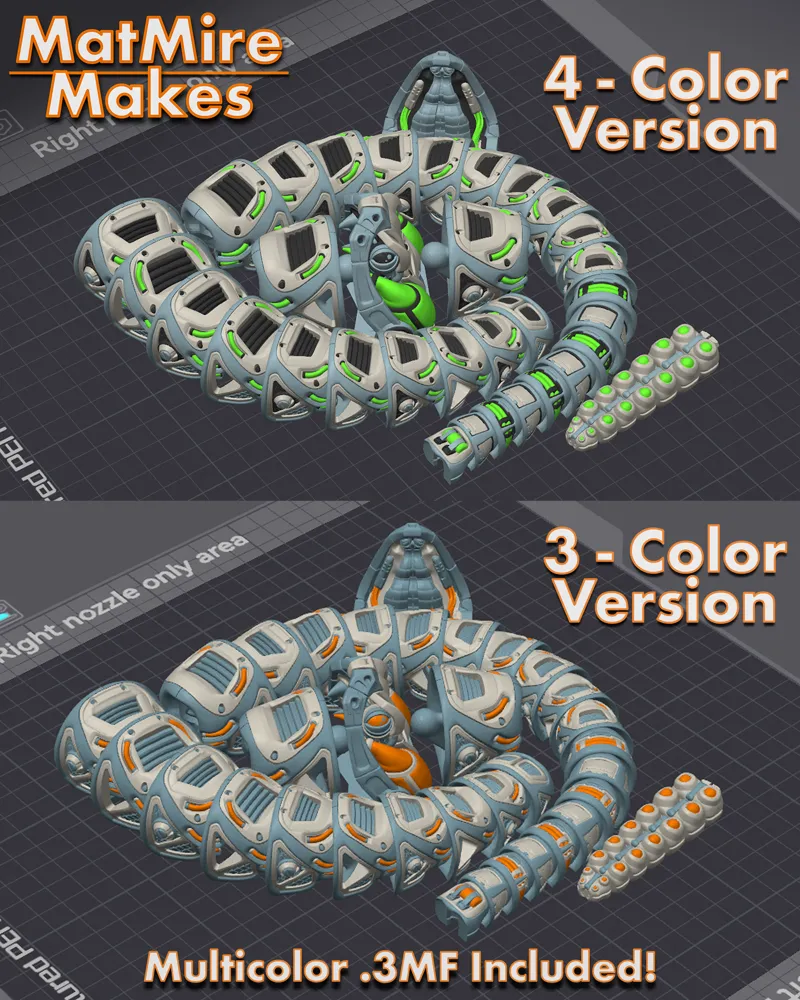
I'm also including multiple Multicolor 3MF options, 4-Color for more detailed coloring but longer print times, and 3-Color for print savings, but less color detail.
I hope you like it!
Matt
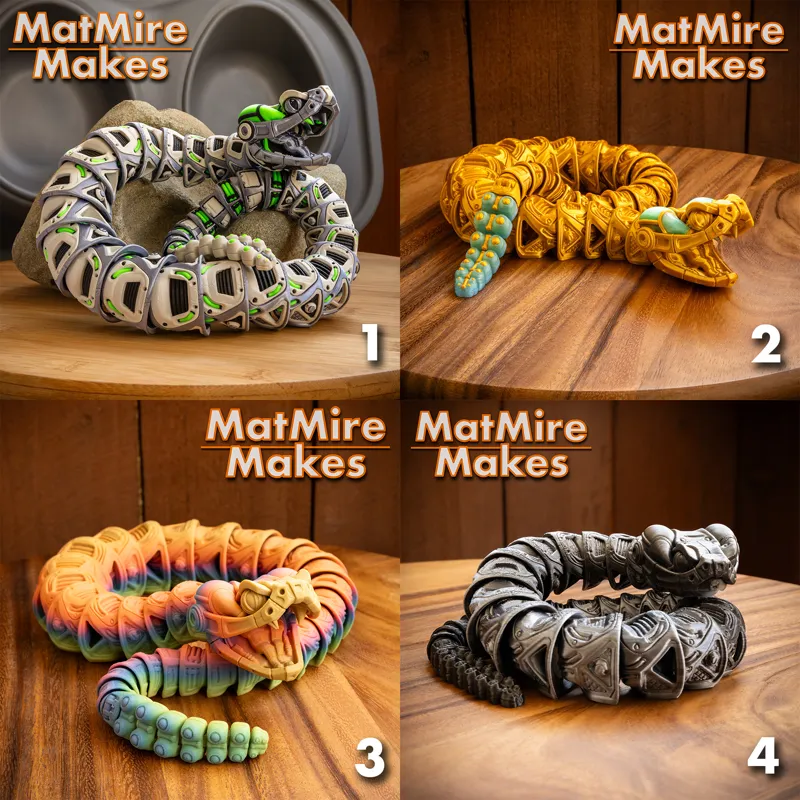
Pictured Prints use the following filaments***
1) Ziro Silk Silver Grey, Ziro Green Fluorescent, Charcoal Black, BambuLab Matte Bone White
2) Ziro Silk Gold, Ziro Summer
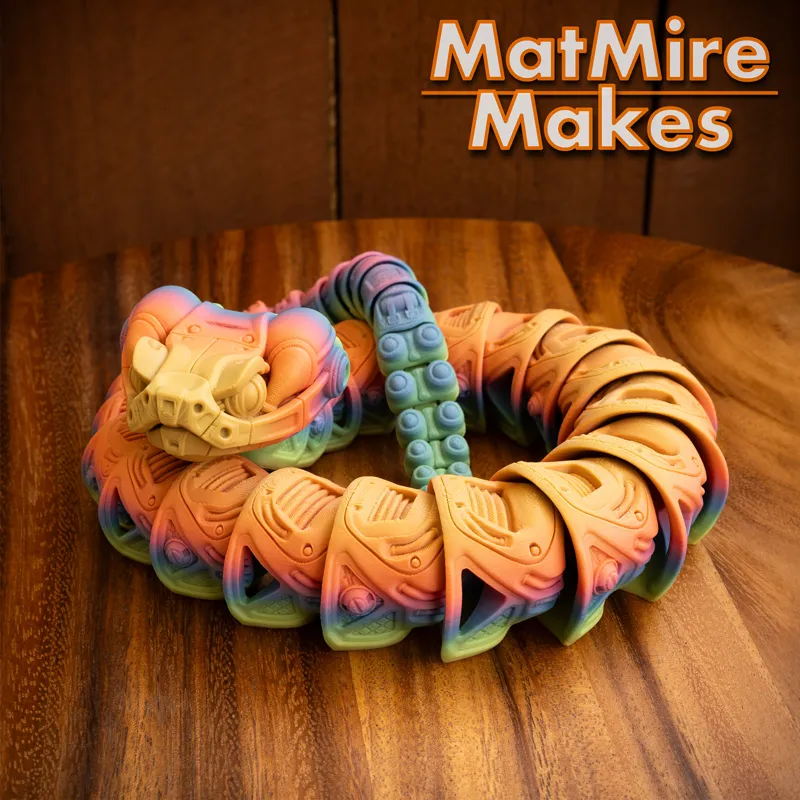
3) iSANMATE PLA+ Rainbow
4) Cookiecad Dual Granite Silk
*To Download: Click Here to go to the Pinned "the Hub - Info and Current Download Links" post
3D PRINTING SETTINGS:
Body (Front and Rear): Snap-Fit Together. Print-In-Place. No slicer supports
Head Top: Snap-Fit to Head Bottom. Pre-Supported! No slicer supports
Head Bottom: Snap-Fit to the Body Front. Pre-Supported! No slicer supports
Rattle: Snap-Fit to Body Rear. You can use a pointed object, like a pen, to push the rattle beads free and into the rattle. Print-in-place. No slicer supports
Body Extension A & B: Print-in-place. Add in-between Body Front and Rear to make the snake longer (Optional).
AllParts: All of the above in one file. Pre-arranged to fit tightly on smaller printer beds.
10% Infill.
3 Walls.
Multicolor 3MFs: Compatible with slicers based on PrusaSlicer, Bambu Studio, Orca.
4-Color: more detailed coloring, but longer print times and filament use.
3-Color: for print savings, but less color detail.This should generally scale down to about 75% with full articulation, on a well calibrated printer. Your mileage may vary.
*To Download: Click Here to go to the Pinned "the Hub - Info and Current Download Links" post
***Paid Links. As an Amazon Associate I earn from qualifying purchases.
Comments (38)
Need some help. Printed find on my A1. Switched profile to U1, snake printed fine. Bottom jaw, connector on the back seems stuck. Printed 3 times now and breaks when I try to "unlock" it
Is there a way to print and separate that one part/section and if so would that work as a solution to that problem
Hi they came out awesome except one had issue at end of tail before rattle. Is there a way to only print the last link in the tail just before the rattle? It looks like they are sectioned in connectable parts but the exposed end has a male post and needs to have a female insert along with the email insert on opposite end toe receive the rattle?
I absolutely love this print and just finished it. The head is super loose and just falls off constantly. Any tips for keeping it on tighter? It's been off the print bed for not even an hour and it's just constantly falling off. I didn't have this issue with the regular rattle snake.
I was traveling and could not download this one. How can I do it ?
If you've been redeeming your monthly MMF shares (info in your private messages), you should be able to redownload your past earned files here... https://www.myminifactory.com/library#/shared-with-me
Thanks for the replies and help. Really appreciate it. I'll check everything out.
Is anyone else having problems figuring out how to put the head/jaw together? If someone would show a photo of the back side of the head, which parts are support or to be removed and instructions on how to put it together and have the jaw open, would greatly appreciate it. Thanks.
Hi! Did you see the demo video at the end of the second paragraph in this post? It shows the assembly.
My brother let me borrow his 3D printer that he’s had for years, and even he was blown away when I printed this! Amazing design!! My kids are obsessed with it!! Fantastic work :D
This looks so amazing yet out of 4 prints with 3 different machines I have only had it print without issue once. Not sure what I am doing. Less than 1% of my prints ever have issues but this one has kicked my tail. After 60 hours I am still trying to get a full size 4 color finished successfully. Edit: Became a member because of this model so I am determined to figure it out.
Thought of a piece that only Matt can make come to life “Robo mecha Chinese dragon articulating flexi”please see if you can make this be a real thing in your style
I became a member today because of this amazing piece 🔥🔥🔥🔥🔥🫡
Printed this yesterday. Came out great -kind of looks like Seahawks colors, lol
Anyone else having problems using silver as the base color, and it curling where it is bridging between the links? I've tried four times now, and it keeps hitting and knocking it loose. I've tried 4 times now with different build plates, cooling settings, adding glue, etc. The only thing I haven't tried is drying the silver, but I live in a low-humidity area (15-20%).
Maybe just dry it anyway. I've read that because the production process of filament involves water, some batches may be too wet straight out of the package. Some people always dry new spools, some just roll with it.
Made a single color one with ziro rainbow blaze filament and it looks amazing!
Out of curiosity, folks who are printing these to sell, how much are you going to price him at? Going by my normal formula, I'm getting around $70. Just wondering if that's inline with others calculations..
I get 60 for other specialized prints like these although my average for most of the larger are between 45-60. I also usually use around a 350% markup on most things to get my prices in line with other folks.. I also used some more expensive filament on this one.
Printed a purple shimmer gradient one and it came out so good! Absolutely stunning!! 😍
How many hours would this take to print on a Bambu A1 with 4 colors and how much total filament used including poop?
It's about 2 days and 15 Hours with 600g filament including poops
Got it. Thanks.
Cannot find the download file.
It’s near the top of the Hub post. If you don't see the link there, you might have to refresh your browser cache. Logging out and back in to Patreon usually works, or try typing Ctrl+F5 or Shift+F5 on that webpage
He’s awesome!!! Happy Anniversary!
Having problems downloading zip file on an android pixel phone using the app . Just will not start the download. Tried via chrome browser and the same problem ... Any ideas ?
Hmm, that’s odd. It’s working fine for me on the app but I’m on iOS. Do you have a computer that you can try on?
Ooh this will be a good one
These are amazing. Love the silver!
Stunning!!!! What’s the print time on the 4 color one?! 😱
Running PCTG Metal colors Gold/Silver/Copper with a neon green, you rocked this one, Thank You, and Happy Anniversary
Thanks!!
Happy Anniversary!!! You always knock it out of the park! I'm with you for many more anniversaries to come. 🥰
Thank you so much!
This will look amazing with metal filaments and glow pla for the venom sacks and tubes.
Fantastic job!! These are incredible and a great way to add variety to your catalog!
This looks awesome! I love your stuff!