
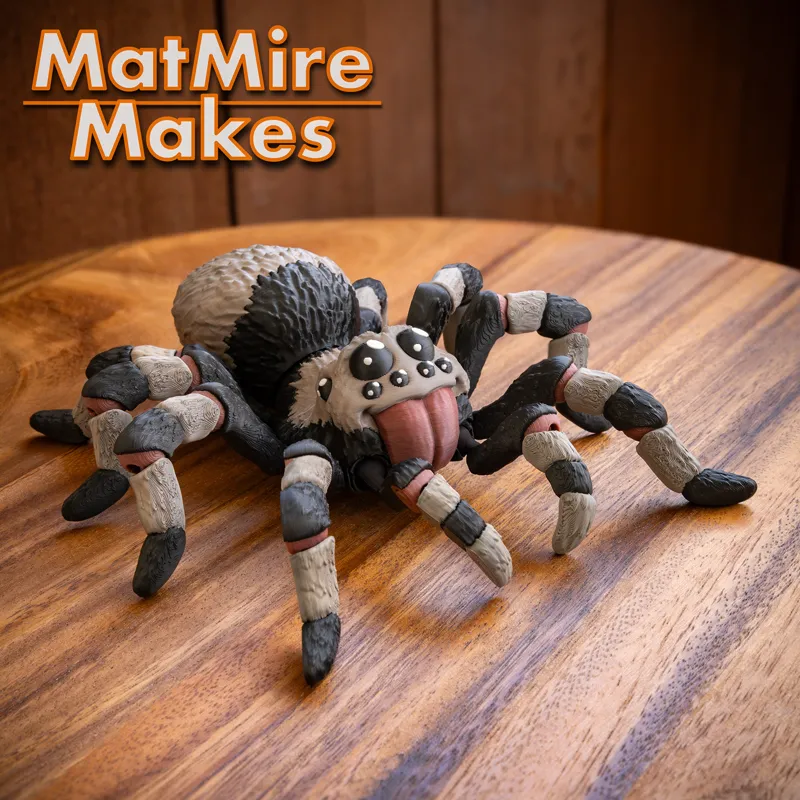
Early Release: Tarantula!!
***THIS FILE IS NO LONGER INCLUDED FREE WITH SUBSCRIPTION.
Use the 50% OFF discount code if you want to purchase it.
Hey Everyone!
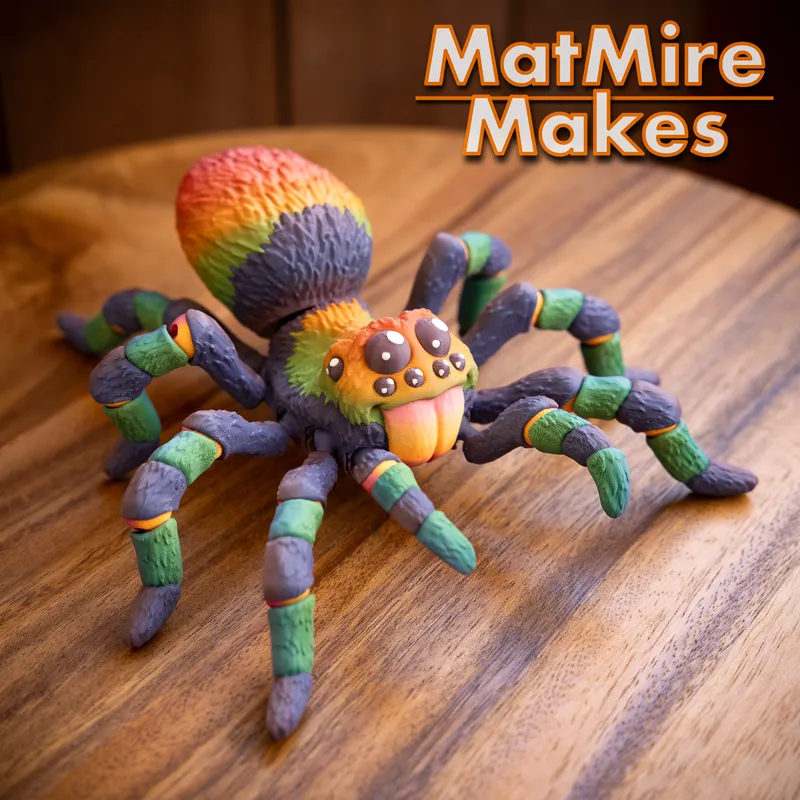
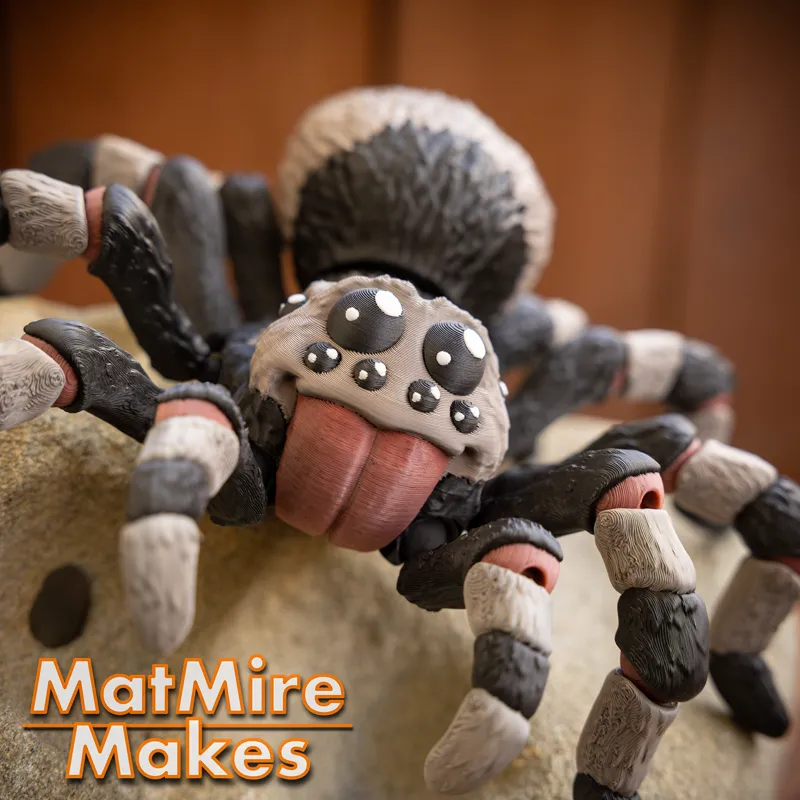
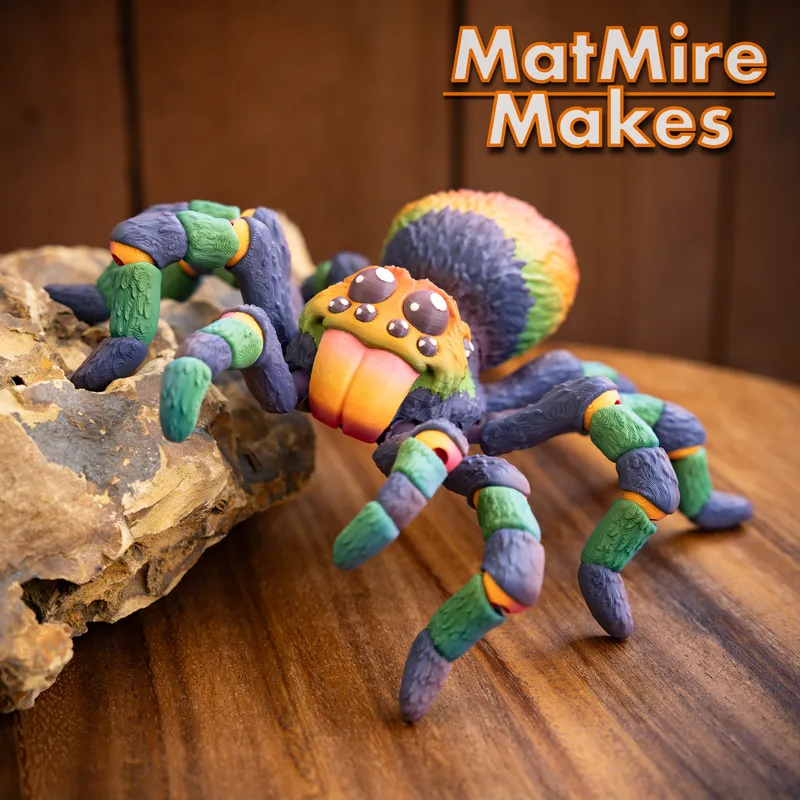
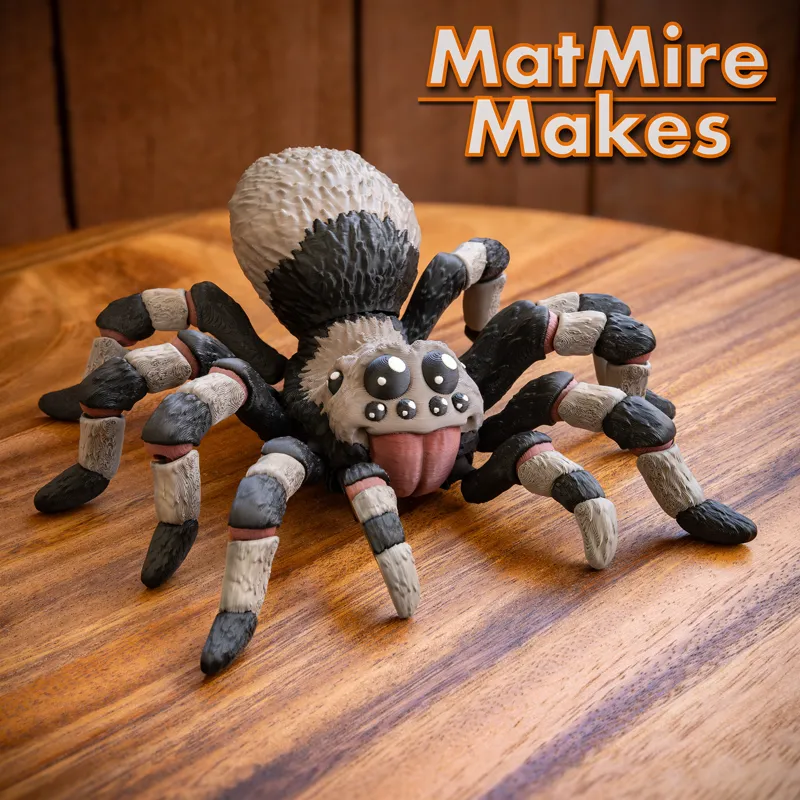
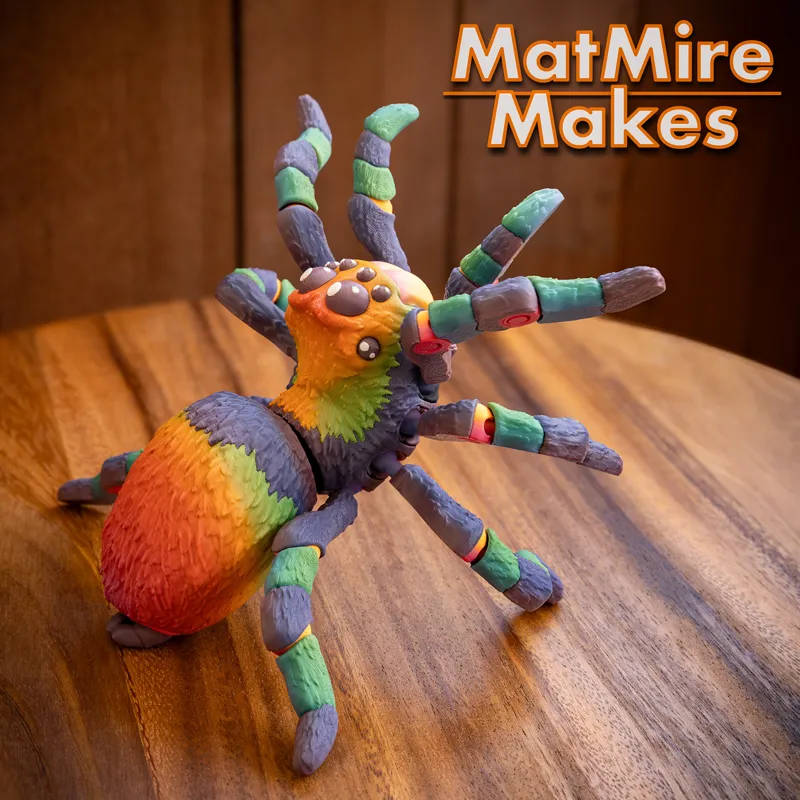
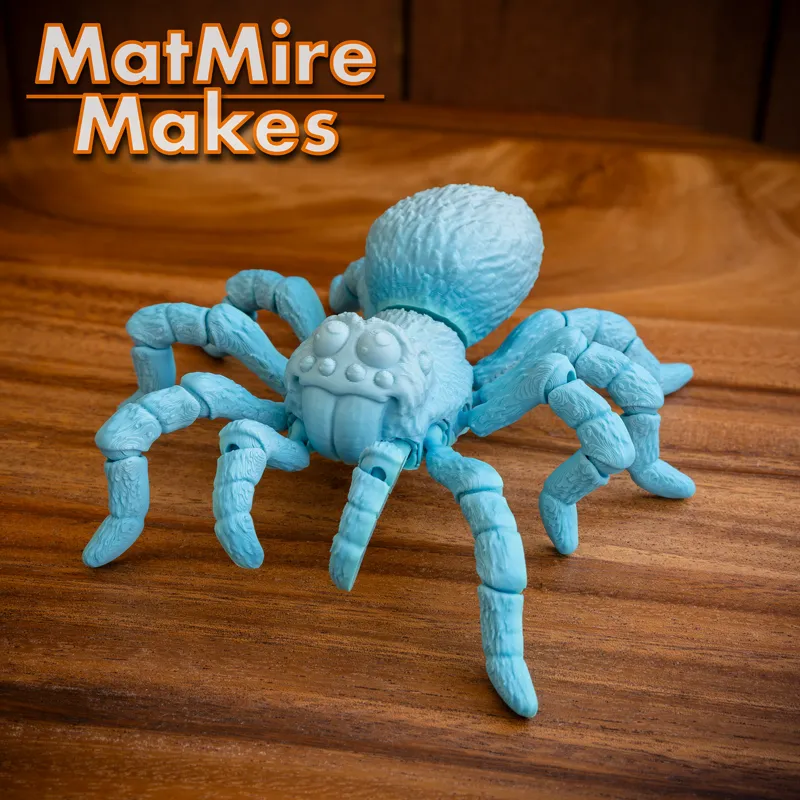
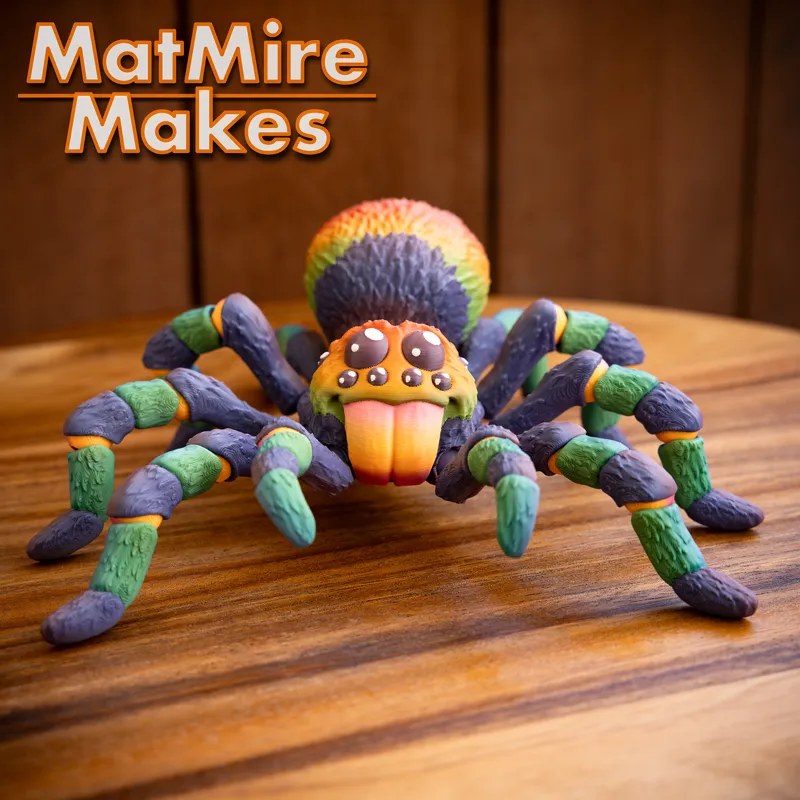
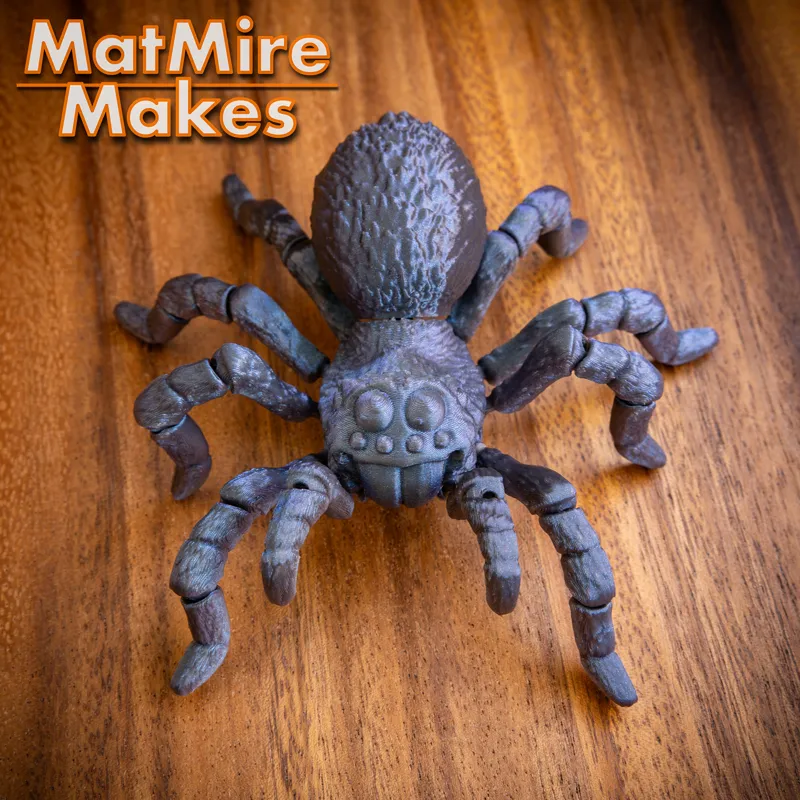
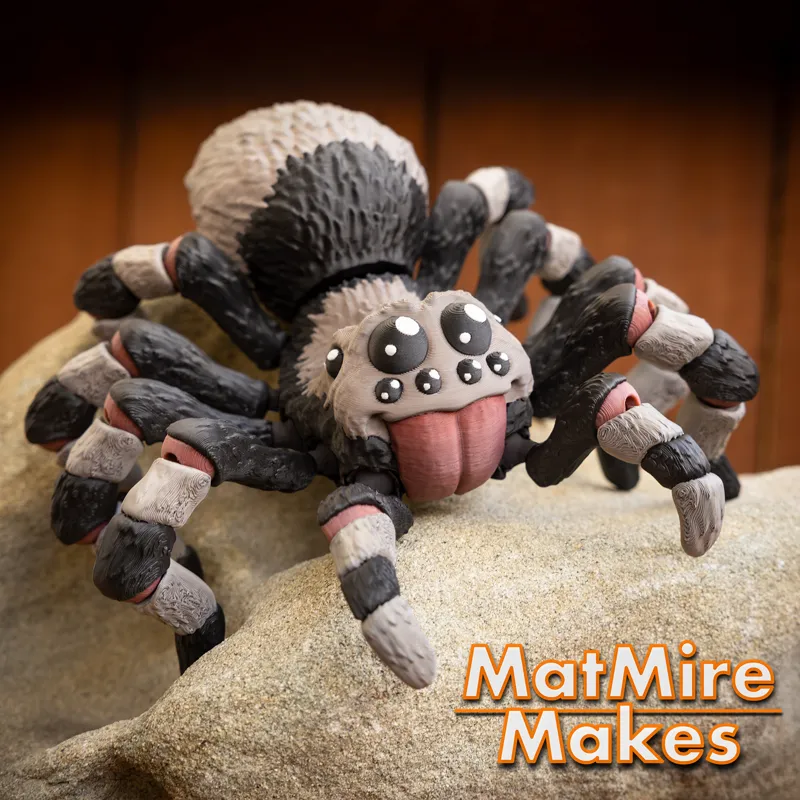
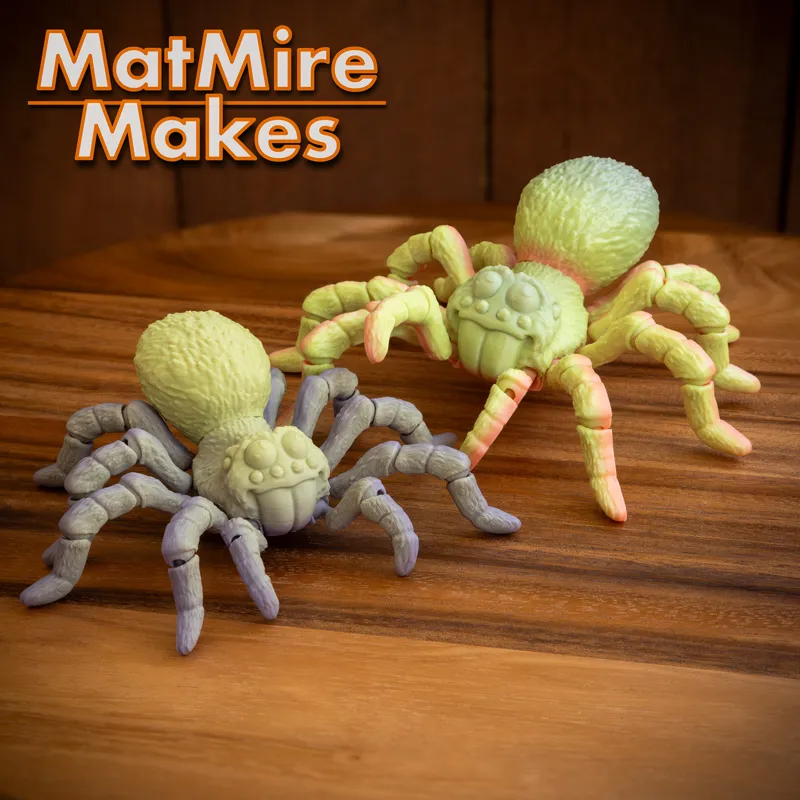
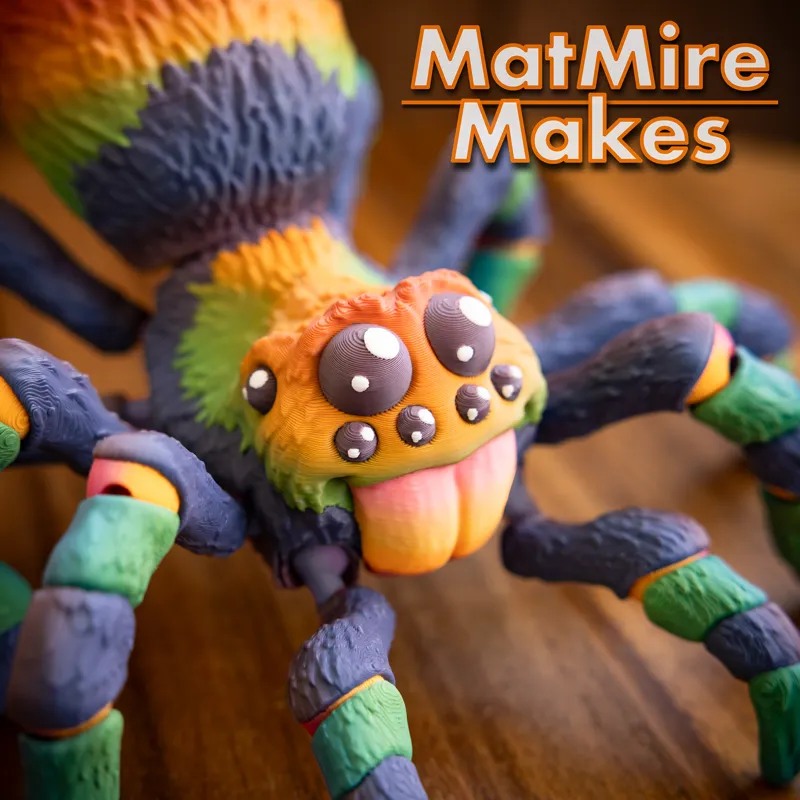
With Halloween fast approaching, it felt like a good time to introduce a new spooky season favorite... a Tarantula!! (...with apologies to anyone who's afraid of spiders) This was a really fun one to design, and is super posable. The spinnerets on its abdomen even form a loop you can use to hang it from some string. Great for a spooky decoration! Please check out this video for a detailed breakdown of the assembly and features... https://youtu.be/aZ6h31XeVPo
I wanted it to be able to stand and hold poses in all kinds of leg positions, so a newly designed snap-fit ball and socket joint for the legs was the best method to achieve that. They should snap in without too much difficulty yet move with firmness, in order to hold various positions. Of course with 3d printing tolerances being somewhat unpredictable, I added some methods to help fine-tune those tolerances if needed. I cover this in more detail in the INSTRUCTIONS/README file included with the download, but it is probably best explained in Test Print Video.
I hope you like it!
Matt
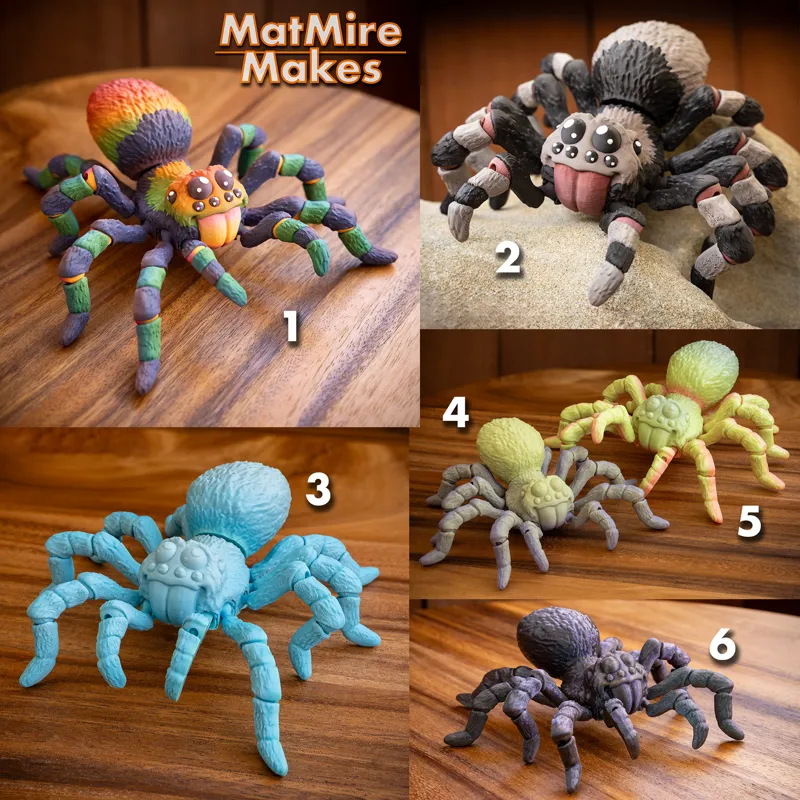
Pictured Prints use the following filaments***
(reference the numbered prints in last image of the gallery)
(1) Ziro Rainbow Blaze, Ziro Peachy Sunrise, iSANMATE Red/Blue, PolyMaker Cotton White
(2) Amolen Fossil, Amolen Red Limestone, Polymaker Charcoal Black, PolyTerra Cotton White
(3) Ziro Beach
(4) iSANMATE Purple/Yellow Matte Gradient
(5) iSANMATE High Speed Rainbow
(6) PolyMaker Starlight Twilight
To Download: Click Here to go to the Pinned "the Hub - Info and Current Download Links" post
3D PRINTING SETTINGS:
Body: No supports needed.
Abdomen: No supports needed, remove custom brim after printing and snap-fit to Body
Legs: all limbs in one STL for easy placement and scaling, snap-fit to Body, No supports needed.
Legs (individual files): all limbs separated into individual STLs, in case you want to reprint specific ones, or arrange them differently on the print bed.
Test Ball & Test Socket files: See details and This Video.
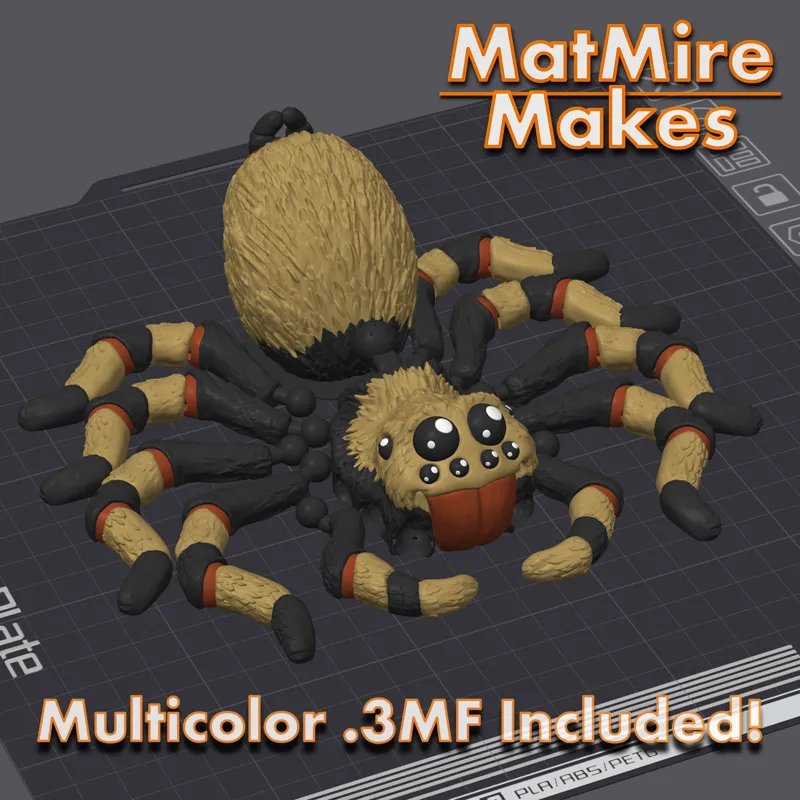
Multicolor 3MF: (Compatible with PrusaSlicer and Bambu Studio)
10%-15% Infill (I recommend Gyroid, Crosshatch or 3D Honeycomb)
3 Walls.
If you use brims to aid in bed adhesion, I recommend setting the brim gap to around 0.3-0.35mm. This will still help adhesion, yet will also make the brim much easier to remove.
This should generally scale down to about 65% with full articulation, on a well calibrated printer. Your mileage may vary.
Please check out this video for a detailed breakdown of the assembly and features... https://youtu.be/aZ6h31XeVPo
To Download: Click Here to go to the Pinned "the Hub - Info and Current Download Links" post
***Paid Links. As an Amazon Associate I earn from qualifying purchases.
Comments (59)
I keep having the stem of the legs break during installation and while articulating. Does anyone have any advice for me?
Your tolerances may be too tight. This can happen due to flow rates or filament expansion. You can try using the test file to dial it in or see if clipping the socket will help. Here’s an explanation video: https://youtu.be/-F45C86IXoo
Where can I find this spider at
It can be purchased from my public Cults3D or MyMiniFactory shops. Remember to use the 50% OFF discount code that is listed in the "Hub" post.
I tried a few times with this model, failed and now I'm back here to seek more info. I am throwing in the towel on the tarantula. You're an amazing artist and quite a good engineer, but this one seems way more trouble than it's worth.
Printed one for our version of a Flat Stanley. The kids can’t wait to see the adventures of Bob. Wish there was a way to share pics.
Hi Matt, just curious, do you use Bambo slicer or Orca? Just curious. I’m happy with Bambo but have never tried Orca and wondered if there are any benefits over Bambo
I use Bambu Studio because that’s what most of my customers will be using. I have heard great things about Orca, but I’m probably not the best person to ask about the benefits.
I have had many requests for a red panda, I think the raccoon body could be use and just change facial characteristic on the head. Just a idea.
McGybeer has a cute red panda
Printed the multicolor version on my p1s and it looks amazing. Some of the joints on some legs are a little too loose though so it won't hold the position I put them in, even with the end positions they should click into. They snap into the body just fine though, and it's only 2 or 3 of the legs that are loose. Gonna try reprinting one of the legs and see if it was just an issue with that particular print.
I had that same issue but I believe I caused that when "breaking them free". I'm going to reprint him and be more careful this time.
I am having issues as well with the leg joints being to tight and snapping. printing on bambu standard file. printed previous model no issues. Any suggestion
Did you by chance watch the video about the tolerances and the option to clip the sockets? The link is in the second paragraph of this post and in the included ReadMe instructions PDF. Maybe give that a try.
So I watched the video, read all the info, I’ve been printing for multiple years and completely understand tolerances. I did the test models and tweaked the tolerances to fit that but then when I printed the actual tarantula, the legs all fit fine and work as expected but the butt piece doesn’t snap on at all like possibly it’s so loose it doesn’t connect to itself at all? I’m just confused as to why it’s so significantly more loose? Or am I missing something? Obviously I used the same tolerance settings for the entire model. I have not printed a raccoon yet so I do not have that to compare to.
That's odd. This might be easier to troubleshoot over email, if you can send me some pictures of the body ball joint and abdomen socket. Both separately and how the abdomen sits when the ball joint is inserted. Also any details you can provide about what scales you used or settings were adjusted to tweak the tolerances. You can send them to me here... help@matmiremakes.com Thanks!
I have printed the Tarantula twice, the first print all ball joints cracked and split the bottom on the of the body. The second print only two off them split at the bottom of the body. Should I add more bottom layers or could you raise the openings for leg ball joints higher up on the body?
I tried to print the tarantula three times and each time it caused my printer stop printing after the first layer. I did check with other prints to see if this happens and it’s only with this tarantula.
What printer and slicer are you using? If you are slicing the multicolor 3MF in Bambu Studio or Orca Slicer but printing on a non-bambu printer, the printer will stop at the time of the first color swap because it won’t understand that gcode. If that’s the case, you should import the STL files to print, and not the Multicolor 3MF.
Printed two of these but the ball joint is so small it breaks when inserting or moving around in the body.
Besides slight texture variations and mirroring, are all the legs the same? I guess length would be my only concern here. I printed 3 at once at 75% scale and when I went to pop them off, everything got mixed up.
They are the same for the most part. The front and back pairs of legs have slightly less bend to the "foot" part, but it's not a huge difference.
Hey Matt, I absolutely love this model. I'm in the process of printing a set of 9 painted to look like a Mexican red knee tarantula. One caveat though - as a tarantula hobbyist, the eyes bother me. I know most people probably won't mind so much, but is there any way you can do an alternative design with a more realistic cephalothorax? Tarantulas have their eyes mounted on a small bump on the front of their cephalothorax, in two rows of 4 (with the top row including larger eyes that wrap around the "bump"), and they're altogether probably only about 1/6 the size of what you have on this model. If this is too much work I understand, but if there's any way you can create something a little more realistic, it would be so very appreciated! I am planning on selling some of these at exotics shows and I know if anybody cares, it'll be the people there. Thank you!
My abdomen keeps coming off the main body pretty easily. I don't have any issues with the other models.
Hmm. Did you have this issue with the Raccoon head (if you printed it)? It is basically the same joint. All of our test prints held pretty snuggly. It's possible that some filaments could print with looser tolerances. You could try scaling the abdomen down a few percent to get a tighter fit, or it may help to do a filament flow calibration. If you want to troubleshoot further, you can email me at help@matmiremakes.com and maybe send pics along with your printer setup, slice, and basic settings.
Can you please separate the multicolor files? Bambu only allows me to separate them into 'parts' with messes with the whites of the eyes and separates the brim from the butt.
Just made it and I love it
Very cool! Just an idea, you think you could make a mallard duck?
Yes I would love this!
I just finished printing I’m not a fan of the joints. they are warping the plastic turning it white and brittle this wasn’t a problem with your crab design, I much prefer the durability of that design.
It sounds like the tolerances are pretty tight on your print. Did you by chance watch the video about the tolerances and the option to clip the sockets? The link is in the second paragraph of this post and in the included ReadMe instructions PDF. Maybe give that a try.
Love this print but the layers separated when I inserted the legs. Printed 6 total, all on Bambus and same issue on each one.
Hmm... were they all using the same filaments? It sounds like the tolerances are pretty tight on your prints. Did you by chance watch the video about the tolerances and the option to clip the sockets? The link is in the second paragraph of this post and in the included Instructions PDF. Maybe give that a try. If you can send me pics of where the layers are separating, here... help@matmiremakes.com
Came out perfect with zero issues.
I have an issue with this print. The ball joints broke when I tried popping them in and when I tried pivoting them. What should I do?
I tried printing with silk pla, and it isn't strong enough... I'm gonna print with a stronger filament next to see if it works better
Amazing!!!!!!
Hey Matt watched the video and seen you have the same plates as I do, can I pick your brain as to what temp do you have yours set to for easy model removal?? Mine just stick to the plate, heck down 40 on PLA temp and still sticks like tomorrow.
I'm still pretty new to the sliceworx plates. I heard recommendations of both 40 or 45C, so I went with 43C, haha. They stick super well. Really, flexing the plate seems to be the best way to release the prints. They don't come off from cooling like other PEI plates. I would never use any release agents on these, as that would defeat the purpose. I also use plastic razor blades to knock off the purge lines and such, so that I don't mar the surface.
so i printedd this but there is nothing to hold the legs in the sockets? its a hole and a ball nothing to grip with?
The socket should cup the ball and hold it in place. It sounds like your printer is creating very loose tolerances. Did you do any scaling to the print, and if so, did you scale all of the parts the same amount? I would suggest checking out the video linked in the second paragraph of this post. If that doesn't help, send me an email at help@matimiremakes.com with pics and your printer, slicer, and basic settings. Maybe I can see what might be causing the tolerance issues.
Yes!!
Yes! Thank you!!
YES. Thank you :)
Love it but... Shouldn't it have 8 legs???
It has 8 legs and two pedipalps (which look a lot like legs, but technically aren't).
This is AWESOME was doing search for T and spider flexi!!! Search no more.
Oh dear god. I need to do this tonight.
This is so stinky cute!
I'm a tarantula keeper. This is awesome!
You rock, I really like spiders.
Love it...one file request?? It'd be cool if the colored (3MF) parts were separate - that way you could print a plate of legs And print a few body/abdomen parts on another. I tried splitting them, but the pupils/glints in the eyes fall to the plate.
I love it when designers split the colors apart! That way you can do full color without tons of added time / filament waste.
That's honestly really cute!
This is adorable! I love it!
I am so excited to try this tomorrow!!
Yes!!!
This makes me STUPID amounts of happy!!!
Love love love!!!!