
Download — H3 Character Reference Director Workflow v1.8.0
The first release of my MiniMax H3 Character Reference Director Workflow is ready. 🎉
Thank you for supporting the project.
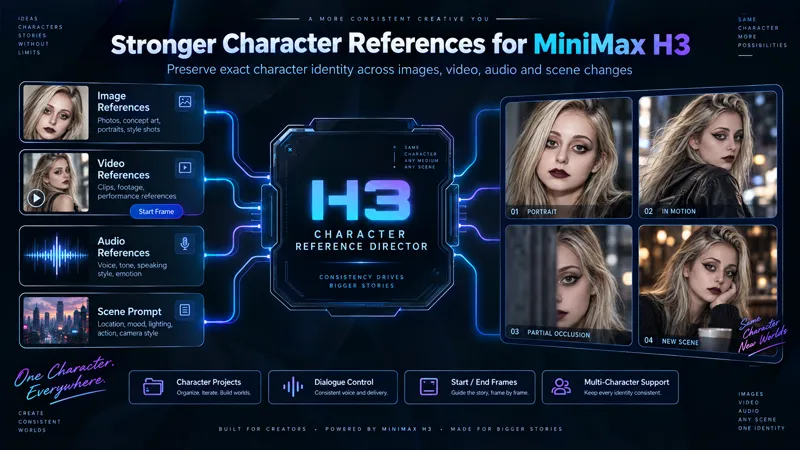
This package contains the custom Character Reference Director node, both finished H3 workflows and the files needed to reproduce my current setup.
Included
1. H3 Reference-to-Video Workflow
Designed for character-driven H3 generations using image, video and audio references.
2. H3 Start / End Frame + Character Reference Workflow
Uses a required Start Frame and optional End Frame while still allowing the Character Reference Director to control identity, clothing, body, hairstyle, audio references and other character information.
3. H3 Character Reference Director
Main features include:
up to multiple image references
Subject assignment
Face / Body / Clothing / Hairstyle / Environment roles
detailed reference prompts
multi-character support
multi-shot reference roles
Identity Anchor
Scale / Height Reference
character project saving/loading
Replace / Add project loading
audio references
video references
dialogue presets
POV / off-screen dialogue presets
two visible speaker dialogue
exact dialogue control
target scene prompt presets
Final H3 Prompt viewer
optional End Frame handling
generated last-frame image output
Recommended Model Setup
My current preferred configuration is:
Diffusion Model
h3ErosMax_beta4.safetensors
CLIP
qwen3vl_32b_minimax_h3_nvfp4_awq.safetensors
Video VAE
minimax_h3_video_vae_fp16.safetensors
Audio VAE
minimax_h3_audio_vae_fp32.safetensors
Turbo LoRA
MiniMax H3 Ref2V 8-step Turbo LoRA
The included workflow contains Info / Note boxes with the relevant model and LoRA links.
Recommended Performance Setting
Use:
ModelAttentionBackend → comfy kitchen attention
This was significantly faster than standard PyTorch Attention on my RTX 3090 during testing.
If you experience compatibility problems, switch it back to:
pytorch attention
Installation
Install or update ComfyUI.
Install the required Custom Nodes listed in the included guide.
Copy the H3 Character Reference Director folder into:
ComfyUI/custom_nodes/
Restart ComfyUI.
Press Ctrl + F5 in the browser after installing or updating the Character Reference Director.
Load one of the included workflow JSON files.
Install any missing nodes reported by ComfyUI Manager.
Place the required models in the corresponding ComfyUI model folders.
Important
Reference prompts matter a lot with H3.
The included Role Presets are deliberately more detailed than typical reference descriptions. They are designed to tell H3 to use the exact person, exact proportions, exact hairstyle, exact clothing or exact environment, rather than merely generating something similar.
You can and should add additional details such as:
age
height
body proportions
distinctive facial features
specific clothing details
room / environment details
when they are important to the shot.
Dialogue
If you use dialogue or voice references, use the included dialogue presets.
H3 has a tendency to repeat dialogue or improvise additional speech. The presets are intentionally strict and designed to reduce this behaviour.
They control the spoken content without preventing facial expressions, gestures or explicitly requested non-verbal reactions.
Download
If you find bugs or discover a setup that consistently improves H3 further, leave a comment. I’ll continue improving the workflow based on real-world testing and feedback.
Enjoy. 😄