




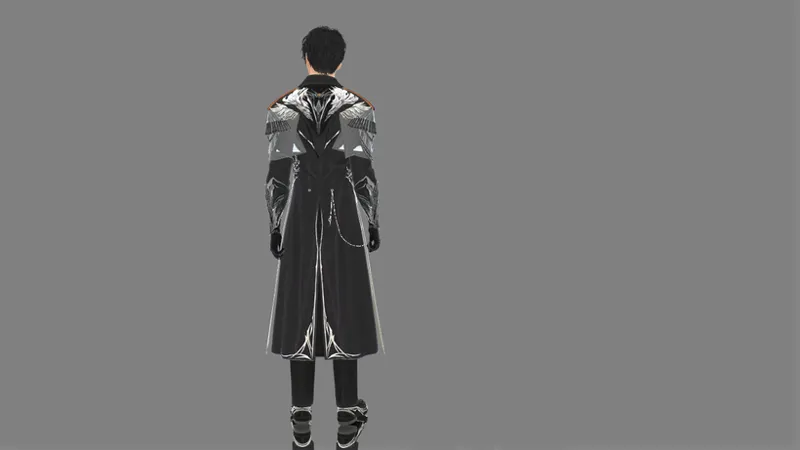


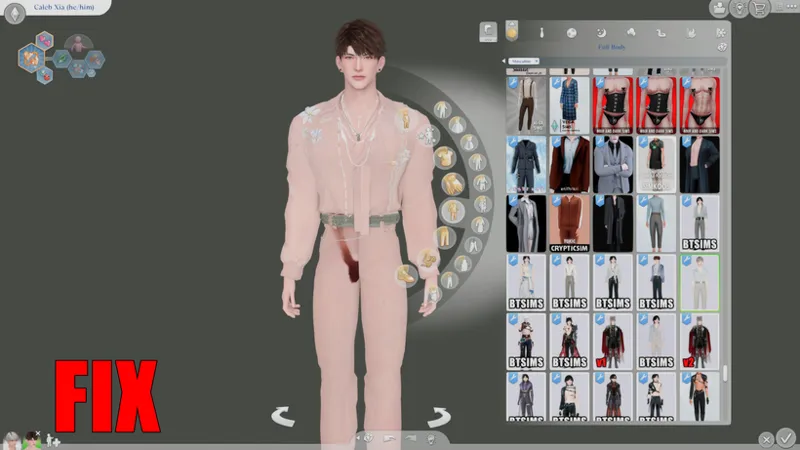


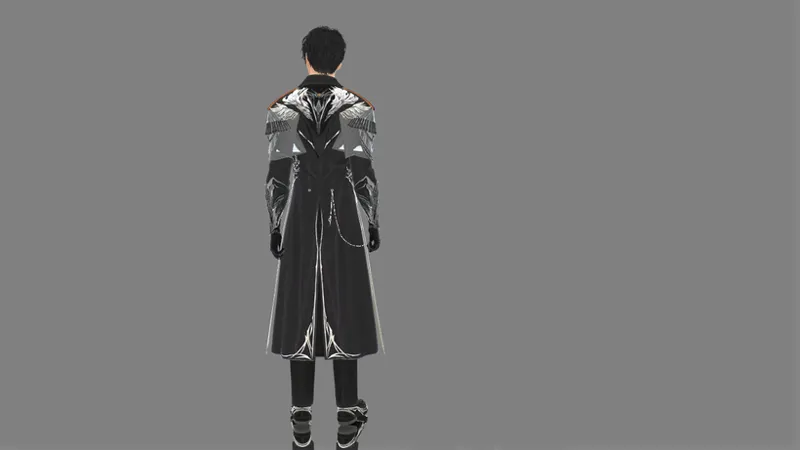

How to convert full-body clothing (with transparency)
This will be a more complicated tutorial.
Pay close attention to the videos, because there are things I do automatically and forget to explain.
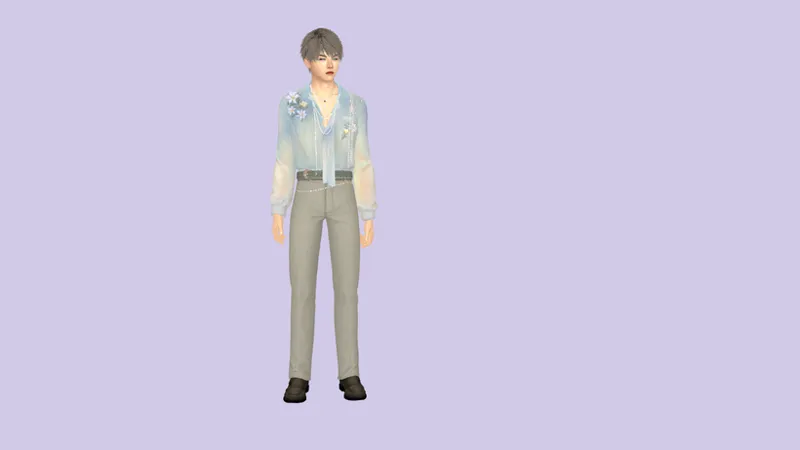
In this tutorial I'll teach you how to convert a full-body outfit: shoes + outfit + transparency.
First of all, we need to create our package; there are two ways to do this:
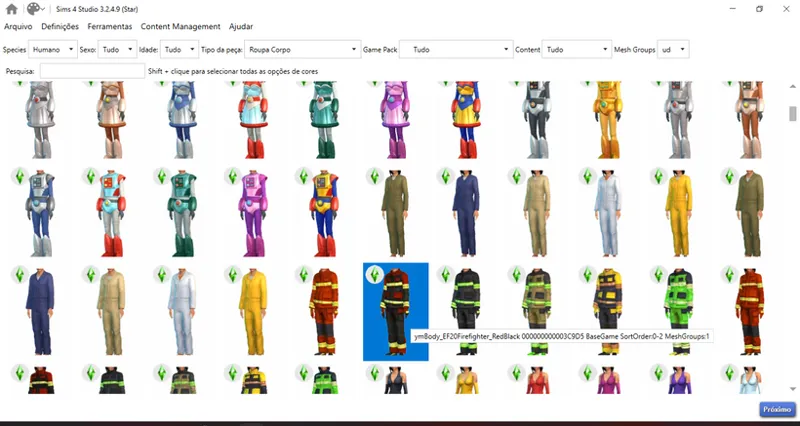
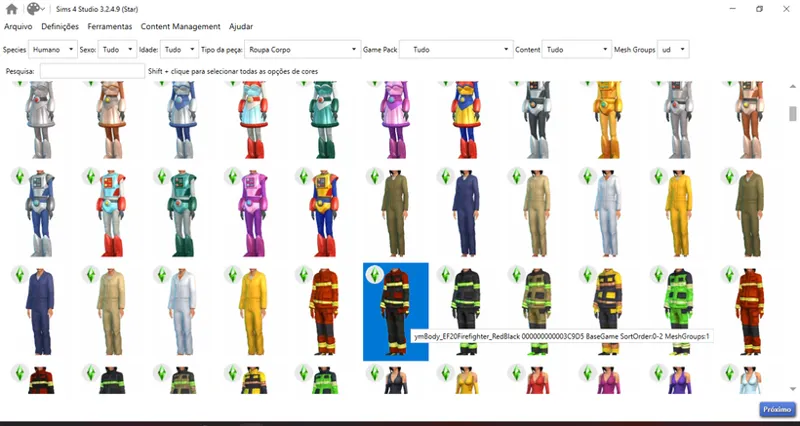
Taking the firefighter outfit (I use this one) from the base game of The Sims.
Or by using clothing that has more partitions (always from the base game), e.g.:
Most creators I see use tiles with more than one partition (s4studio_mesh_1/2/3 etc). However, I tried it once and it didn't work. hahaha
To create your own full-body version with transparency, I'll leave a YouTube video explaining how to do it.
YOUTUBE LINK: (HERE) 👈👈👈
She explains two types of editing; I use the first version. I find it easier and it causes fewer problems (in my opinion).
I recommend that you learn how to create your own file, because depending on game updates you have to recreate the file again, so it's no use taking another creator's mesh to use in your conversions.
After creating your package, let's move on to the conversion.
I already have a full-body suit ready, so I used that to package my outfit.
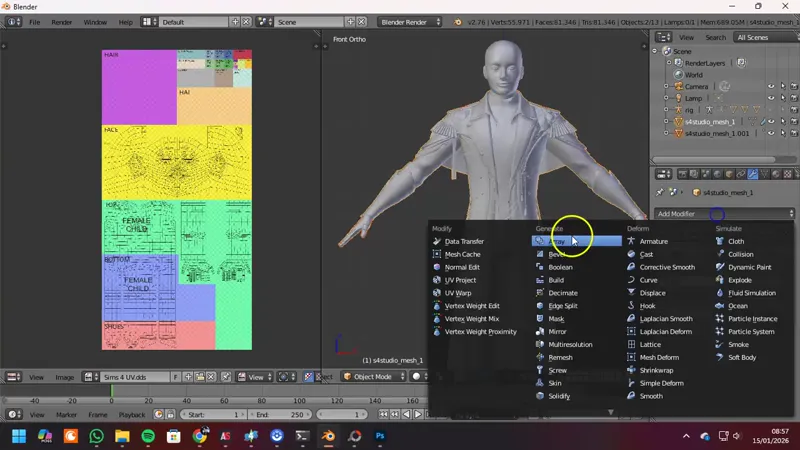
After creating your package, we need to get a body to perform the conversion.
I usually use this body.
Watch the video below👇👇👇
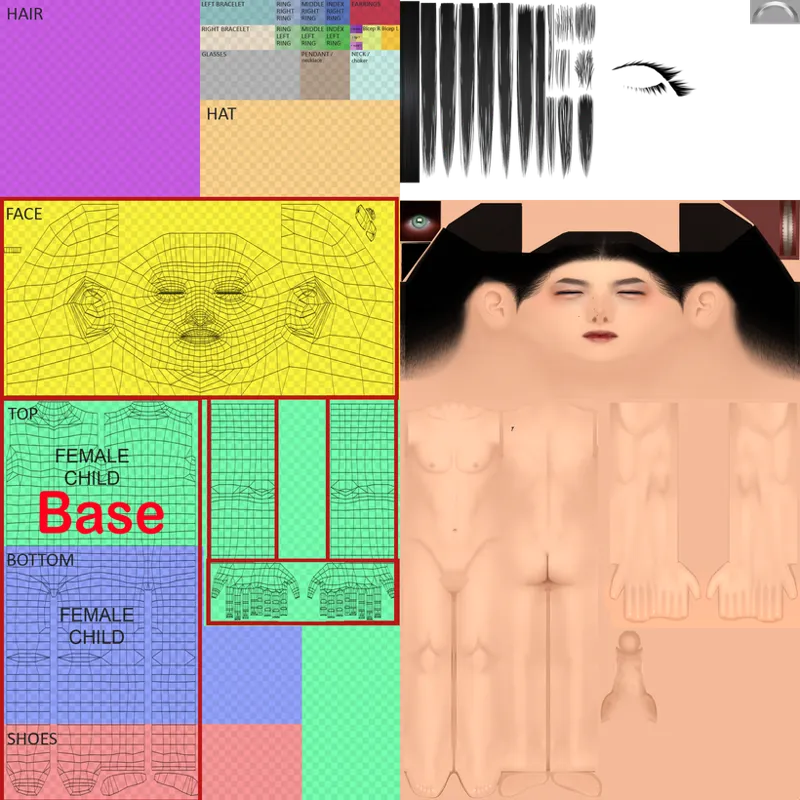
DOWNLOAD UV: (HERE)
One thing I need to tell you about transparency...
Remember when I talked in a previous tutorial about 0 = base and 1 = transparency?
Let me explain a little of what I understood about this:
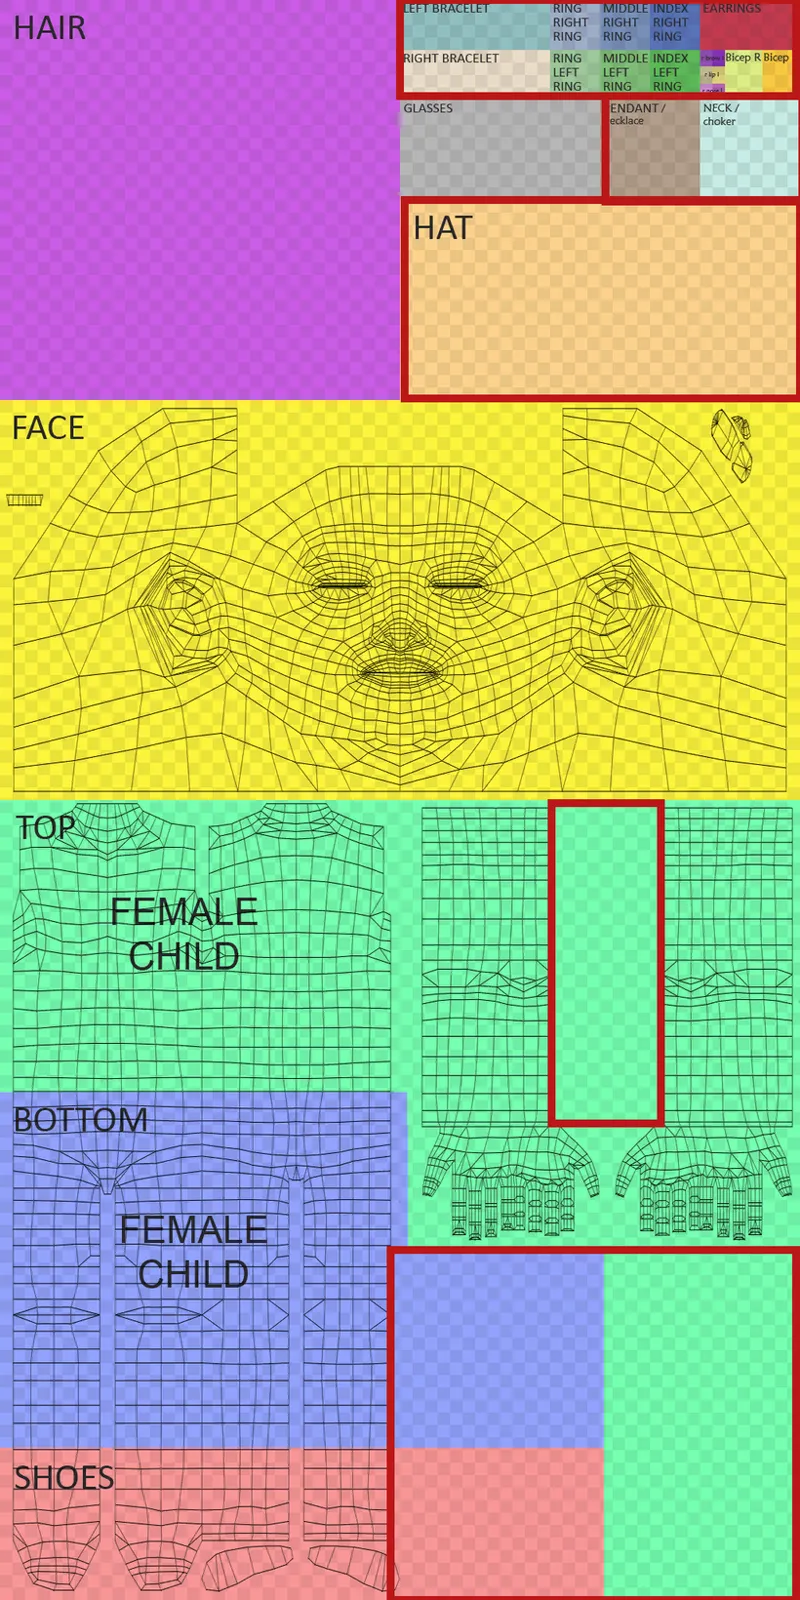
For those who use skins on their Sims, you need to know how to identify where you can place the transparent pieces in the UV.
When using skins in The Sims, it literally means painting the Sim's body (the base).
See the example on my Sims' Dae; I don't use a skin, but I use a mask on his body.
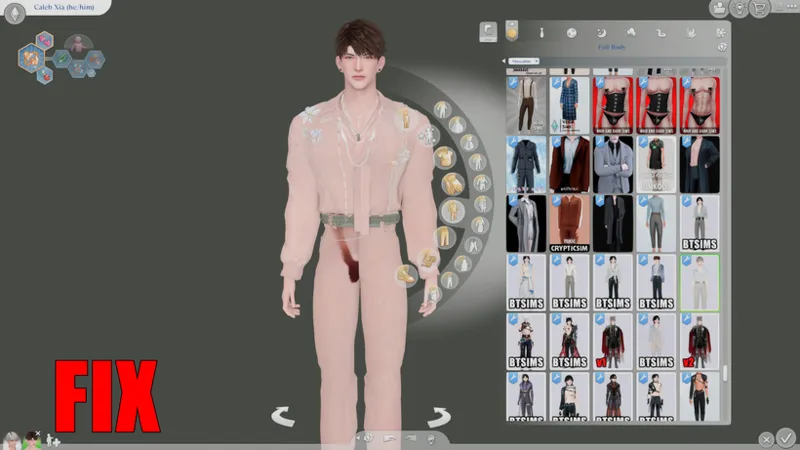
If you add transparency to the areas I've marked as the base, the pieces will be painted to match the Sims' body color, e.g.
This image is the result of a mistake I made that I didn't realize because I wasn't using skins; I accidentally swapped the numbering ("0" "1") of the parts in Sims 4 Studio.
But it's an example of what can happen.
Generally, these are the parts where you can place the transparent sections.
But remember, each colored square is for a different type of piece/bodie . So when converting your file, you have to take into account: does it have earrings? A hat? etc.? Because the texture of one will overlap the other.
And for those who use wincked and use texture on the penises, it usually ends up in that blue/purple square (however, I've seen it placed on the head of the Sims, which is a problem because the hair texture makes it look awful).
And there's a creator's skin that unfortunately even covers areas that shouldn't have skins (I don't know who made it).
Back to conversion:
And if everything goes well, our base will be ready.
In the next tutorial I will finish editing our base.
I hope this tutorial helps; feel free to ask me anything else, and I'll help in any way I can.
Comments (2)
Thank you imma try this once I get my computer set up.🥰
You're welcome, feel free to ask if you have any questions.