







How to convert hair for The Sims, Alpha version (My method)
First of all, I'm not an expert on alpha hair; I struggled a lot when it came to editing. Especially when it's pre-made hair and not created from scratch.
I had to study a lot to get to this result, and it's not even perfect.
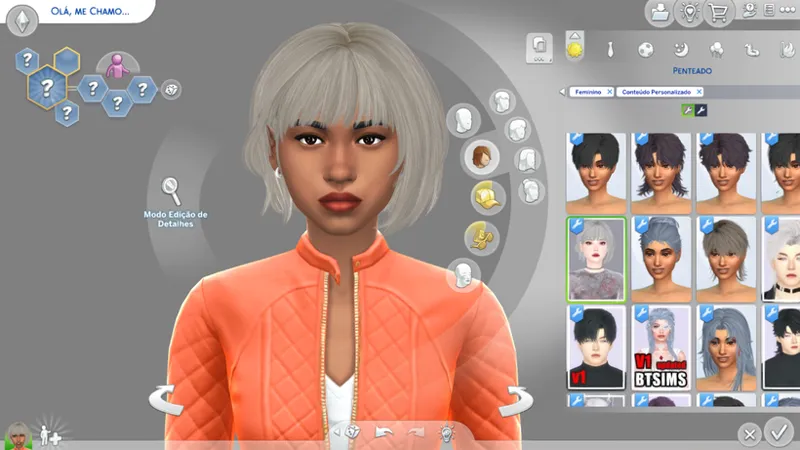
I'll use MC's hair as an example.
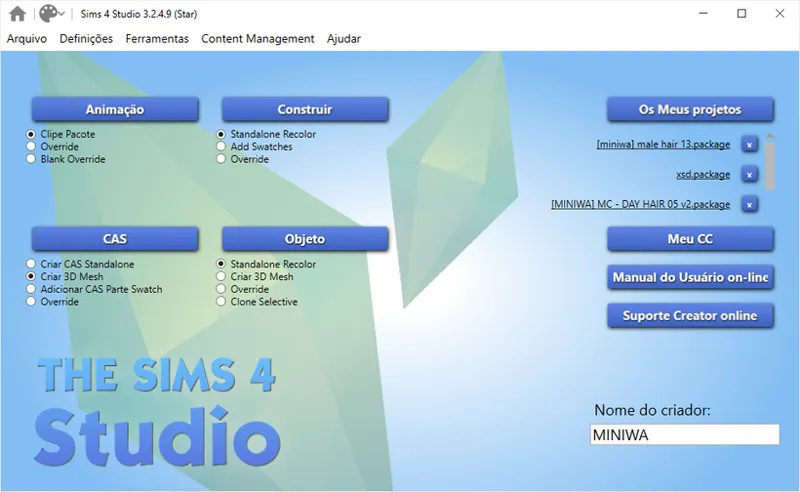
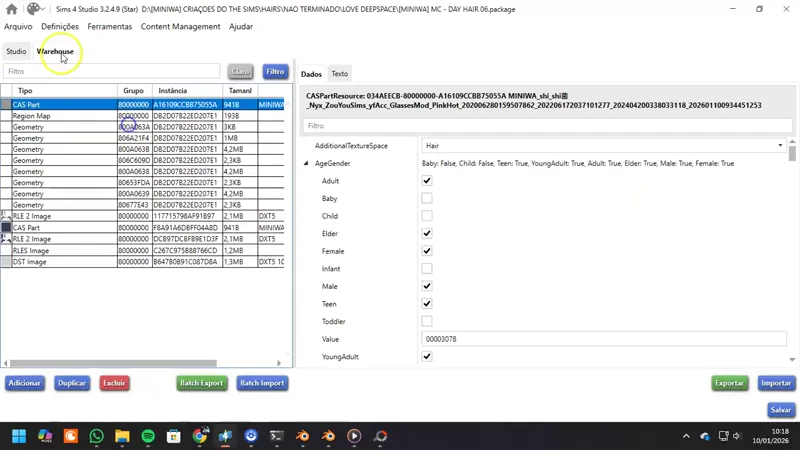
Open your Sims 4 Studio, click on Create 3D Mesh.
In my case, I'll be using another creator's hair to do the conversion (it's not a very ethical thing to do 😅😅) ahahaha
If you don't want to use them, I think you could get a pair of glasses that would work too (base game, always).
So let's go.
As I said, I will use another creator's hair for this example.
If you want to do the same, just download the hair, copy it, go to Documents -> Sims 4 Studio -> Mods -> and paste it into the Mods folder.
But first of all, you have to create your own hair texture.
And that's something that goes way beyond what I can teach, because I don't know either, hahaha. Since the MC has its own texture, I only used.
I can make a video after I edit someone's hair, but it might end up being extremely long.
Returning to the conversion:
Create your package, and get another hairstyle from the game to help with the conversion (see the video above).
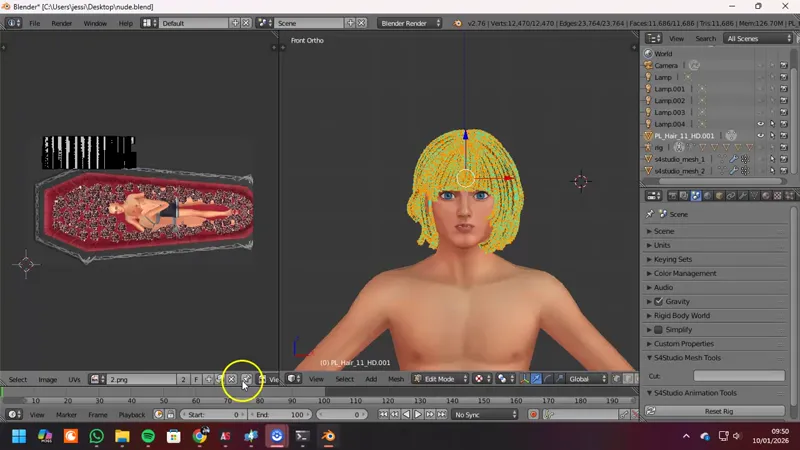
I edit the hair in the more advanced Blender versions, but I prefer converting it in the older Blender versions. However, if you want to do everything in just one Blender, you can do that.
I'll try to explain as much as possible, but unfortunately I don't know how to explain it, so please pay close attention to the videos.
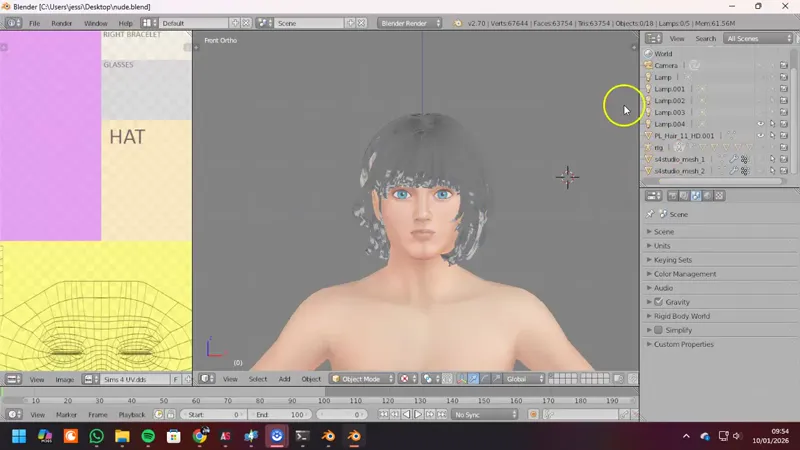
I'm going to use Blender 2.76 and Blender 2.70.
Follow the steps in the video.
DOWNLOAD UV: (HERE)
In this video, there's an important part where we need to mark the sections of hair.
In the creator's hair I used, this section is "zero" but 0 = base and 1 = transparency (alpha).
So I copy a mesh of the hair and make the other part which will be the "base (zero)".
I'll leave a link to a YouTube tutorial that explains this a bit.
Link Youtube: (here)
Now copy the file into the game and test it.
Now we're going to make some edits to eliminate transparency within the game.
Do this part only when everything is okay with your creation, because if you need to edit it later it will be a lot of work.
However, I'm going to teach you a trick I always do with my files: in lod 1, I import the hair before making the duplicate. (This also helps in Blender, for taking photos.)
In the video above, you have to duplicate the hair in Blender, go to Edit -> Mesh -> Face -> Flip Normals, and then merge the two pieces.
Now some final edits:
Thumbnail/Photo size: 104x148
That's it, this method doesn't work with hats.
In the next hair conversion I will show you what works with hats.
It's difficult to explain, but if you need help, just ask me.
Later I'll make a video editing the hair in Blender and creating a texture.
Comments (2)
Thanks to your post, I was finally able to convert the hairstyles of my favorite characters! Thank you so much for creating this tutorial 🩷🩵
I'm so happy to hear you succeeded 🥹🥰 I tried to explain as much as possible, but I end up doing the conversions automatically 😅 And keep an eye out, because as soon as possible I'll bring a continuation to correct the transparency issues 😉