









Simple tutorial for converting accessories (Hat version)
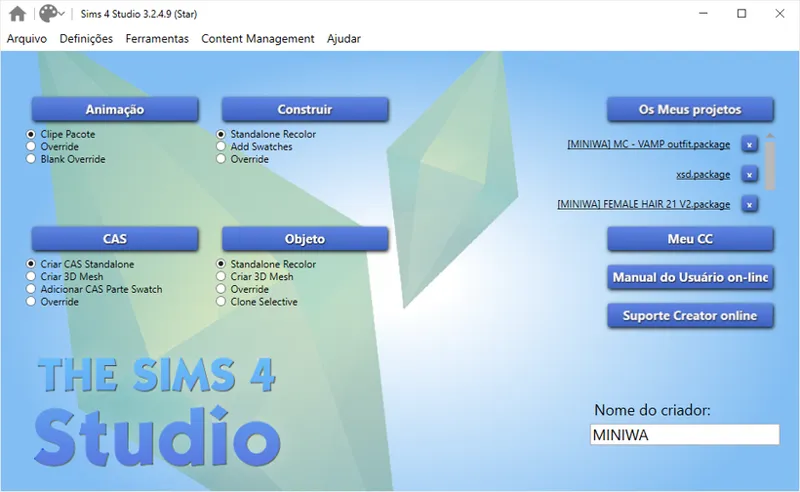
First, download the Sim4Studio app (I recommend the Star version).
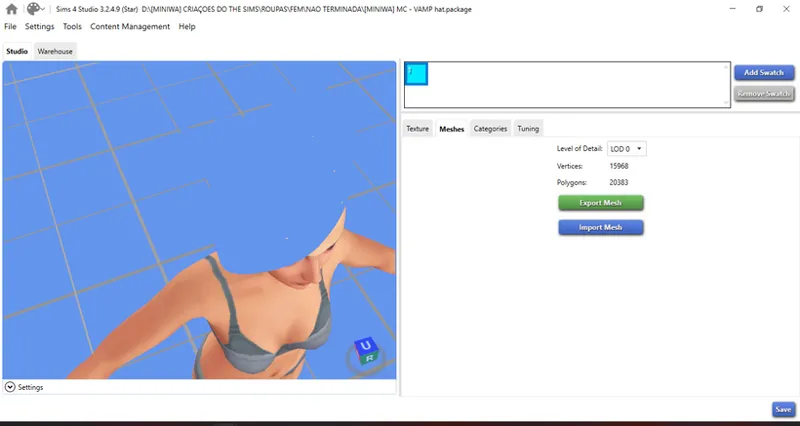
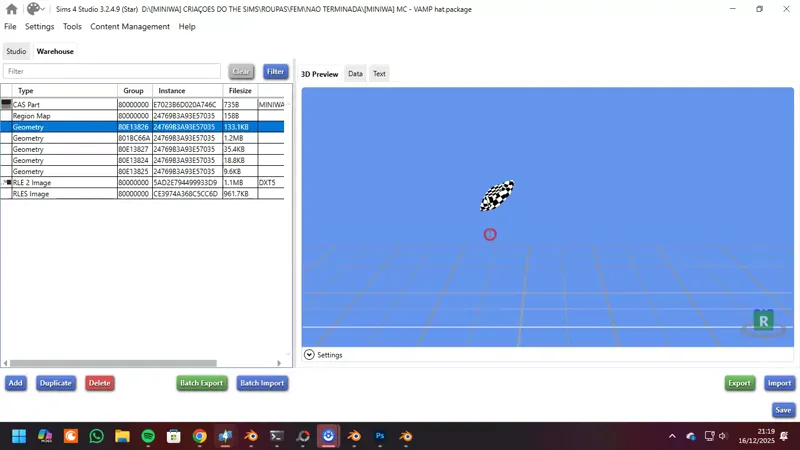
After downloading and setting up your Sims Studio, go to "Object" and then "Create 3D Mesh".
First of all, check if the file you are going to convert has transparency or not.
In my case, it has transparency.
We won't convert it like a normal "hat." We'll treat it like an "accessory." In this case, when we convert hair, we have to divide it into 3 parts (or more) for hats/caps, etc., to work; that is, we have to make cuts in the hair (story for the next tutorial).
Since the hat has transparent parts, we need to find a mesh, always a base game mesh, that has transparency or two parts.
For example: s4studio_mesh_1/s4studio_mesh_2 etc.
Open Sims4Studio.
Then go to CAS -> Create 3D Mesh -> find the desired mesh.
Save it with the desired name and in the desired folder, and export the mesh, just like in the video above.
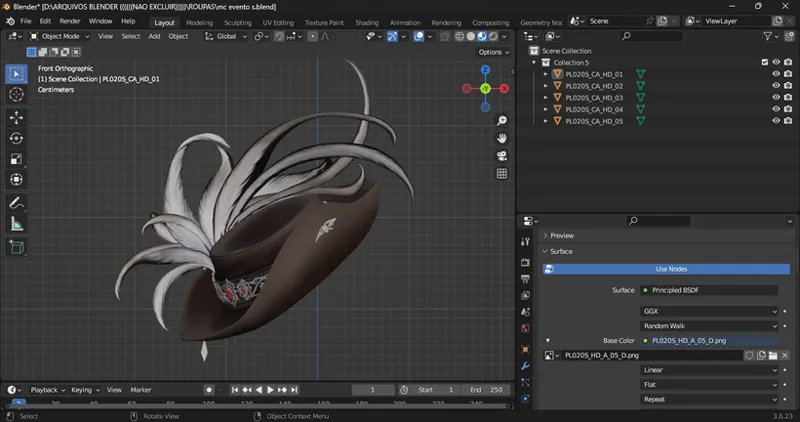
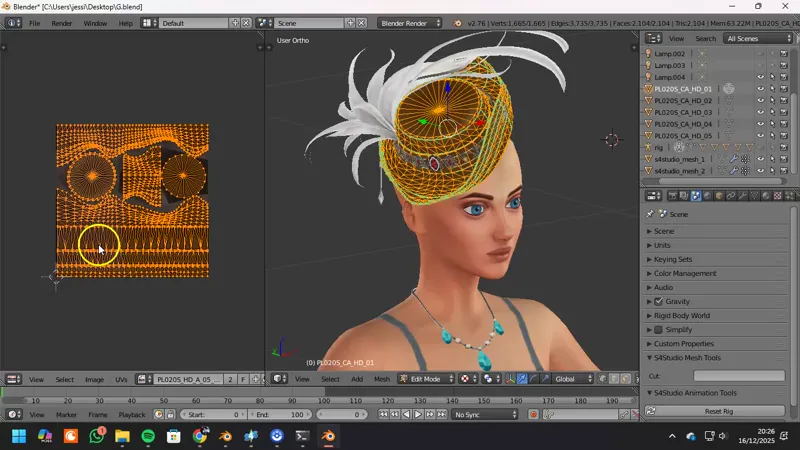
Now open the blender you want, I'll use version 2.76 first.
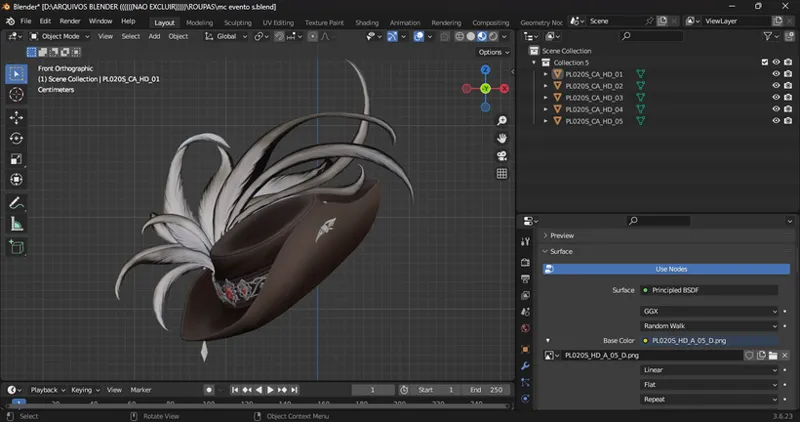
Open your file; in my case, it's an object file.
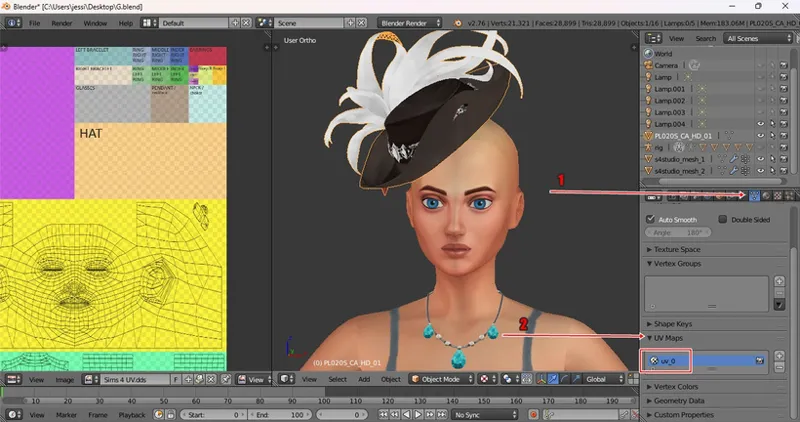
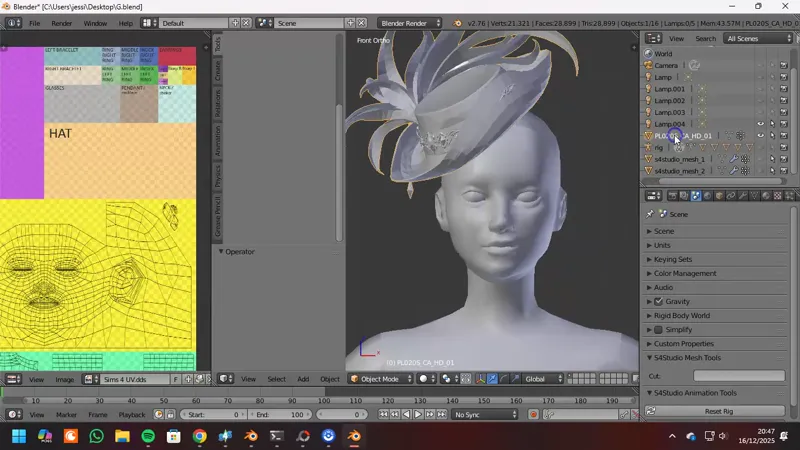
I didn't edit the UV file; I left it to show how to do the edits. I'll show it in videos (they'll probably be long).
I will make available the image I used to fix the UV.
DOWNLOAD: UV (HERE)
After completing the uv, go to the inverted triangle and look for uvmap and type uv_0 (all lowercase).
Now let's open Sims 4 Studio again and grab any hat.
Save and export the mesh with different names.
As I mentioned in previous posts, I always use two Blender versions, so now I'll be using Blender 2.70.
Watch the video below:
After following the step-by-step instructions in the video above, save. As I mentioned before, I don't have all the settings in a single Blender program, so I use two. Therefore, I will open version 2.76 again.
Now let's separate the transparent meshes.
Generally, when editing UV images, I always keep the transparent parts separate from the "base" parts.
Blender guide:
By pressing "p" : Separate
shift + j : join
B or C: select vertices/faces etc.
Shift + D: Duplicate
Now we will create the textures.
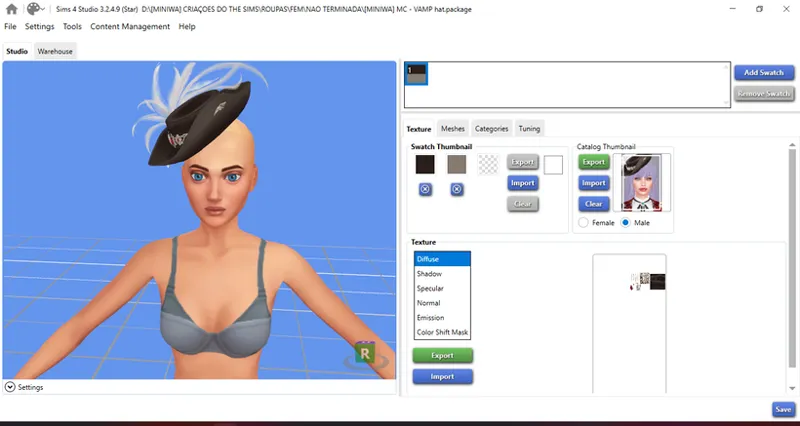
Now that we've finished our texture, I'll show you an important step to make the transparency work in the game.
This step is very important, otherwise it won't work.
Now save your file and copy it to your game and test it.
After testing and confirming everything is correct, I will make the final changes.
Image size: 104x148
I swear I tried to explain as much as possible, but I've done a lot of things automatically, so whenever you have questions, just ask me.😅😅😅
And please excuse me if the videos are slow, for some reason my computer was very slow.