
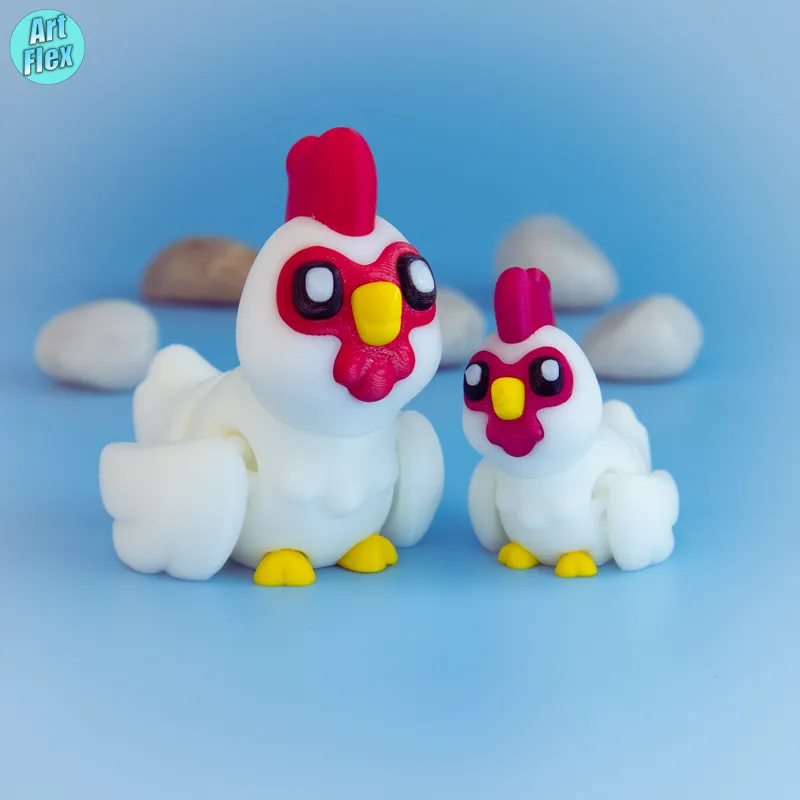
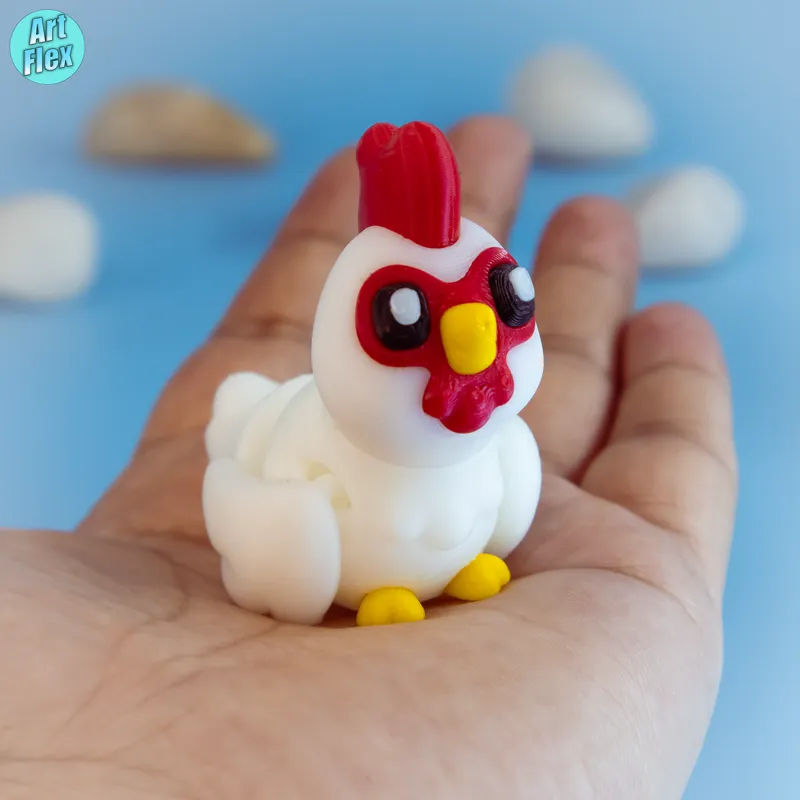
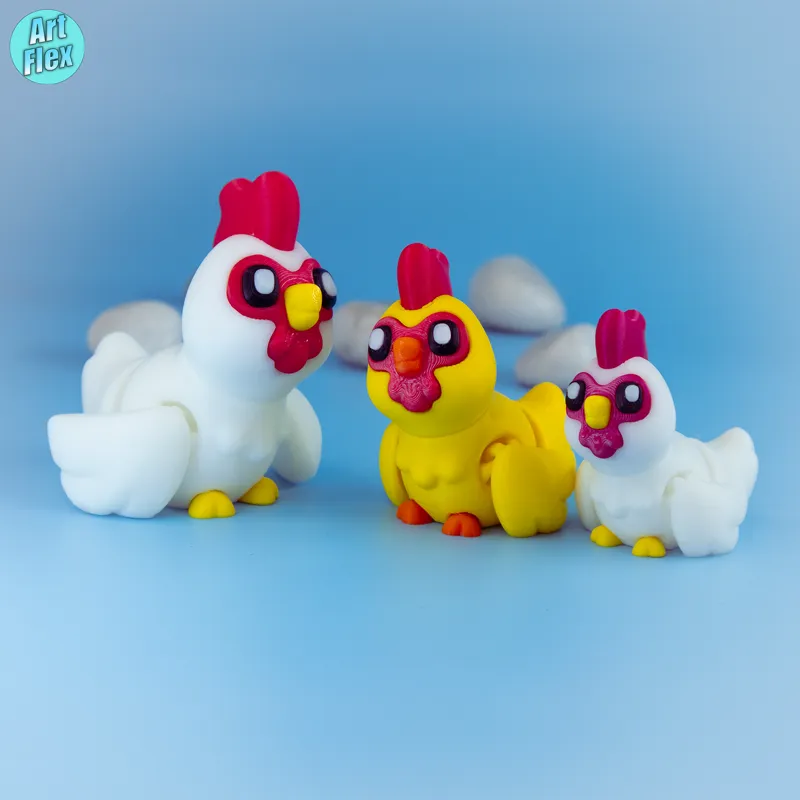
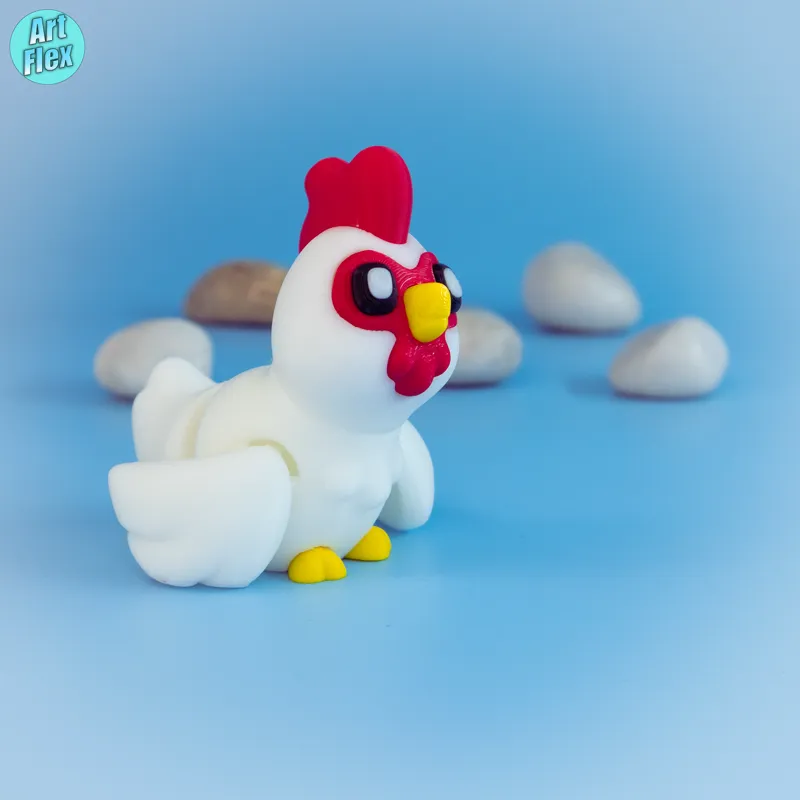
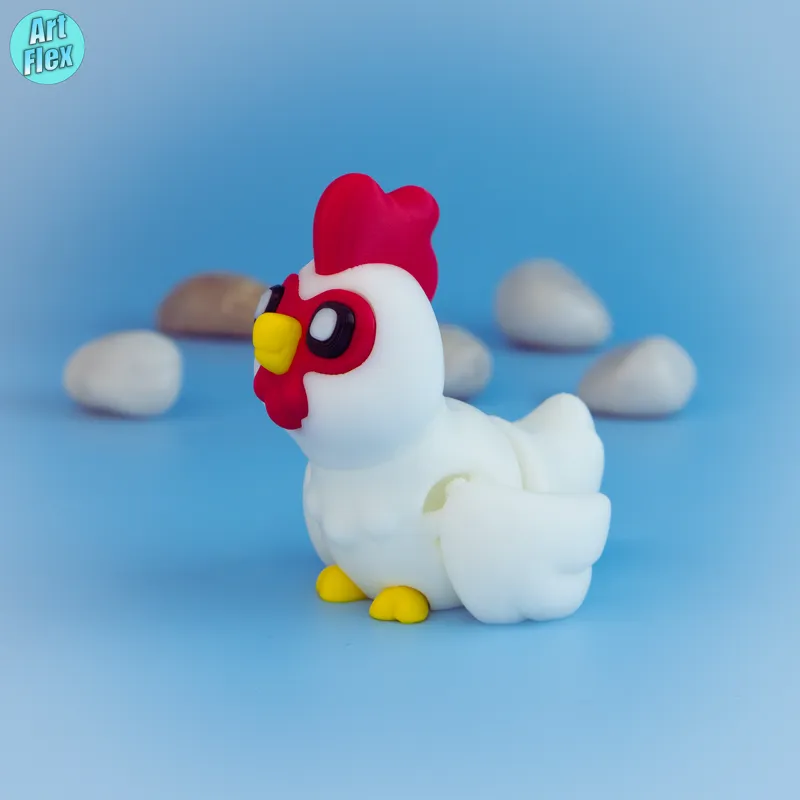
Little Flexi Chicken (Archived)
Hi Everyone!
Little Flexi Chicken is finally here and ready to download from the April Designs Post!
This adorable Chicken comes in two fun versions:
🔹 Print-in-Parts – Reduces material waste and print time (assemble with super glue).
🔹 (Mostly) Print-in-Place – Features a snap-fit head with the body.
Both versions also include keychain and magnet options! 🔑🧲
✨ Keychain Tip: If you're making a keychain, I recommend scaling it down to 80%, as the full size may be a bit too large.
For better adhesion when downscaling, using a brim is recommended.
Hope you will enjoy printing it!
Let me know what you think in the comments! 💬😊
Below are the recommended settings:
No need for supports!
Aim for a layer height between 0.18mm - 0.2mm
Stick to 2 walls
Bottom layers: 4
Top layers: 6
Shoot for a 15% infill (Gyroid)
Downscale from 100% to 80%
Precision settings: Slice gap closing radius - 0.004, Resolution - 0.004 (Highly recommended for multicolor Prints)
Un-Check Arc Fitting
Remember to flaunt your printed masterpieces on social media and tag me using the links below💖
Comments (4)
Question - I'm downsizing the chicken and I want to print the eyes by themself. I want to do the eye that has the outside black with the inside white. Is there anyway you could do a file with that type of eye (both of them together)? So I can print a lot out? I love doing the parts but downsizing the chicken I can't do the eye's that way. :(
Hi! I totally understand—printing tiny parts like the eyes can get really tricky after downsizing. In the "print in parts" version, there’s also a solid eyepiece included, which might work better for this case. You can print that and paint the outer part black and the inner part white to get the look you’re going for. I hope this will help.
I missed downloading this :(
Aww so cute! I love it’s little face