

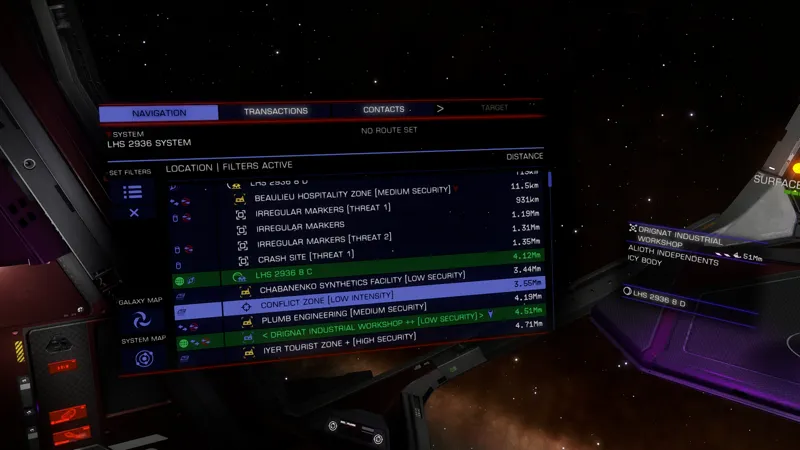
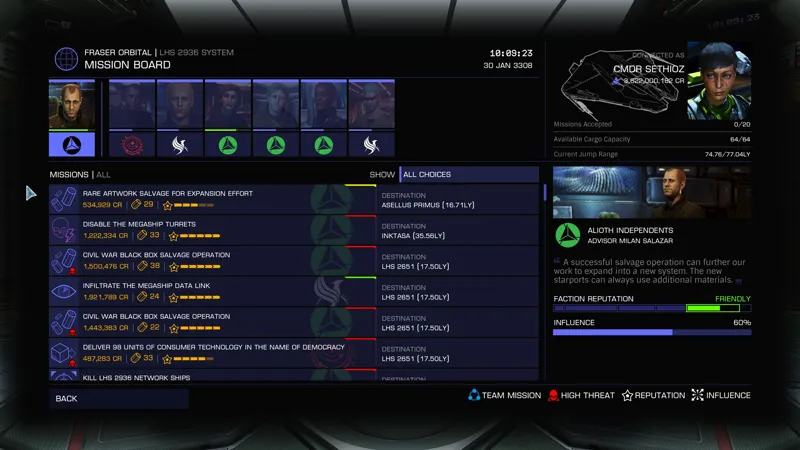

Advanced custom HUD & Menu colors mod for ED + Odyssey
Here's a "quick" tutorial on how to customize your HUD and menus in Elite Dangerous Horizons and Odyssey. There's a generic simple method, which I've shown here - https://www.youtube.com/watch?v=4_t3snlURj0 but this is very basic method that uses HUE (it's officially supported by game), however there's a far more advanced method by using 3Dmigoto tool.
1. Download EDHM UI from https://github.com/BlueMystical/EDHM_UI/releases (I suggest get the "loosefiles" version)
2. Unzip (extract) the files in folder of your choice (like G:/Games/Mods/EDHM)
3. Launch "EDHM_UI_mk2.exe"
4. In EDHM UI click on "Main Menu" on top left corner, then "settings"
5. Fill in your Horizons and Odyssey paths, for me those are as follows:
* Horizons = G:\Games\Steam\steamapps\common\Elite Dangerous\Products\elite-dangerous-64
* Odyssey = G:\Games\Steam\steamapps\common\Elite Dangerous\Products\elite-dangerous-odyssey-64
6. At bottom right, click "Save settings"
* This step will automatically install the mod into ED folders (copies the necessary 3Dmigoto files + configs) and it also adds "EDHM-Uninstall.bat" files into Horizons and Odyssey root folders, so if you want to remove the mod, just run those .bat files.
6.1 If you're using custom HUE based HUD colors, you must remove / reset them (I'm talking about the ones in "GraphicsConfigurationOverride.xml" file) Just delete the file.
7. Now go thru the themes in EDHM UI and find one that you like most, then you can customize that theme to your liking.
7.1 It's best to run game in window mode, so you can test and see changes. In order to reload the mod, press F11 (default) in-game to see changes. If on some reason it does not work, make sure that dev mode is enabeld in d3dx.ini file located in "G:\Games\Steam\steamapps\common\Elite Dangerous\Products\elite-dangerous-odyssey-64" - Open d3dx.ini with notepad++ and locate [Include] section and make sure it has lines saying:
include = EDHM-ini/DevMode/Dev.ini
8. For me saving of custom profile did not work within the UI, so here's how to do it manually (I'm using Odyssey as example, for Horizons use correct paths):
8.1 create a new empty folder (with profile name you want) in "G:\Games\Steam\steamapps\common\Elite Dangerous\Products\elite-dangerous-odyssey-64\EDHM-ini\MyProfiles" folder.
8.2 go to "G:\Games\Steam\steamapps\common\Elite Dangerous\Products\elite-dangerous-odyssey-64\EDHM-ini" folder and copy all the .ini files found in that folder (35aac.ini - advanced.ini - startup-profile.ini - suithud.ini - XML-profile.ini) into the empty folder you just created in previous step.
9. Once you're done editing and you're happy with the theme, copy the files for last time to make sure you have all latest changes saved (you can make additional copy of those files outside of EDHM to prevent any accidental overwrites).
10. Exit game and disable dev mode by commenting out "include = EDHM-ini/DevMode/Dev.ini" line. Check step 7.1 - open dev.ini and simply add ; (semi-colon) in front of "include = EDHM-ini/DevMode/Dev.ini" so it becomes ";include = EDHM-ini/DevMode/Dev.ini" (without quotes ofcourse). This is not necessary, but having dev mode active reduces performance and can cause unnecessary frame drops and/or higher GPU use.
TIPS: Some things cannot be changed via EDHM UI, so you must manually change them in the .ini files. For example nightvision and "FSD Charging" notification brightness are one of those.
for example to change nightvision brightness (very useful), open "advanced.ini" file located inside "G:\Games\Steam\steamapps\common\Elite Dangerous\Products\elite-dangerous-odyssey-64\EDHM-ini" folder and then search for "Night Vision", under there you will find "; Brightness" and under that, there is a value like "=1". Change that to whatever you like (I use 3, it's much better). Same goes for "FSD Charging" brightness, search for "FSD Charging" and under there you find brightness value again. I use 2, because default one with custom colors is way too dim. Just remember that if you use EDHM UI to apply changes, then most likely it will reverse the changes to night vision and FSD charging.
If you keep dev mode enabled, you can make changes directly in .ini files and then press F11 in-game to see the changes, so technically you don't even need EDHM UI after you've set it up, it just helps you visually choose the colors and helps you locate stuff, but once you know what you're changing, then you can make changes directly in .ini files.
HOW TO migrate your old custom HUD colors from "GraphicsConfigurationOverride.xml" file.
1. Open GraphicsConfigurationOverride.xml
2. Copy the 3 lines with colors:
<MatrixRed> 0.37, 0.1, 1 </MatrixRed>
<MatrixGreen> 0.1, 1, 0.1 </MatrixGreen>
<MatrixBlue> 0.1, 0.1, 0.1 </MatrixBlue>
3. Go into EDHM UI and click on "Ship & Station Panels" - new window opens, at bottom left, paste those 3 fields into the XML input field and click "Import XML", then click "Save and Exit"
3.1 Alternatively you can convert them manually and add them into "XML-Profile.ini" located in the "G:\Games\Steam\steamapps\common\Elite Dangerous\Products\elite-dangerous-odyssey-64\EDHM-ini" folder.
Video coming soon, if you have any question, feel free to message me.