


Doodle Adventure - Side Quest: Simple Shading!
Hey y'all so I decided to put together this super simple walkthrough of my process for shading most pieces that are characters only. I'll talk through what I do and think about in terms of lighting and why for stuff like this example, choosing a basic direction for your light source is really all you need. So let's get into it.
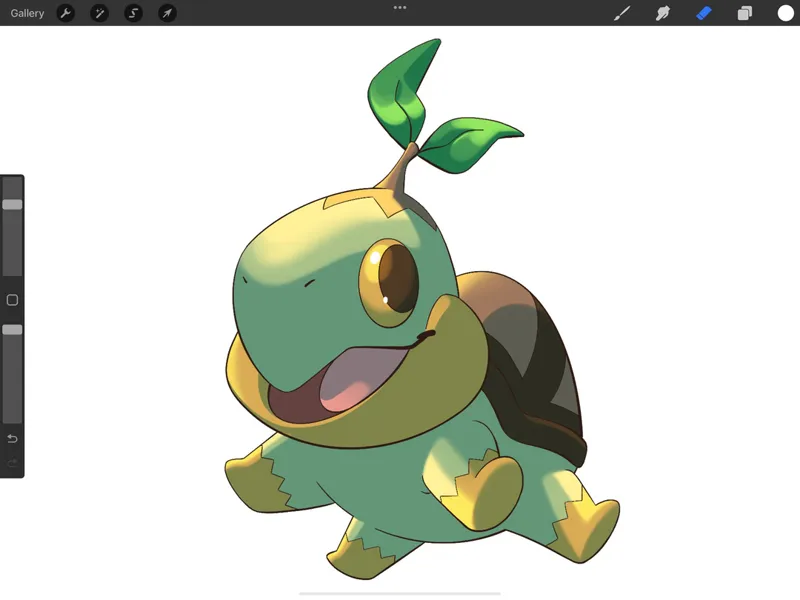
First here is the finished drawing for this example.
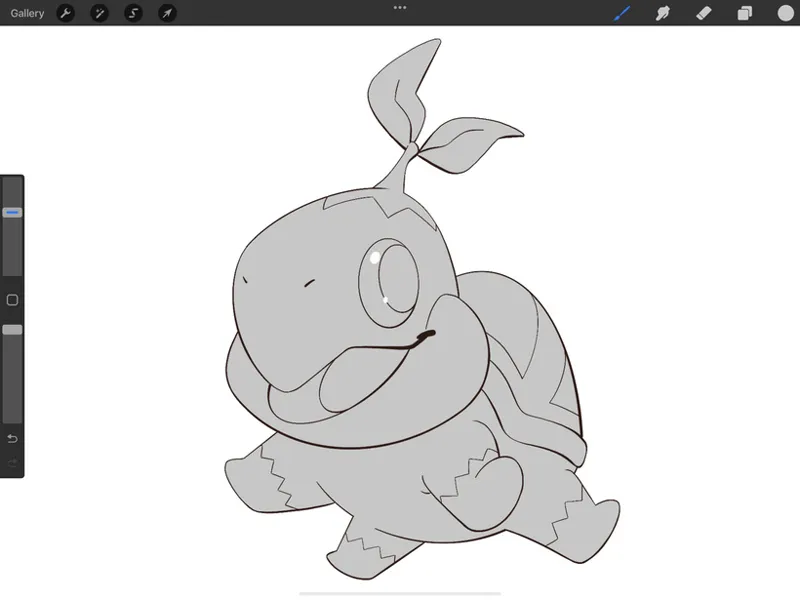
But we didn't start here! First I roughed out the shapes and then cleaned it up and got my finished line art. Once I had the line art done I made myself a solid grey layer or my "grey base" as I call it.
Once I have the base grey done I will make a new layer above that and set it to multiply, this will be my shadow layer. Now with the same grey as the base but the layer set to multiply I will choose my light source direction (for this I went with a simple source coming from above and to the left) and once you have that sorted it's pretty simple. Just think about the figure as it would exist in 3d space and start filling in your shadows. For example I knew the head was coming forward as well as the front legs, this informed me that the bulk of the visible body and belly would be in shadow. And knowing my light was above and to the left that let me know where I could have bits of the legs that would theoretically be poking out from behind the head if looking down from where our light source is with some highlights on them.
*Here you can see a sped up clip of my putting in my shadows and highlights.
So here is a look at my shadow layer without the grey base and after I've swapped it to my final tone from the grey I initially used. But the layer is still set to multiply only difference is the color used for the shadows.
And here is my final highlights and shadows all in grey. So my Layers look like this
Highlights - Same grey as base and shadows but set to Overlay
Shadows - Same Grey as Highlights and Shadows but set to Multiply
Base Grey - Just a flat grey
Once I have these three layers set all that's left is to get my flat colors down.
And once I have my flat colors in I will set my Shadow and Highlight layers to Alpha Lock (this is what it is called in Procreate, you can do the same in Photoshop but I don't know what it's called there, sorry) and with that set I will 'fill' the Alpha Locked layers with my selected tone colors, for these I use a blue for shadows and a yellowish color for my highlights. And that's it.
So when it comes to simple stuff like this, don't sweat the lighting. Lighting like most parts of illustration is something you can take as far or as short as you want. But if you want a look like I have here, decide on a simple light source and just keep that in mind as you fill in where your shadows will be on your character/object. I hope this was helpful. Thanks!
- Teeg
P.S, I'm going to make this post public so feel free to share it if you think other artists you know can get something out of it. And if you feel like supporting my work check out the tiers here and get some fun art in the mail each month!