
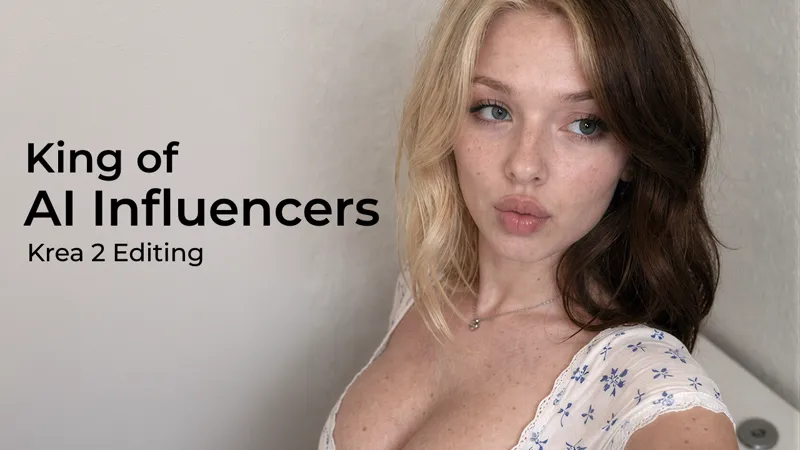

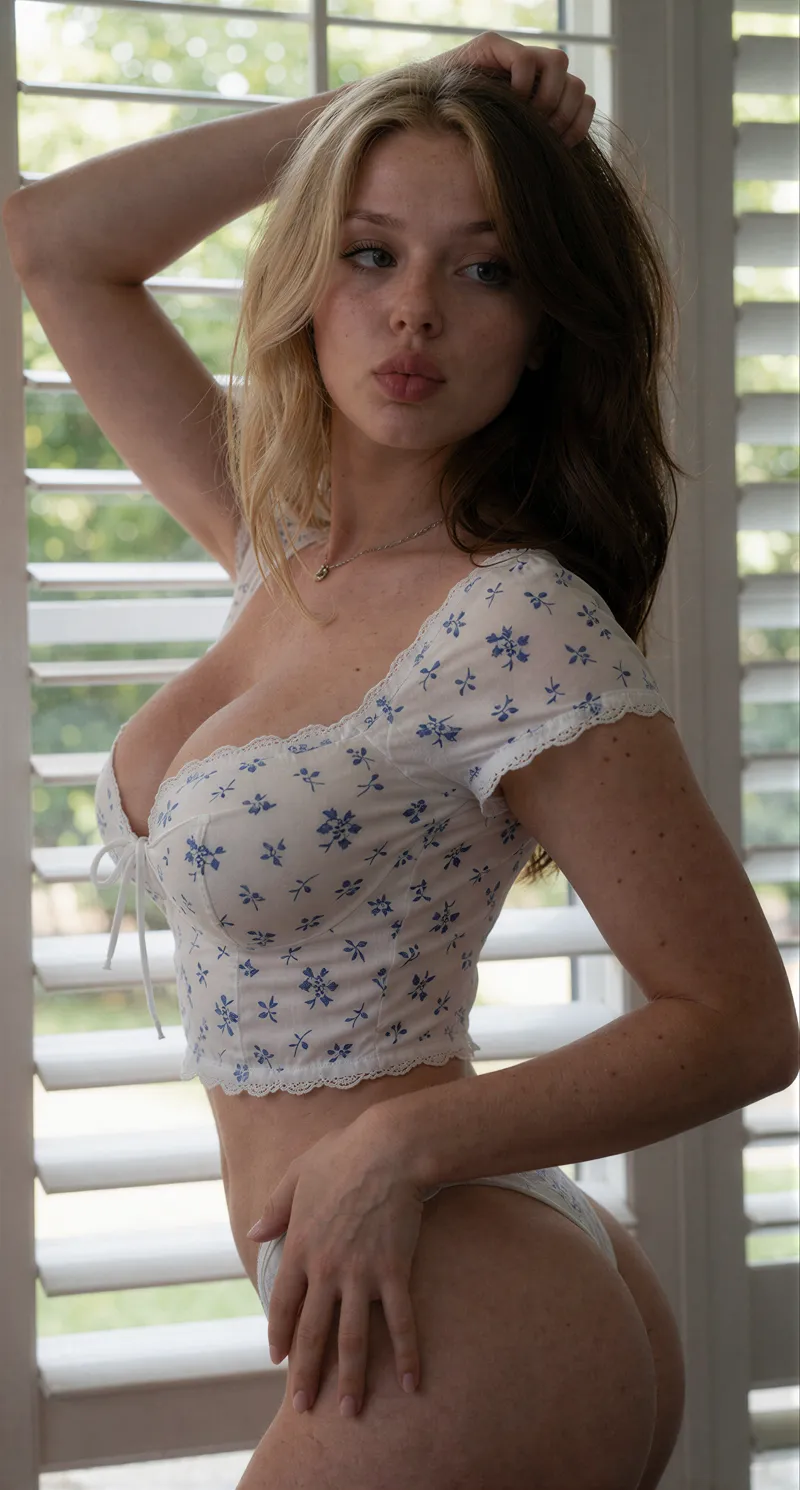
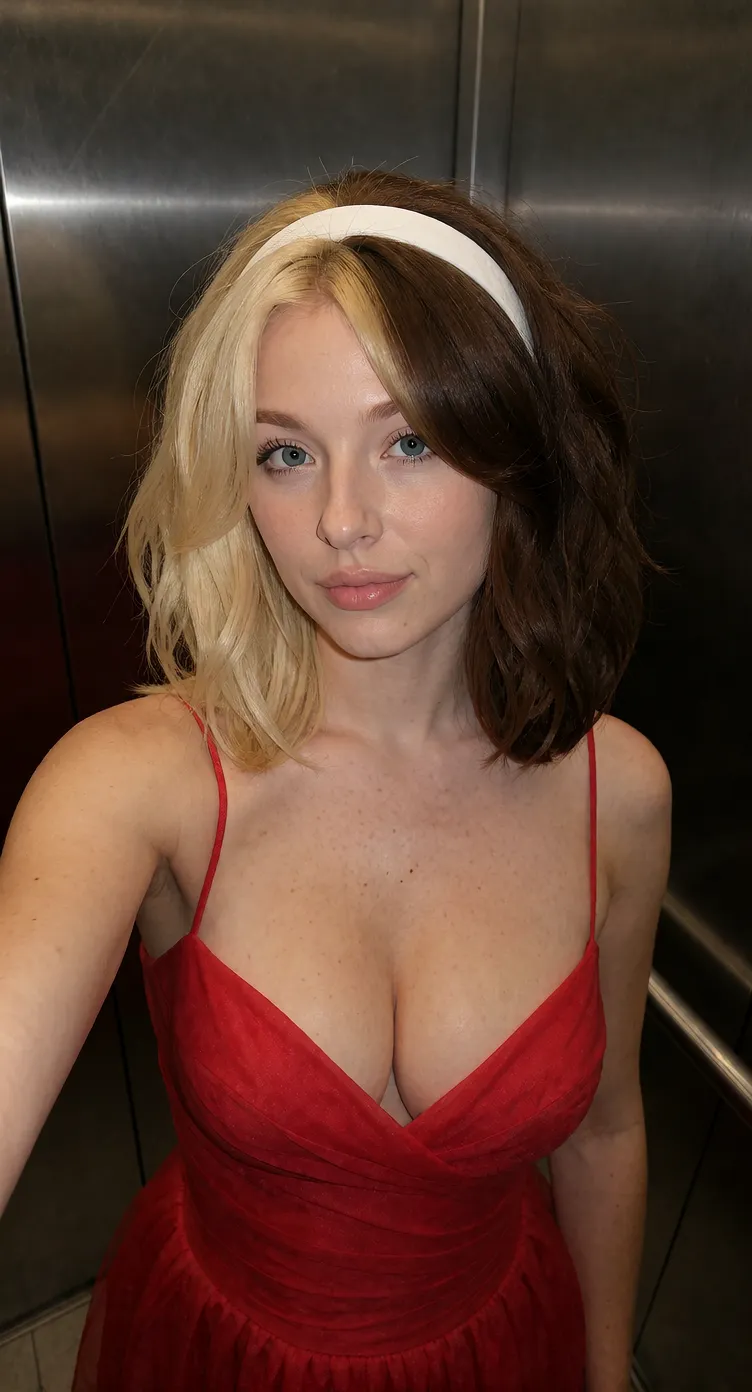




Krea 2 is HANDS DOWN the BEST for AI Influencers.
This is just a sneak peak at everything we've talked about with AI influencers. Want the full course? Check out the link below!
It's quite unfortunate to be making this right after the launch of the SFW AI Influencer course, but my job is to keep you guys informed, and Krea 2 has continued to blow my mind away one day at a time, particularly due to it's image editing capabilities (yes, for real).
The more I play with and optimize Krea 2, the more convinced I am that we finally have a Nano Banana level quality open source model with truly full control, whether you have a LoRa or not.
In this video, we look at the communities new discovery with Krea 2 - turning it into an edit model. With some adjustment, we can turn Krea 2 into an edit model that is better than both QWEN and Klein, and this isn't even the full edit model we were promised.
You can do so much with Krea, from generating LoRa images to:
Changing clothes
Changing environments
Changing poses
Editing images
Generating new images from references
Generated Image Examples
Custom Node Installation
In order to run this workflow, in addition to all the models, you need to install the Krea 2 edit node pack from the following link:
https://github.com/lbouaraba/comfyui-krea2edit
Step 1.) Navigate to your ComfyUI folder, then your Custom Nodes folder (/ComfyUI/custom_nodes)
Step 2.) In the navigation bar, click it and type "CMD", then hit enter:
Step 3.) Once CMD opens, type "git clone https://github.com/lbouaraba/comfyui-krea2edit" and hit enter. This will install the custom node pack into your ComfyUI:
Step 4.) Start or restart ComfyUI and refresh the browser window. Reload the workflow, you should not have any missing custom nodes!
Models & Resources
Resources:
Check out the AI Influencer Course: https://www.skool.com/silent-snow-ai-influencers-6472
Original Repo (Identity Edit): https://huggingface.co/conradlocke/krea2-identity-edit
Custom Node Pack (required): https://github.com/lbouaraba/comfyui-krea2edit
Models:
Diffusion Model (/diffusion_models): https://huggingface.co/Comfy-Org/Krea-2/blob/main/diffusion_models/krea2_turbo_fp8_scaled.safetensors
Text Encoder (/text_encoders): https://huggingface.co/Comfy-Org/Krea-2/blob/main/text_encoders/qwen3vl_4b_fp8_scaled.safetensors
Identity Edit Lora (/loras): https://huggingface.co/conradlocke/krea2-identity-edit/blob/main/krea2_identity_edit_v1.safetensors
Realistic Snapshot Lora (/loras): https://civitai.com/models/2268008/realistic-snapshot-z-image-turbo-krea-2?modelVersionId=3084537
Filter Bypass Lora (/loras): https://civitai.com/models/2728234/krea2filterbypass?modelVersionId=3067151
Comments (6)
Hello. Just want to clarify, If don't have my character lora yet but I have references, I still can use this workflow to create a dataset for example, right?
Unfortunately, likely not. Krea 2 is best used when you have a character LoRa, it's more for the "execution" phase after you've created a LoRa. If you'd like to generate a dataset or generate consistent character images using just a few images, my recommendation would be (in order), Qwen 2.1, Fibo 2 Edit, or Krea 3, all of which are edit based models that allow us to create datasets and new images of our character from a single reference image. I will be posting a new dataset creator with either Qwen 2.1 or Fibo in the coming days, so stay posted!
The resulting image comes out as smaller resolution than the original. The original being 1152 x 1408 then comes out as 944 x 1104. How can I get it to have the same resolution as the one selected in the resolution selector in the main workflow area?
I'm finding also that it tends to make the head slightly too big in proportion to the body when referring to a face in image 1, compared to images made in the standalone Krea 2 Turbo with my character Lora
First off, love the incluencer course, signed up day 1. I am having a problem with the Krea 2 Image Edit WF. I downloaded all the models from your links. I have my influencer head shot on a white background loaded up. The WF runs no problem but it doesn't follow my prompt. It just gives me my original image back with what looks like a red mask over it. And yes I bypassed the background removal nodes and the multi image nodes with the bypasser. Any ideas?
Glad to hear you're liking the course so far! As mentioned in the Skool, with any questions on it, I'm happy to help :) Were you running the single image edit or multi image edit section of the workflow? Is the red mask around the node itself, or a red mask within the image? What was your prompt? I think I would need to see a screenshot of the workflow with the error you're describing, that sounds interesting! I believe you're in the Discord correct? Or you should have my email, if you want to send me a screenshot in either of those places I should be able to give better thoughts!