
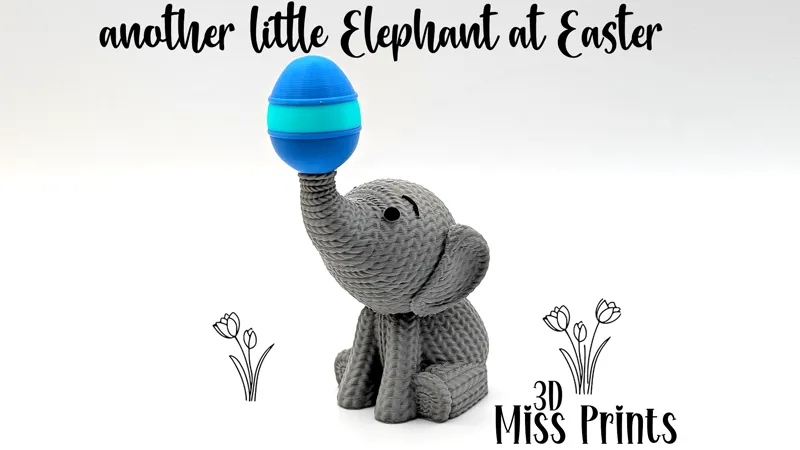
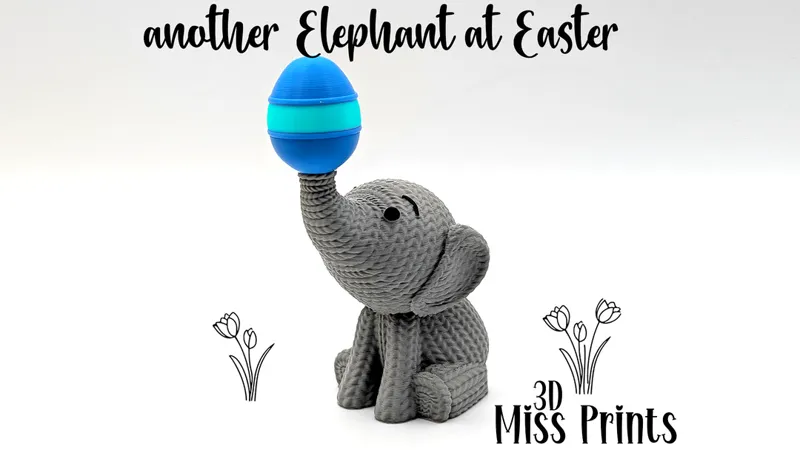
another Knitted Elephant at Easter
It's Easter, and I figured a knitted elephant blowing up an Easter egg would be a cute addition to my elephant series.
• Features •
🥚 Quick Print setup for both AMS/Multi-nozzle and non AMS Users
🥚 Choose your own colour egg with minimal material swaps (no waste)
🥚 No supports, already set up in the print profile
🥚 Optional to use filament for the eyes and brows or hand paint with a black marker or acrylic paint pen (saves on purging filament)
🥚 Approximate size (8cm x 4cm x 4.5cm)
🥚 Scaled to 120% to make Daddy/Mummy Elephant
🥚 Keep at 100% to make a Baby Elephant
• MakerWorld Download Link •
https://makerworld.com/en/models/2574899-a-little-knitted-elephant-at-easter#profileId-2839232
Comments (8)
Of course I could, it was just a suggestion to make it easier for everyone like me, my eyes are weak, my hands shake, lol…
Yeah, those eyes are really, really small if you choose to print them on their own, that's why I avoid that, my hand would drop them and get glue all over my fingers haha. I find a paint pen is far less fiddly. Roll on multi-nozzle printers!!!!
I don’t want to do filament swaps, I want to print all separate and glue later, and for the eyes weather glueing on or using markers it is the same problem with alignment…
If you want to print the egg separately, you can add a hole in the slicer by using a modifier and making it a negative cutout. You could even make a peg if you want something strong, as a peg that would be stronger than a piece of filament. Regarding the eyes, i will have to look at creating a small insert.
LOVE YOUR ELEPHANTS, TWO SUGGESTIONS… 1. Add a small hole on the end of the trunk for a piece of filament and a matching hole on the bottom of the ball that can be used for much easier alignment when glueing. 2. Add a small alignment hole (well really just a dimple) indicating the eye location, it is really hard to get the placement right (matching left & right sides) weather using a marker or glueing eyes on
thanks for feedback. The eggs part of the print, it's not separated, so you don't need to have any kind of joins. It just requires 1 material change. Are you detaching the eyes yourslef?, as this print doesn't have the eyes dethatched either
I absolutely love this one^_^
🥚🐘