


Gingham Dress Pattern
Here is the pattern I promised in my post from the other day! It is for making this dress.
I go through the process of constructing this dress, using this pattern, in this video.
This pattern was drafted to fit me - I’m typically a US size 12. I wear a 36B bra, and have a 29” waist when wearing the foundations this dress was fitted over. If the pieces are cut on the bias there will be some slight flexibility in the fit.
Major alterations would be best made using the slash and spread or slash and shrink method (you can find tutorials for this online - it isn’t very difficult to do). But since it has so many pieces, you could alter it by a few inches just by adding or subtracting some allowance at the seams.
(seriously, adding 1/4” to the side edges of each piece would let it out by a total of 5”!)
Just make sure to make appropriate alterations to the collar to scale it up since it does not have as many seams to alter.
Also - whether you are following this pattern exactly or making alterations I encourage you to make a mockup first!!
…
The front piece was cut on the diagonal grain. The other pieces with notched/gored elements had THAT edge aligned with the straight grain of the fabric, causing the upper bodice portion of the pieces to be cut partially on the bias.
You’ll notice this pattern is just for the upper third or so of the dress pieces. To have the entire pattern be printable, you would end up with 60+ sheets of paper, and piecing it together would get really confusing.
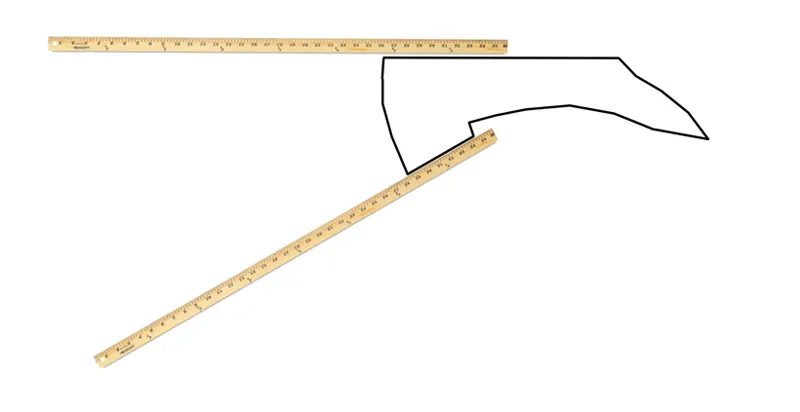
To simplify this, I’ve only included printable sheets for the fitted part of the pattern. It is up to you to extend the pattern pieces by 20” (or less, if you are petite - this measurement worked for me, but I’m 5’ 10”). You can do this with a yardstick - simply follow the trajectory of the side edges so they continue past the printed portion. Mark points 20” away from the bottom edge of each piece, then connect them to mark the hem.
As noted in the video, the hem is not perfectly level. And even if it is, due to how the pieces are drafted / cut, the hem WILL warp after hanging and require trimming. Once trimmed you can hem it using your preferred method, or follow the instructions in the video for drafting/attaching a hem extension.
I used 4 1/2 yards of 60” wide fabric for this project. I think I used a 22” zipper, but anything between 18”-24” should work fine.
…
This pattern is meant to be printed on standard 8 1/2” by 11” paper. It is formatted for this size already, but the first page includes a 1”x1” square so you can check the scale to be sure.
I’d recommend printing that page individually, first, and using a ruler to make sure it measures 1”x1” prior to printing the rest. Some printers scale things differently - getting it to print properly may require playing around with the “fit to page” settings.
…
There is an example of the piece "layout" on the corresponding pages to help give an idea of how the pieces need to be taped together.
These also give and idea of how the pieces will look after extended BUT these layouts are traced off of photos of the pattern pieces which are slightly warped due to the angle they are taken and not 100% accurate to the actual shape of the piece.
…
I THINK THAT IS IT! But if you have any questions I will do my best to answer them! I will have a video about making the matching jacket and the corresponding pattern up later today or tomorrow.
(it was supposed to be today, but digitalizing this took longer than expected!)
Comments (4)
Has anyone been able to make this pattern work? i tried printing it 3 times, but it never quite matches up and i checked the print scale every time.
Thank you! This dress is just so nice and beautiful! Can't wait to have time to do that project! I admire the ton of work you put on your projects. And it gives results!
As soon as I saw your video post this morning, I was hoping that you would show enough detail that I might be able tp cobble together some approximation of the beautiful dress that you had made. And then you announced you were sharing the pattern! Thank you for passing along the benefits of your trial and error!
Thank you!