





Morton Koopa (Mario Bros.)
👉 Download the Premium Model - Click Here!
Morton Koopa Jr. from Super Mario is ready to stomp his way into your 3D print collection! With his oversized body, spiked shell, and signature star-shaped face marking, this bold Koopa makes a fun display piece for any Nintendo fan. Perfect for painting, collecting, or adding to your Mario figure lineup!
Dimensions:
At 100% scale, Morton stands approximately 8.07 inches (205mm) tall and 8.46inches (215mm) long.
Scaling up should work fine, but scaling down may tighten tolerances and make the multi color parts less detailed.
Colors Used:
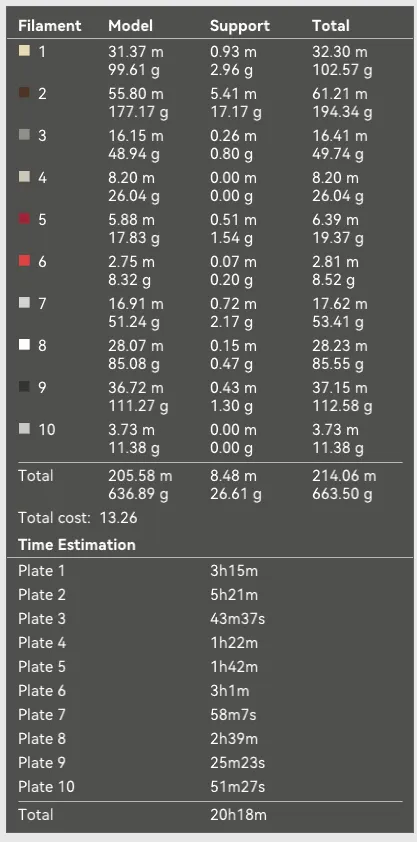
Bambu Basic: Maroon Red, Red, Light Gray, Gray, Black, White
Bambu Matte: Desert Tan, Dark Chocolate, Bone White (For Chest)
Bambu Silk+: Silver
Print Profile:
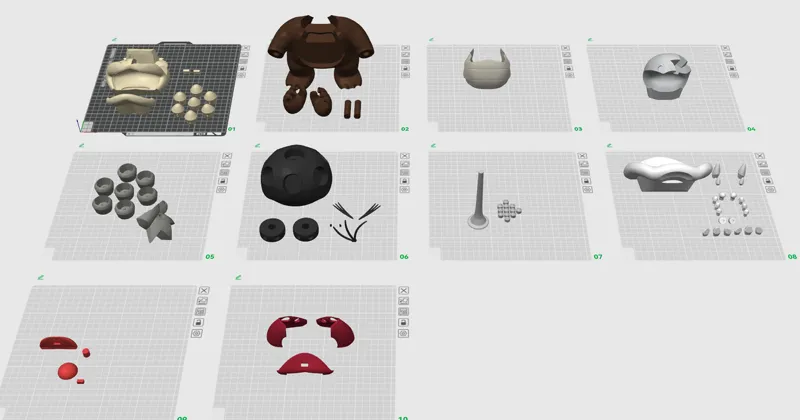
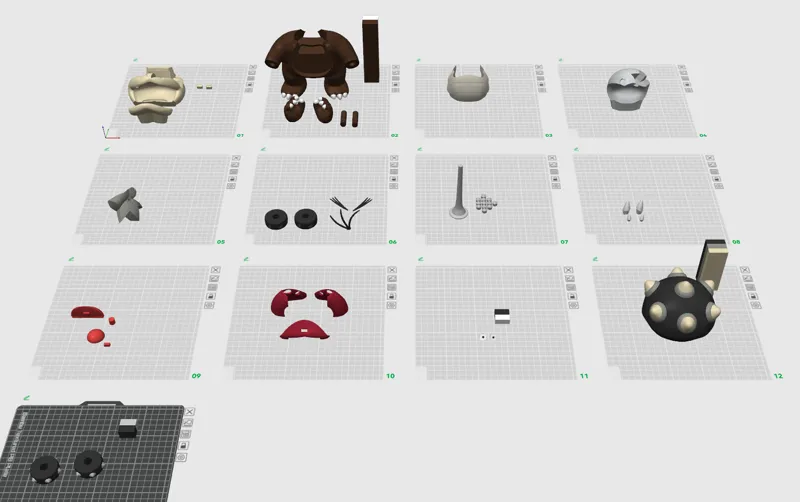
This model is designed to be assembled from separate parts. However, it can also be printed in multicolor, with options including the mouth, eyes, the shell, the body, hands, and the bracelets.
Two print profiles are included: one for Bambu printers and one for the Snapmaker U1 (Snapmaker profile only contains the multi-color parts).
Assembly Tips (For Mouth and Head)
Before you begin: Insert the chest into the body first to test-fit the head and mouth assembly.
Building the Mouth
Build the upper head. Attach the Star and Light Gray head to the Tan upper mouth.
Install the inner upper mouth. Insert the split red inner mouth pieces. They may be a little tricky at first, but press firmly until both pieces are fully seated and snapped into place. No glue is needed.
Attach the teeth. The teeth on Morton’s right side (his right) have notches cut into them. Make sure the notches face forward, toward the mouth opening.
Build the lower mouth. Attach the pin first, followed by the red inner mouth piece and then the tongue.
Join the upper and lower mouth. Do not glue yet. Carefully slide the lower mouth into the upper mouth, guiding it underneath the teeth. Due to the number of assembled parts, a slight gap between the upper and lower mouth is normal.
Test-fit before gluing. With the chest installed in the body, test-fit the completed mouth assembly to make sure everything fits correctly.
Secure the mouth assembly. Once you’re happy with the fit, apply a small amount of glue to the lower mouth where it connects to the upper mouth. Quickly insert the assembly into the body and hold it in position to ensure proper alignment while the glue sets.
Complete Assembly Steps
Attach the foot claws. Secure the claws to the body.
Attach the chest. Connect the chest piece to the body.
Assemble the head and mouth. Follow the mouth assembly instructions above.
Finish the head. Attach the eyes first, followed by the eyebrows, and then the hair on top.
Attach the hands. Connect the hand claws to both hands, then attach the hands to the body using the pins.
Build the shell. Attach the numbered spikes, from 1 to 7.
Attach the shell. Once the shell is fully assembled, secure it to the body.
Build the wand. Assemble the wand and slide it into Morton’s hand.
Congratulations! Your Morton Koopa 3D print is now complete!
Thank you for printing this model and for supporting Playco3D! I'd love to see your finished print, so be sure to share your photos!
Comments (4)
wendyyyy???
Ah trop bien Merci 👍
Bonjour ! Waouh il est magnifique !!!!!!! Merci beaucoup , bonne journée et à bientôt
OMG.... Printing now. My son has been waiting on me to finish the set for him. Now Wendy is the loner lol