
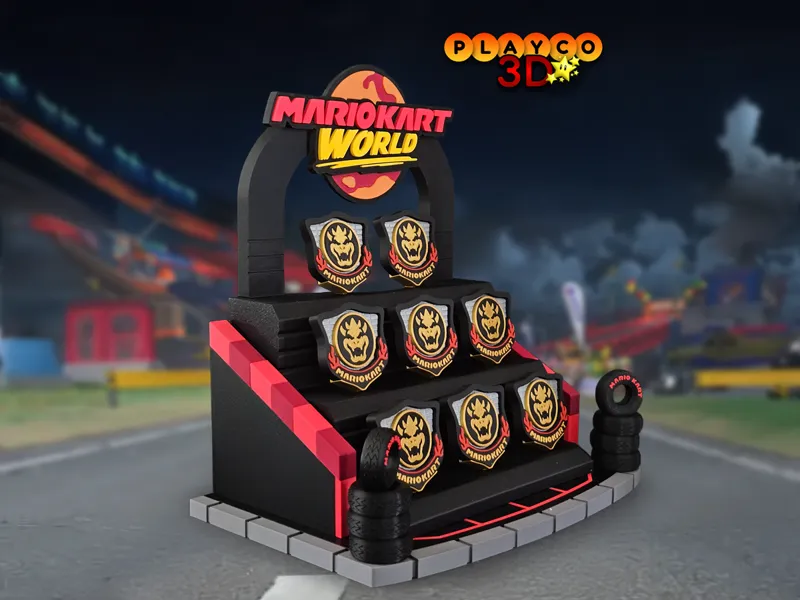
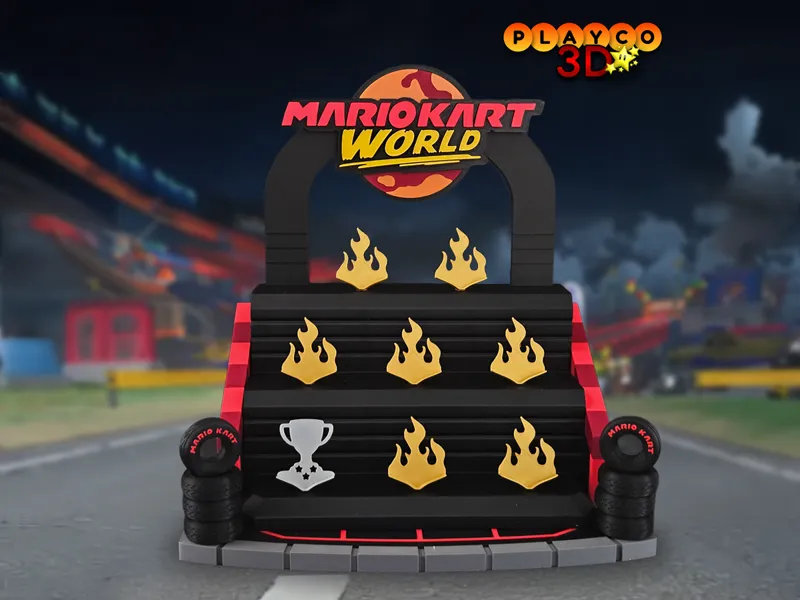




Display Set for Mario Kart World: Bowser's Reign
👉Download the Booster Pack model here!⬇️
This is a Booster Pack Model! 🚀
You’ll receive this model anytime you sign up for a Premium Pass subscription.
In this post, you’ll find all the details about the Booster Pack model for the Mario Kart World: Bowser’s Reign display set.
👉For full details on how to play the game, click here to read the complete post.
👉For the first cup challenge, the Mushroom Cup, click here to learn more.
Dimensions:
The Display Set measures 12.5 in (318 mm) tall, 12.25 in (311 mm) wide, and 7.75 in (197 mm) deep.
Colors Used (Stand):
Bambu Basic: Black, Scarlet Red, Sunflower Yellow, Orange
Bambu Matte: Scarlet Red
Hatchbox Matte: Cherry Red (Darker red colors)
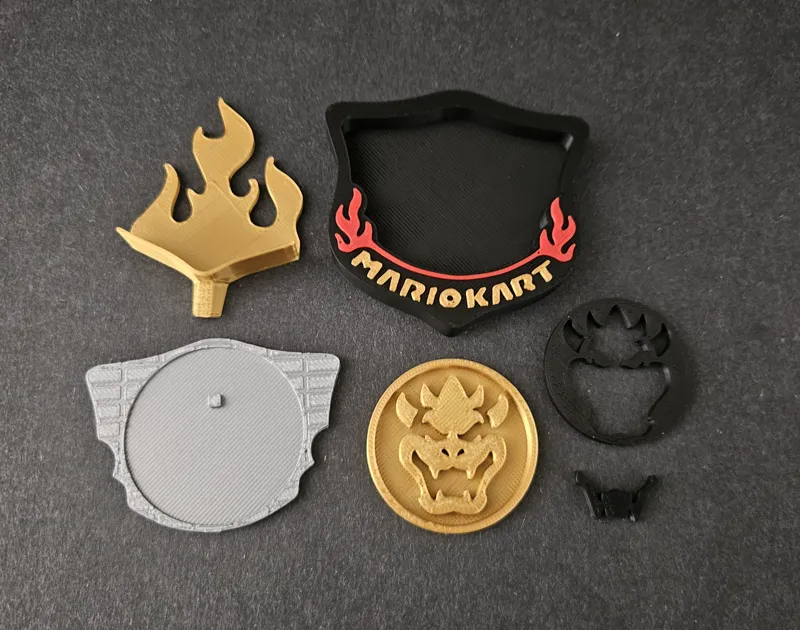
Colors Used (Bowser Medal):
Bambu Basic: Black, Silver, Red
Geetech Silk: Gold
Print Settings:
The model does not require any supports, as all parts are designed to print flat. To save time and filament, I recommend printing the larger parts at 5% infill. Use 10% infill for smaller parts, such as the pins, to give them extra strength. The included print profile is already set up this way.
Print Profiles:
I’ve included an alternate version of the main display stand without the holes for attaching medal supports. Use this version if you’d like a cleaner look or want to repurpose the stand for something else!
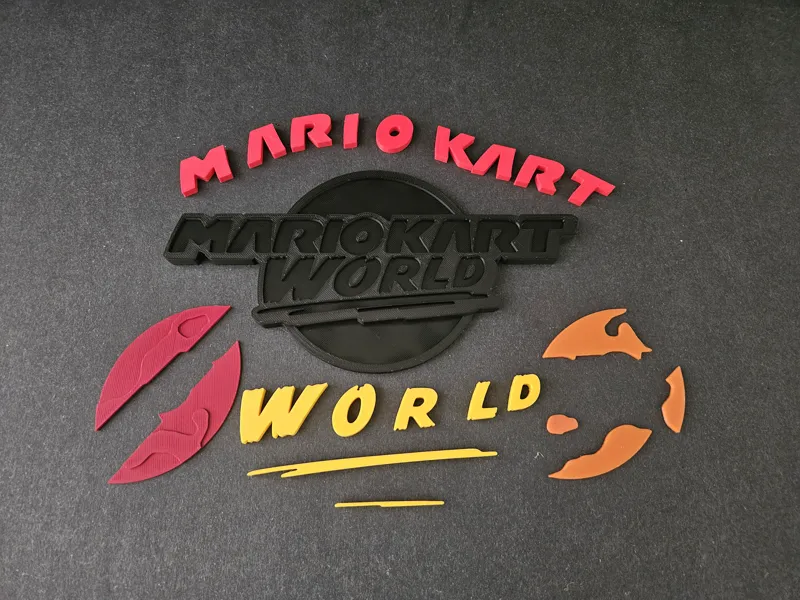
I’ve included an alternate profile for the Mario Kart logo in the classic color theme if you don’t want to use the Bowser theme.
Recommended Tip: Do not glue all the parts if you want the option to change the color theme later.
If you would like to swap out parts to change the color theme, it is recommended not to glue everything together. Here are some parts of the model to leave unglued.
Front Red Stripe
Do not glue in the front red stripe. Once the model is built, you can pop the stripe out and slide in another color if you wish. To remove it, use a thin object to reach into the gap and carefully pull it out.Do not glue down the gold flame medal supports, as they can be swapped out each month for the winning models. They can be pressed in for a semi-tight fit.
Side Colored Blocks (Red / Dark Red)
Do not glue the colored blocks directly to the side wall. Starting from the top and moving down:Place the first block on the side wall using the pin.
Apply glue to the next block along its side and attach it to the first, aligning them straight.
Continue gluing each block together in sequence, but do not glue them to the wall itself.
Work your way down to the last block. Once all the blocks are glued together as a single piece, you can lift the full set off the wall and swap them for a different color theme.
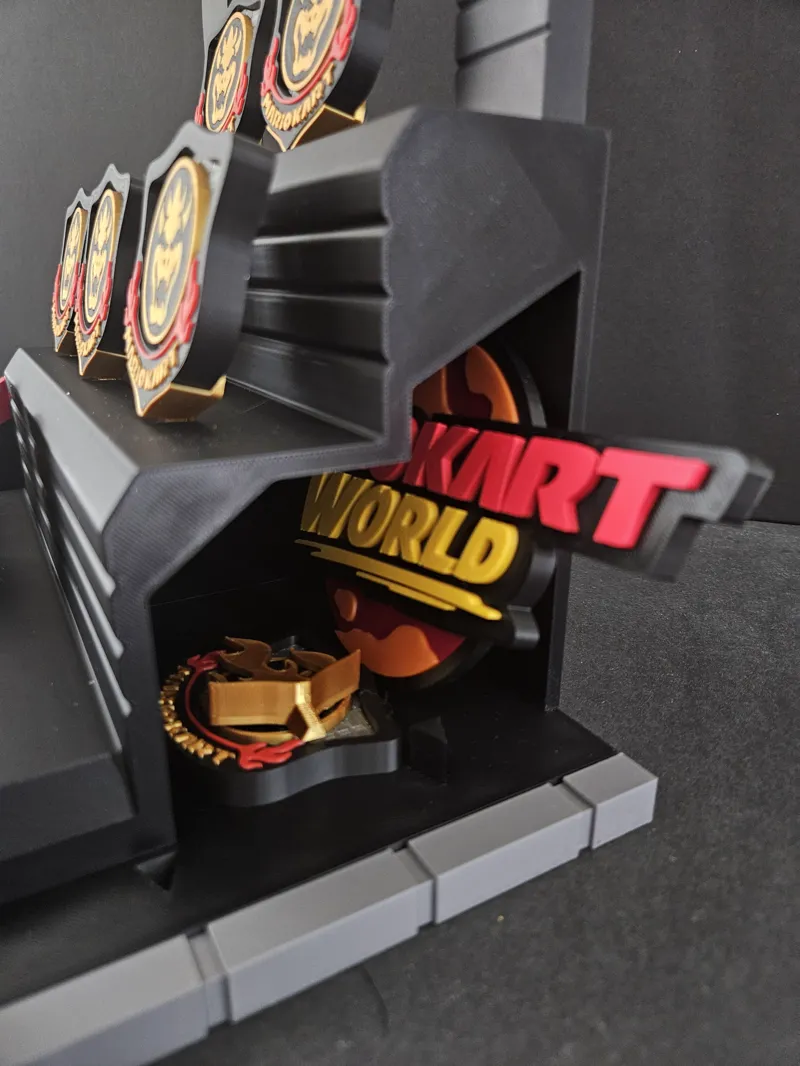
Do not glue down one or both side black walls. The main stand has space inside to store parts for color swaps. Simply remove a wall and place your parts inside.
The Mario Kart World logo at the top is designed for a tight press fit. Do not glue it to the arch if you want the option to swap in a different color theme logo.
Assembly instructions for the Display Stand:
Base
Begin by attaching the pin at the front of the base to line up the two grey pieces.
Connect the inner black base pieces using three pins and glue these two sides together securely.
Insert the inner black base into the outer base and glue them together firmly.
Front Stripe
Insert the front red stripe. Do not glue it if you want the option to swap out the color later.
Side Blocks
Build the blocks on top of the side walls, following the earlier directions if you plan to change the color theme later.
Each block has a small arrow on the bottom near the pin hole; the arrow should point away from the stand. The bottom block has two arrows for easy identification.
The blocks, including the bottom one, have a slight bevel on the outer edges and a flat cut on the inside. To maintain the correct look, make sure to place the right and left blocks, as well as the bottom front block, in their proper positions.
Side Walls
Attach the side walls on both sides using the pins. Do not glue them if you want to use the inside of the display stand for storage.
Main Stand
Attach the main stand to the base. You may glue this down for a stronger, more secure build.
Arch
Attach the arch to the main stand using the pins.
Logo
Attach the logo to the arch. Use the tight press-fit version if you want to swap out logo colors later. If you encounter fitting issues, use the loose cut-out version and glue it on instead.
Tires
There are two versions of the tire: a blank tire and one with text. Build the stack using the blank tires, then glue the text tire on top. For a more natural look, avoid aligning all the tires perfectly—slight variation makes the stack feel more realistic.
Medal Supports
Attach all the Bowser fire medal supports into their slots. Do not glue them if you want the option to swap them out for different supports later as you earn new medals.
Bowser Medal
The Bowser Medal comes in multiple versions. You’ll need an AMS to print the colored details on top of the medal, but everything else can be printed in a multi-part version. There’s also an option to print the inner Bowser Medal with AMS, as well as a keychain version.
Your Bowser’s Mario Kart Display Set is ready to roll! Swap colors, show off your medals, and keep building as you conquer each cup.
Thanks for printing — and share your builds with Playco3D! 🏆🔥🍄

Comments (7)
hey welche farben wurden verwendet für den Pilz Cup ?
Hallo, die Farben für die Pilzmedaille finden Sie in diesem Beitrag https://www.patreon.com/posts/137176116
gibt es ein Bild vom Classic Logo zufällig lg sabrina
Ja, ich werde ein weiteres Bild eines alternativen Farbschemas mit den klassischen Farben veröffentlichen
I can't find where to download the stand, it directs me to the premium download hub but the stand isn't there.
Look under Booster models, or you can directly download at the bottom of the post in the Premium Download Hub
WOWTF 😂