


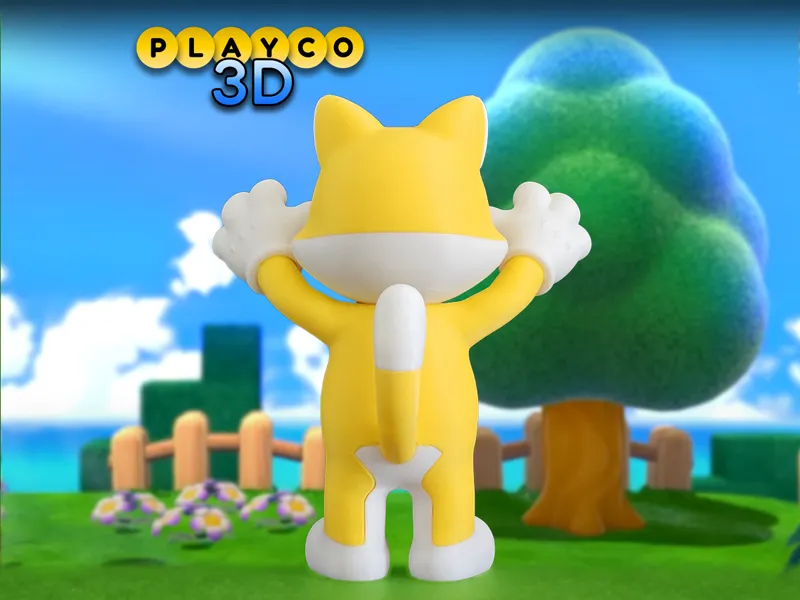


Cat Mario
👉Download the Free Model on Makerworld Here!⬇️
This high-flying feline is ready to climb, scratch, and power-up your 3D print collection! Whether he's scaling warp pipes or batting away Goombas, this model is a must-have for any Mario fan. Easy to print, fun to build—get ready to bring this Super Bell-powered hero to life!
Dimensions:
Cat Mario stands approximately 6.25 inches (159 mm) tall at 100% scale. You can scale the model up or down to fit your needs, but keep in mind that scaling down may cause tighter tolerances. A 200% version is coming soon—the pins will need adjustment for the larger size!
Colors Used:
Elegoo: Matte Yellow, Matte White, Pink
Bambu Basic: Black
Elegoo PLA Pro: Light Blue
Bambu: Matte Dark Brown
Esun: Gold (not shiny) (Dark Yellow)
Polymaker: Army Beige
Printing Tips:
Supports: Please refer to the print settings picture.
🚨 IMPORTANT!
If you glue the hoodie together first, do NOT glue the bill in before attaching it with the face, or you won’t be able to insert the face.
You have two options for assembly:
1️⃣ Leave the hoodie unglued, insert the face and bill together, then glue the hoodie shut.
2️⃣ Glue the hoodie first, then insert the face and bill at the same time before securing them in place.Make sure to attach the eyebrows first before placing the hoodie on top, or you won’t be able to insert them afterward.
Assembly Steps:
Attach the pink spots to the feet.
Glue the white and yellow body parts together.
Glue the tail pieces together using the tail pin, then insert the assembled tail into the body.
Attach the pink spots to the hands, then attach the hands to the body.
Attach the white and pink ear pieces to the hoodie.
Choose your preferred method for inserting the face into the hoodie.
Personally, gluing the hoodie shut first reduces any gaps in the hoodie, then attaching the face with the eyebrows and bill already in place.
Attach the side hair pieces to the hoodie.
Assemble the eyes and insert them.
Attach the mustache with the flat side facing up, pressing it in firmly at an angle.
Attach the head to the body using the pin.
Now he’s ready to climb, leap, and take on any adventure. Whether he’s guarding your display shelf or joining your next diorama, this Super Bell-powered hero is set to stand out. Time to show off your latest 3D print!
Thank you for your support! Happy printing!
Comments (9)
Hello, new to here. What is the difference between rafts and no rafts?
Hey there. Rafts are just an extra few layers that prints under the object. They are useful for parts that have little contact to the plate and potentially can pop off. I provide a version with no rafts for users that want to do their own settings. I provide rafts on parts I feel can potentially pop off...so it's up to you how you want to print hope that helps
Superbe !! Merci Beaucoup
Love it !!!
whats every one use for skin tone?
Sand, inland filament, beige from esun, have worked for me
Super! Mon fils m'en avais justement demandé un la semaine dernière 🤩❤️
Great!! One cat character was good, but two is better
Working on the Bell Powerup Can't turn into a cat without it right?