


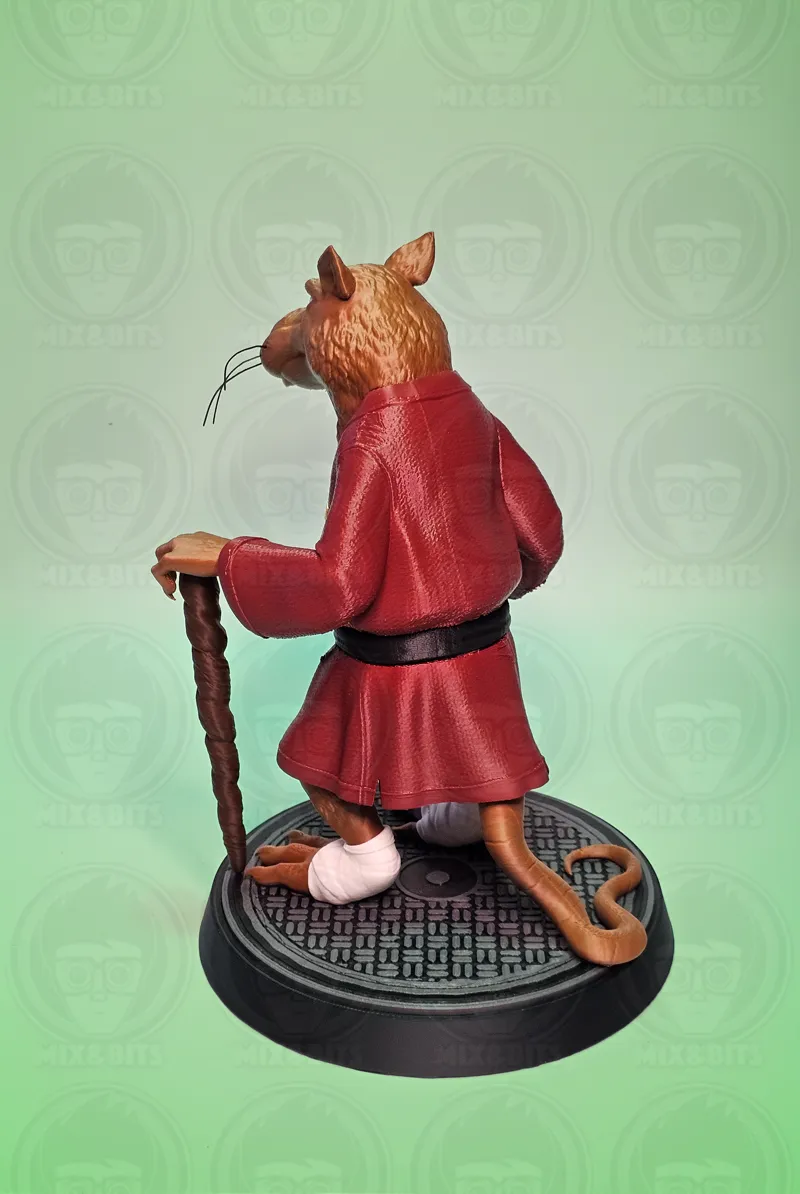


Master Splinter, 1987 (26 cm tall including base) FILES HERE
Master Splinter has joined the kids!
A really fun and easy to assemble figure! We are pretty happy with this one!
I included the whiskers in the last plate, they give that cool touch that completes his look!
The head includes the eyes (not separated) but teeth and nose are splitted and very easy to mount.
LET'S START!
Take the head and mount nose and teeth.
Now take the two parts of the jacket (it's actually the upper part of the karategi uniform) and mount them to the belt. Now add the two golden decorations.
Take the legs and mount the feet. Now glue the legs and the tail to the lower part of the jacket.
Mount the hands to the sleeves.
Add the head to the jacket.
Mount the base and add the figure on top.
Glue the stick under the left hand.
NOW TAKE THE WHISKERS AND GLUE THEM TO THE LITTLE HOLES after bending them and giving them a rounder shape.
FIGURE READY!
PLA USED:
Jacket: PLA AzureFilm red wine
Body fur : DEEPLEE PLA Matte, Terracotta Brown
Brown used for the stick: Sunlu PLA+2.0 brown
White: Bambu matte ivory white
Gold used for the jacket decorations : Pla silk gold from Elegoo
Black: DEEPLEE matte pla
Grey: Dark grey pla basic by Bambu lab.
Comments (2)
Just finished printing this. It turned out great! Thanks for the awesome model
Show us!! :)