













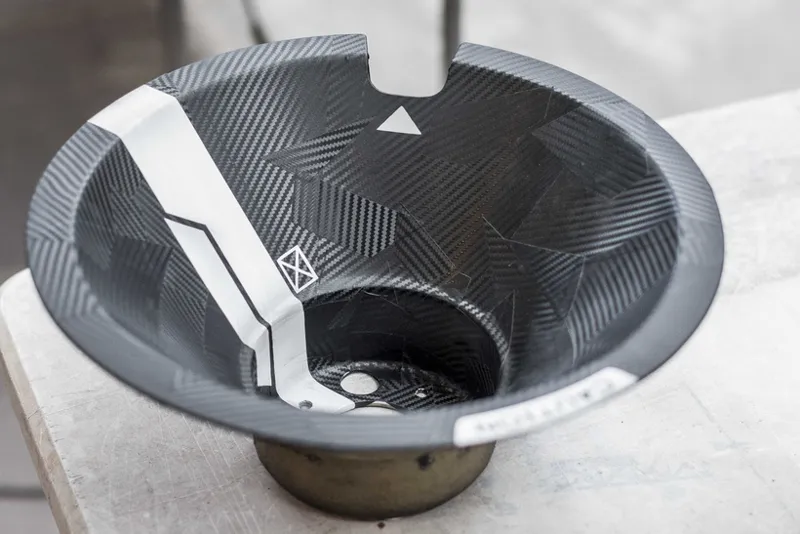

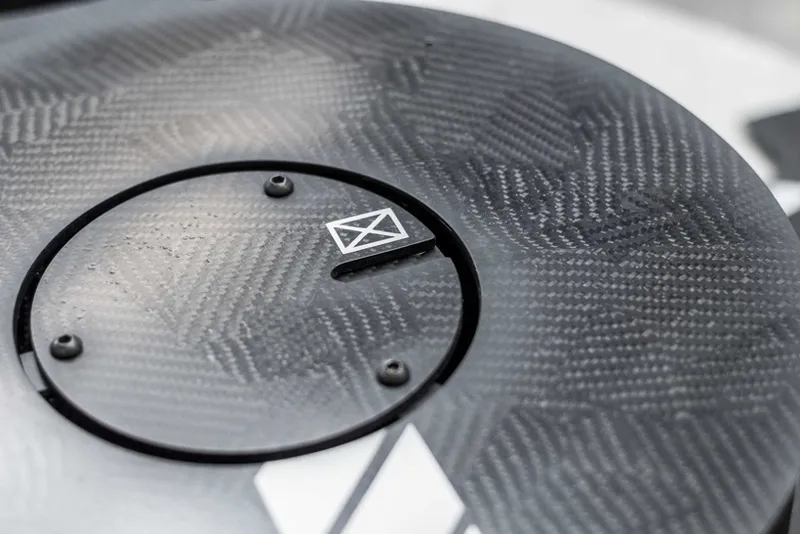


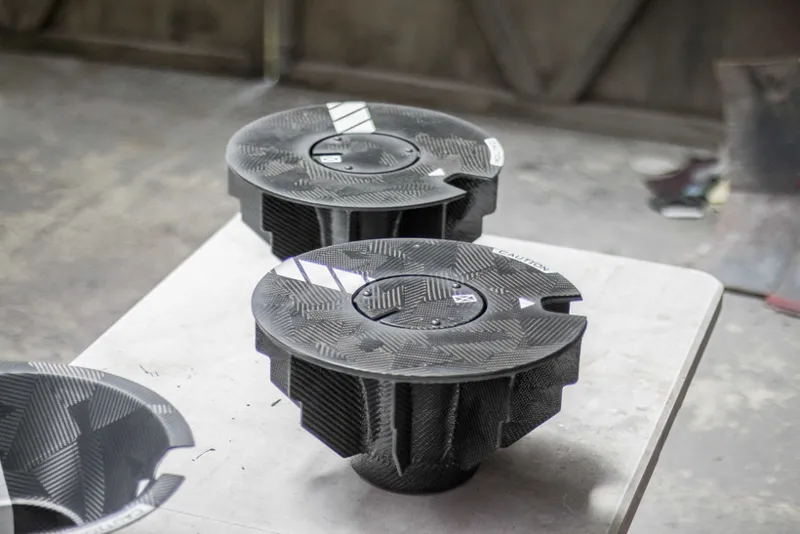
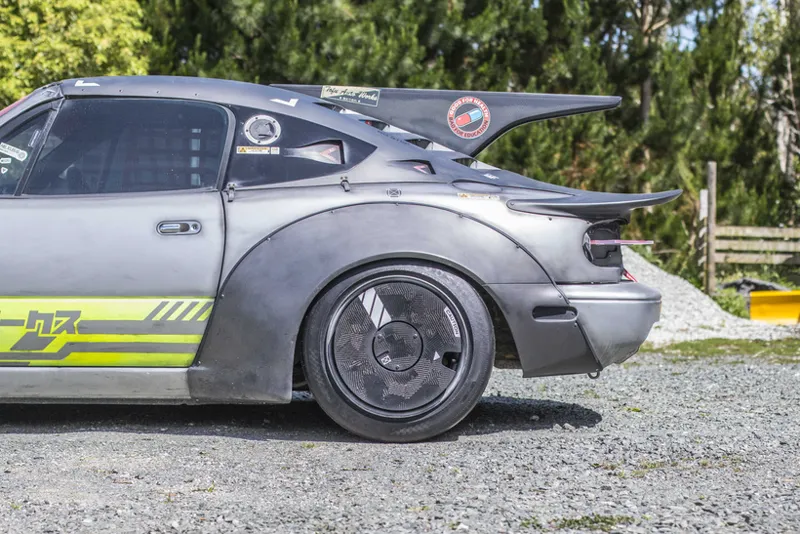
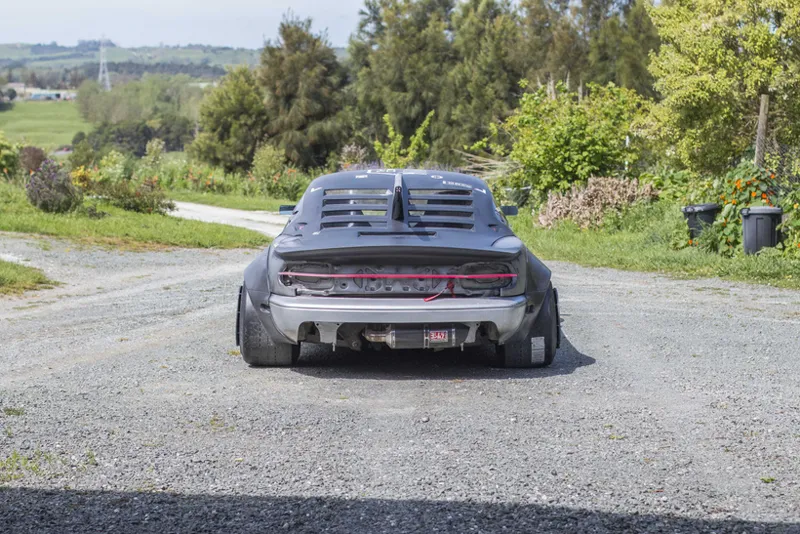


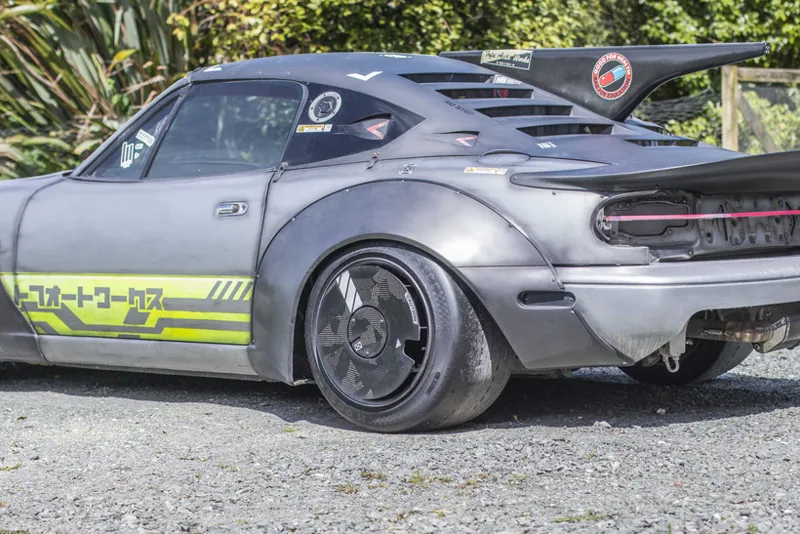
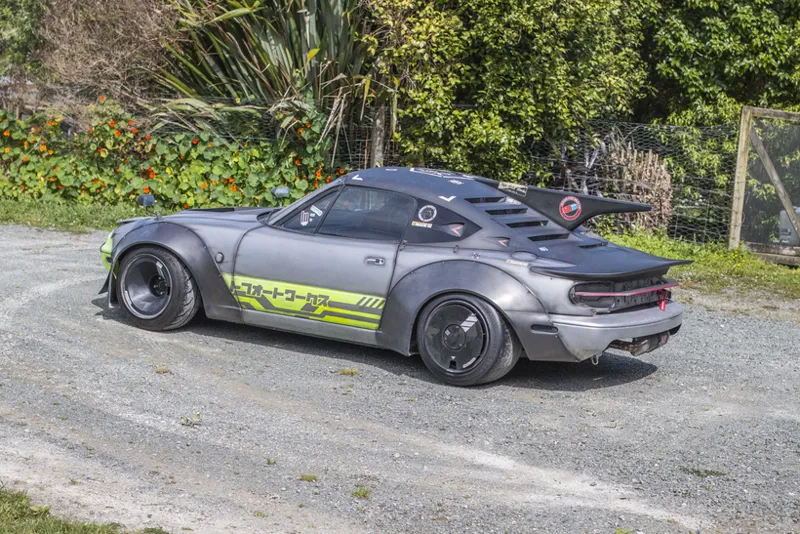




Making "Glitch Carbon" - Completed turbofans
Ok, so this is why there has been such a massive pause between episodes / uploads. Trying to get this effect to look good was absolutely punishing and probably a bit more than I should have attempted for my first crack at carbon layups but that's just who I am.
So to throw it back to the first test piece I made with the offcuts between 2 pieces of glass.
Following that initial test I played around with some of that cheap 3M carbon sticker stuff just to confirm that it would work.
So here I was pretty happy, I though "yeah this will be sick, they'll all flicker when the wheels spin, should be easy enough to do"
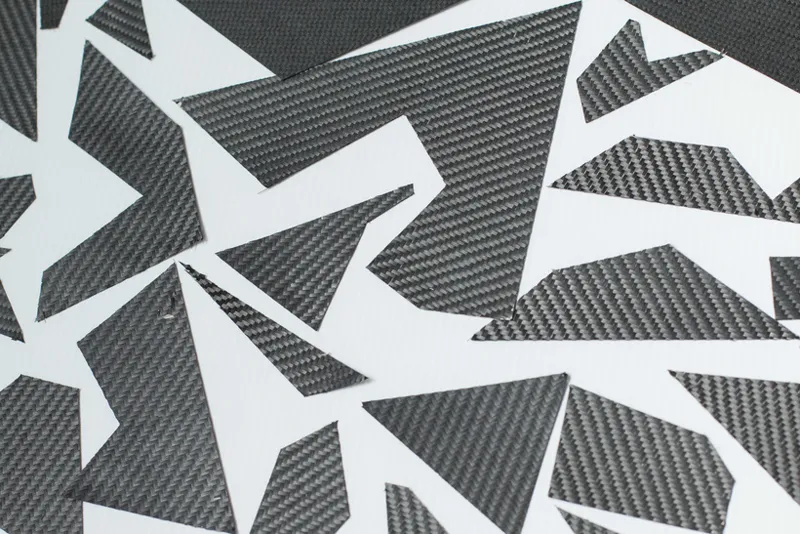
So first step was to cut all my carbon pieces. Here in NZ we have basically no options when it comes to carbon, I think there are like 2 or 3 places you can get it and "stabilised carbon" is completely unheard of so the only way to get nice sharp edges was to spray the back of the carbon with adhesive and leave it to dry. This ended up locking the whole thing together pretty well and let me get some really nice clean lines.
For my first attempt I basically treated the carbon like I would treat fiberglass and just went for a simple wet layup. I wetted out the glass sheet, placed all my fragments, then poured a little more epoxy on top and placed my 4 layers of carbon on top.
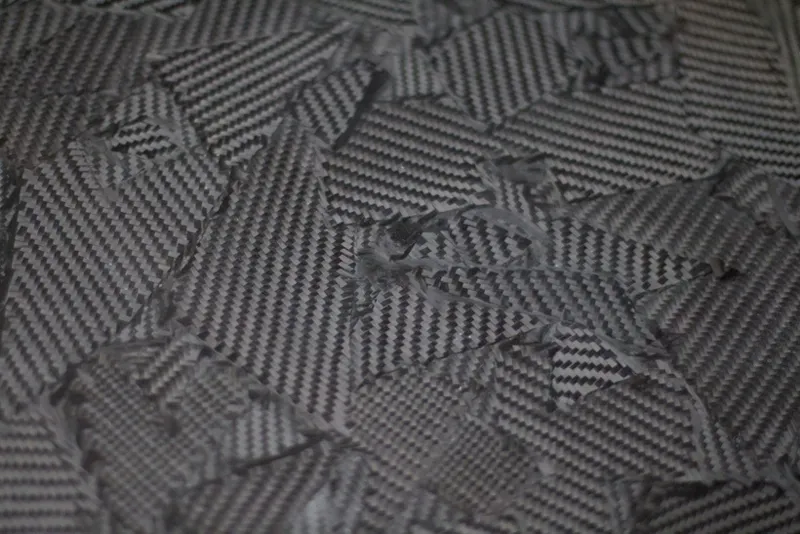
This went absolutely terrible as the epoxy just broke down the glue on the back and as I was squeegeeing the epoxy through the laminate all of the pieces of carbon started to distort and fray and I was left with this mess.
So this was absolutely terrible. Not a complete waste because I made sure to leave a nice piece of carbon on the back side so I could flip this one over and try and lay the fragments on top in a method similar to forged carbon skinning. But safe to say attempt number 1 was a massive fail.
Here I called my good mate Tim over at Industry Garage who also goes by Street Banditos on YouTube. Tim's a super knowledgeable dude and he's my go to guy when it comes to carbon. If you're not watching his videos what are you even doing mate?
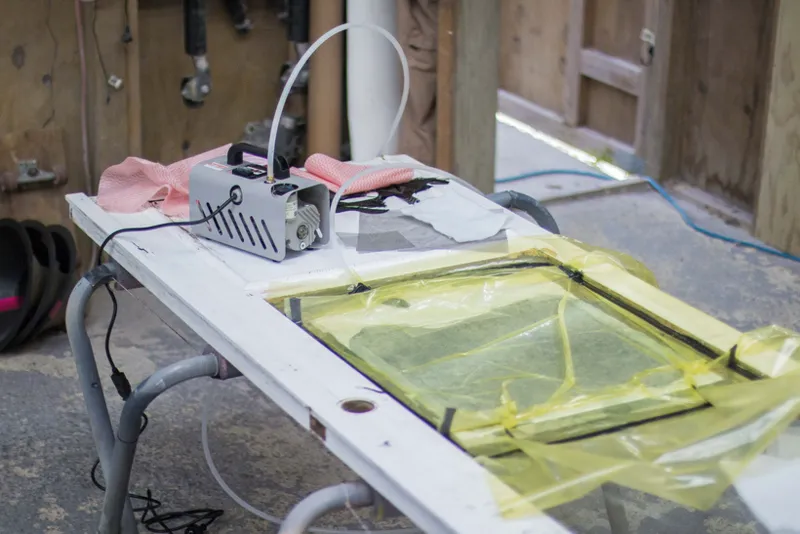
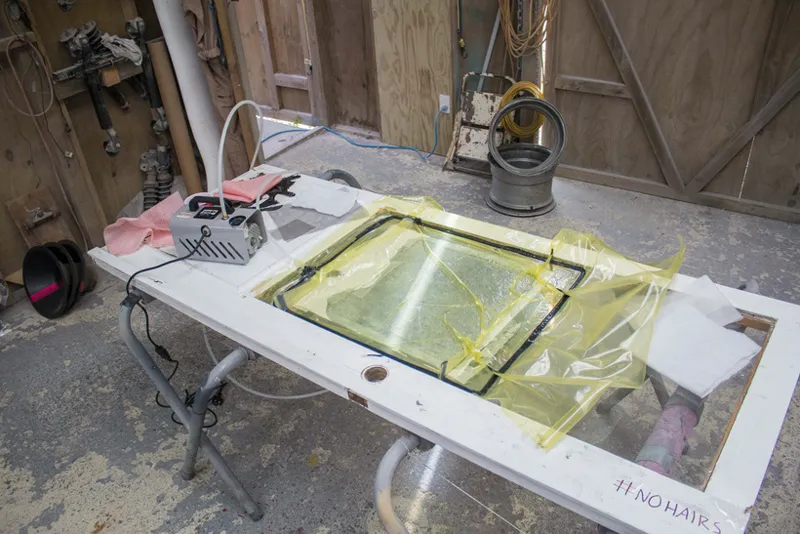
So for attempt 2 I actually put a little more thought into things and decided to do it properly. For this I picked up a vacuum pump and decided to do a vacuum bag layup. Not full infusion at this stage though it's looking like that might be what I have to do in the end.
For layup number 2 I spread a thin layer of epoxy on the glass and let it cure until it was just tacky. Then I pressed all the carbon fragments into it and put a layer of carbon on top of that dry. I made sure to really press these 2 cosmetic layers down hard so that the weave was fully trapped in the super tacky epoxy underneath. After than I mixed up a fresh batch of epoxy, applied another 3 layers of 200gsm carbon (4 1/2 layers total with the shards) and then followed up with a layer of peel ply, breather and vacuum bagged the whole thing over night.
The end result from this attempt was much better.
Really good edges this time. Unfortunately there was still a little bit of weave distortion due to me squeegeeing a little to hard and it moving that first full layer of carbon, there were also quite a few airbubbles unfortunately and I've got a couple more ideas on how to fix that but attempt 4 is going to have to wait for another day.
At some stage I'll do this exact same pattern using the moulds for my old aerocovers so that the front and rear wheels match and when I come to that then I will maybe re-do these ones. But for now these will do and don't think we all want to sit around for another month trying to perfect this technique.
So with at least 1 usable sheet now I went for attempt 3 to salvage the first failed layup. For that one I did the same trick of applying a layer of epoxy over the whole thing, letting it tack up, placing the carbon pieces, then poured several cups of epoxy on top of it to get the top surface level. For some reason I didn't take any photos of this one, maybe because the whole thing was a complete unmitigated disaster and I wanted know record of it. I dunno.
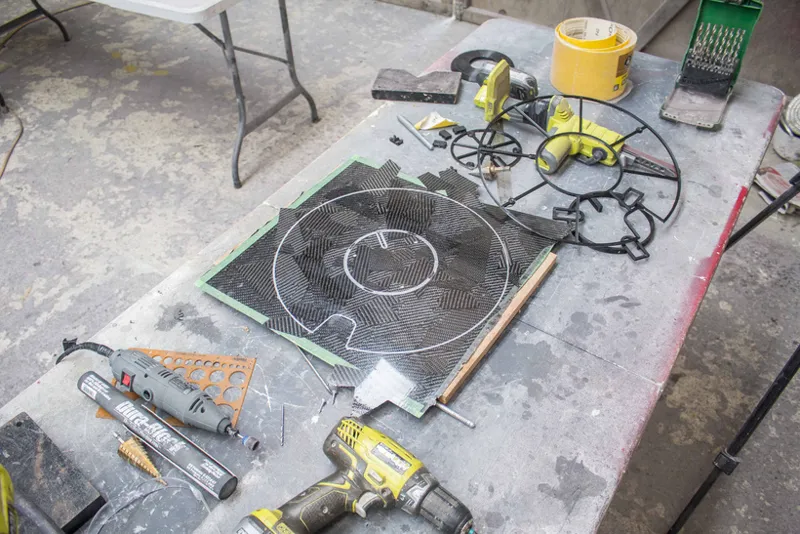
Once I had both the carbon sheets done I printed off a template to cut the disks
I went pretty overboard with the engineering on this one and made a bunch of these small removable locator clips so that I could print off the template in two separate pieces, but still be able to align them perfectly to drill the holes for the mounting tabs.
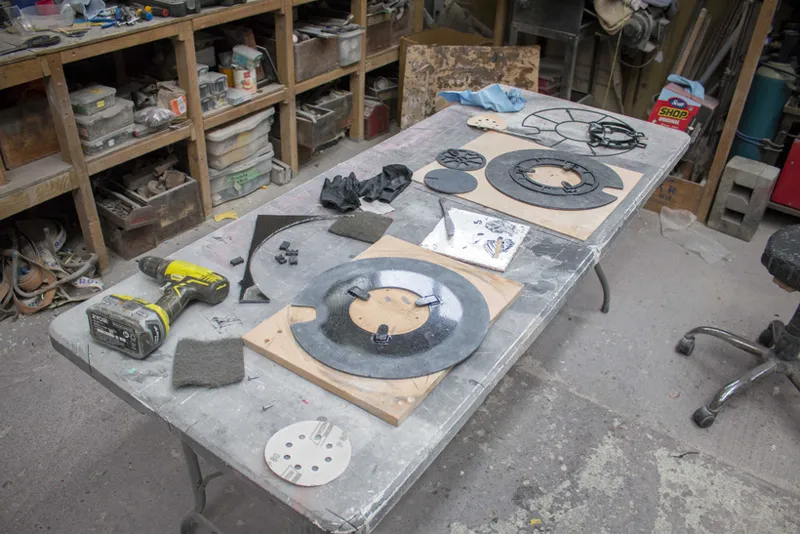
So with the design of these covers, the plan is to bond the outer disk permanently to the turbofan, and have the center disc removable, to do that I added some mounting tabs using the leftover carbon.
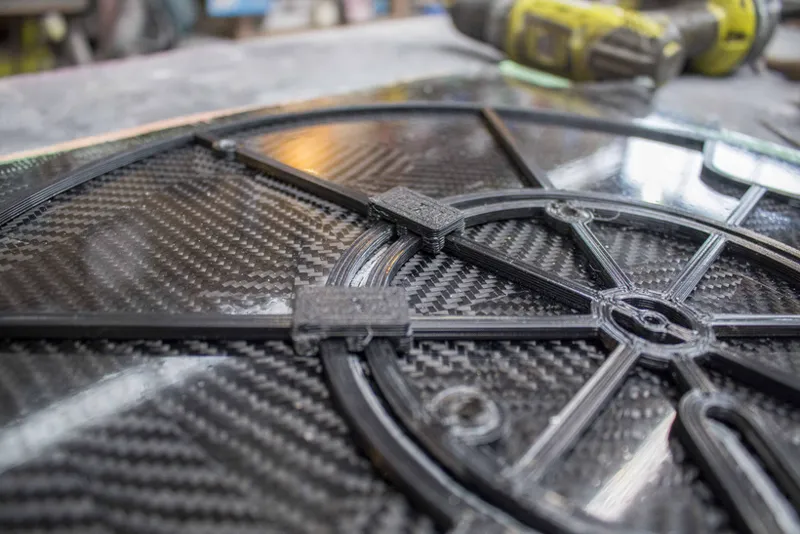
You can also see here that there is a 3D printed spacer that I've bonded to the vacuum layed carbon. The issue I had was it was actually so thin that when I put the mounting tabs on it looked super flimsy and had no depth, so I had to 3D print a little 3mm riser piece so that there was a little bit of dimensionality there and also so that it matched the salvaged piece which was around 4mm thick of epoxy at this point to get it all level.
You can see I also used one of the little 3D printed guides to ensure alignment of the tabs with the center piece so that the carbon lined up.
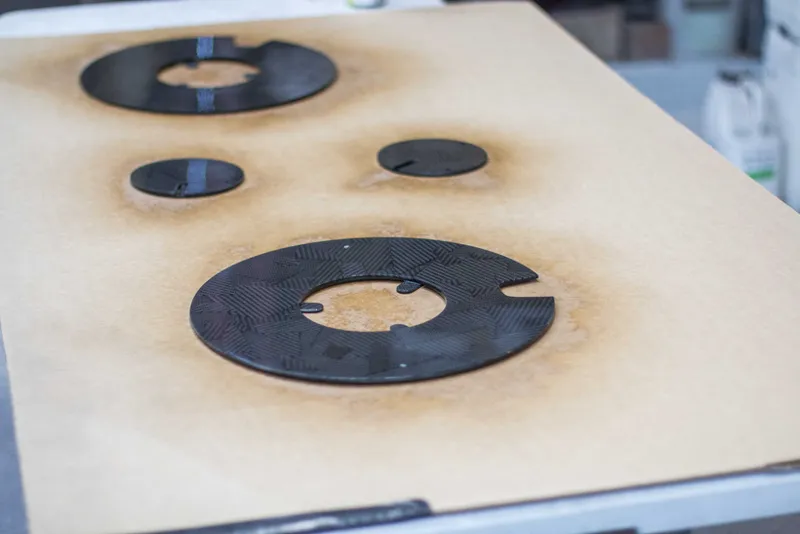
After that I sprayed them with some 2k clear coat for a little extra UV protection.
To make things difficult for myself once again I wanted a satin finish on these turbofans. I had matt and gloss clear in 2k but only had satin in some rattle cans so I gave that a go first and result was super inconsistent so I took it all back off and tested out mixing the matt and gloss together even though they were different brands. Turns out a 2:1 mix of matt to gloss gave me a pretty tasty satin finish that after giving the test piece a couple days it hardened up fully so I moved on to these disks.
After that I pulled out my fancy new vinyl cutter for some subtle cyberpunk inspired decals. Now that this vinyl cutter has finally arrived and I've been able to get your names up on the two post, I'll have that up in the video.
I also added matching stickers to the old aerocovers that will actually be going on as a place holder until I get a chance to make new aerocovers for the rear out of carbon.
After all of that it was finally time for my favorite step, weathering.
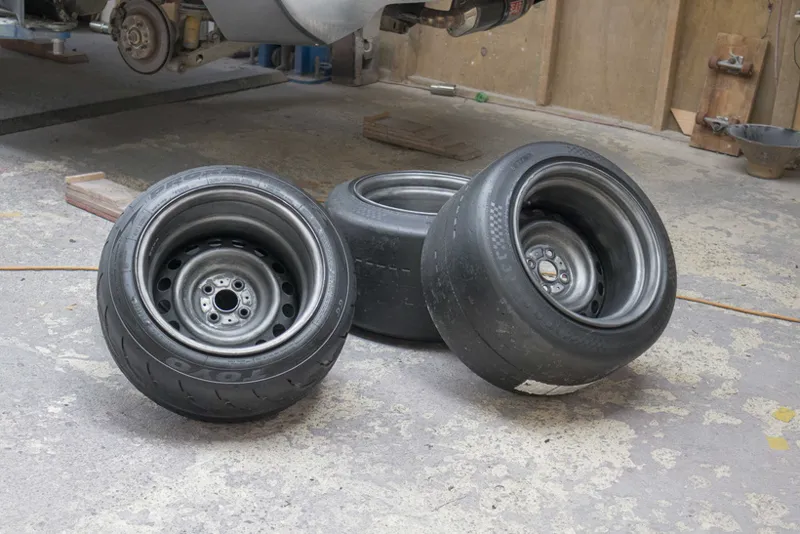
You remember those beautiful and shiny brand new wheels I made? Well not anymore.
To weather the wheels I just took a can of flat black enamel spray paint and coated the inside of the wheels, then using just my gloves and some wax and grease remover I spread it all around, getting it into all the nooks and crannies, trying to wipe off as much as I could to give it that really natural organic weathering look and then I finished it off by going over all the hard edges with a little flat black from the airbrush.
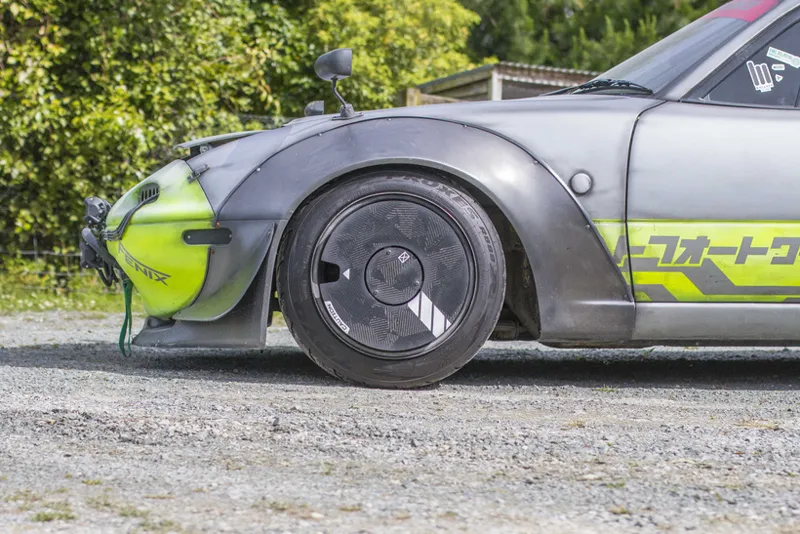
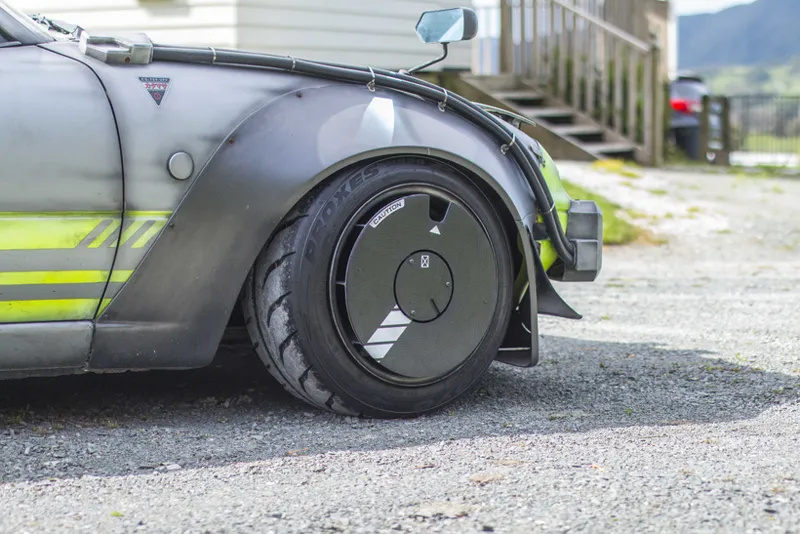
Then I added just a tiny bit of airbrushing to the turbofans themselves, mostly around the edges and some random streaks to get rid of the pristine white on the decals and then the last thing to do was to assemble the wheels and fit them to the car.
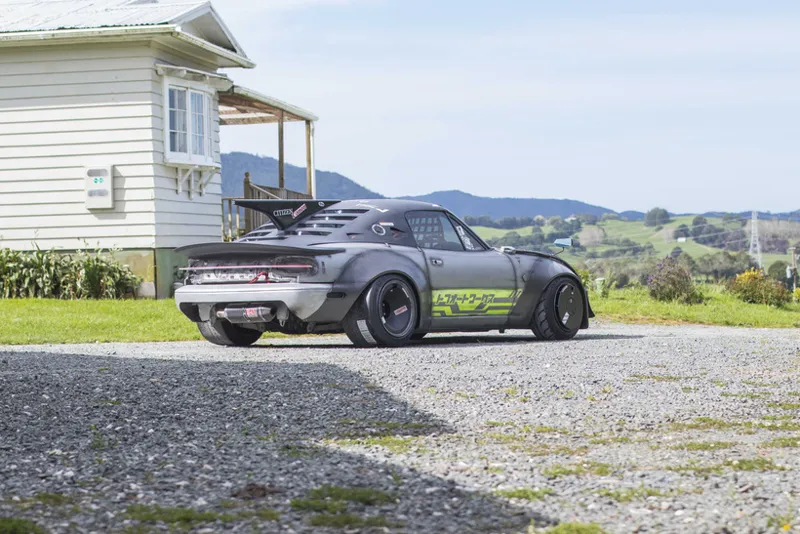
Of course the turbofans have to go on the front, that's what they're designed for. So now my brand new wheels on the rear get my dirty old aerocovers plastered with a tacky fake carbon sticker.
Finish this off with a classic farm moment.
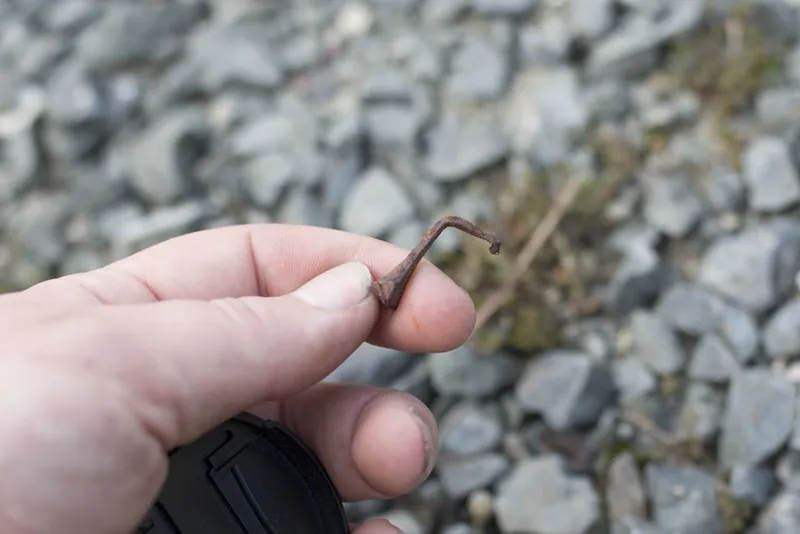
Just casually driving over $1,500 NZD worth of tyre over rusty horse shoe nails because our old farrier from 2 years ago was an absolute piece of shit and used to throw his nails on our driveway. Gotta love it.
Comments (2)
Thanks mate! And funny enough I actually spoke to a couple builders who said they'd thought of this idea before but never figured out how to pull it off. It looks pretty sweet already in the photos but just wait till you see it in video while the wheels are spinning. Absolutely unreal.
These look absolutely amazing! I love the carbon glitch look, I wouldn’t be surprised if you start seeing this more from other tuners once your video goes live. Thanks for all the great photos, this is so cool to see in progress.