
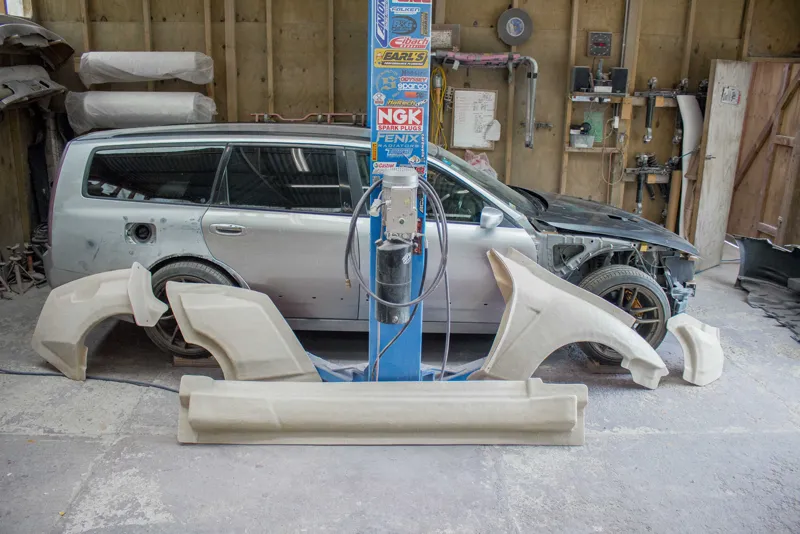


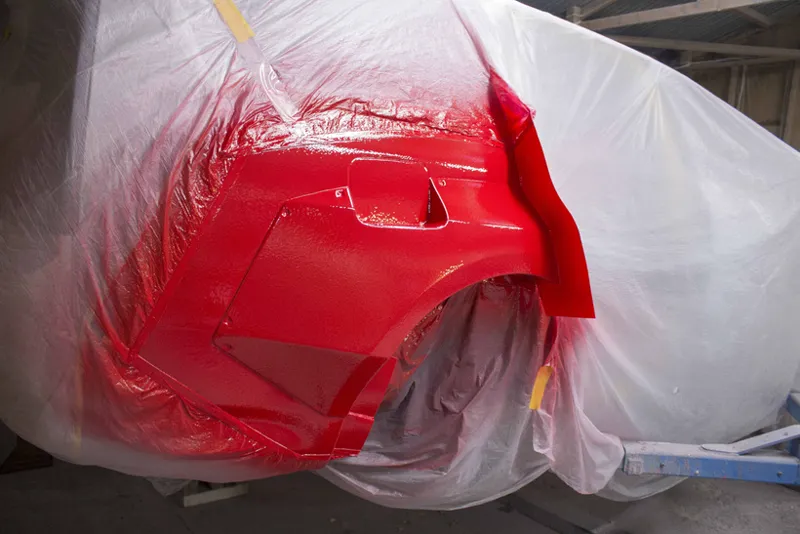

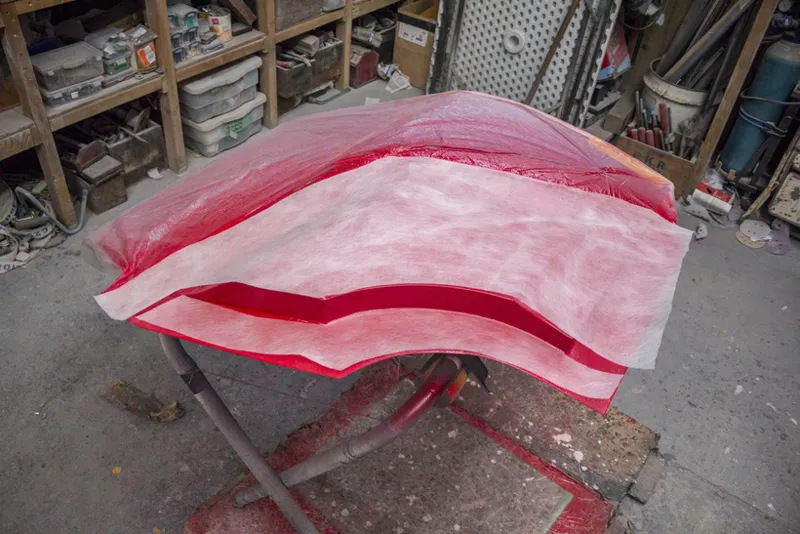


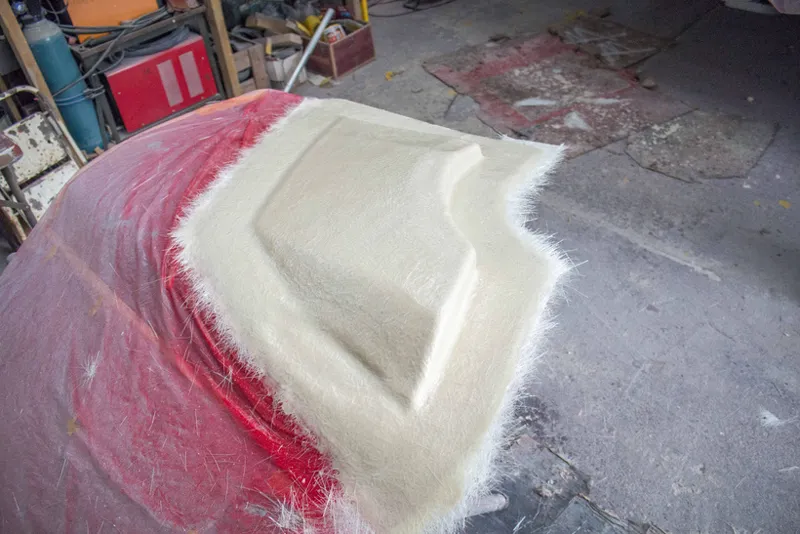


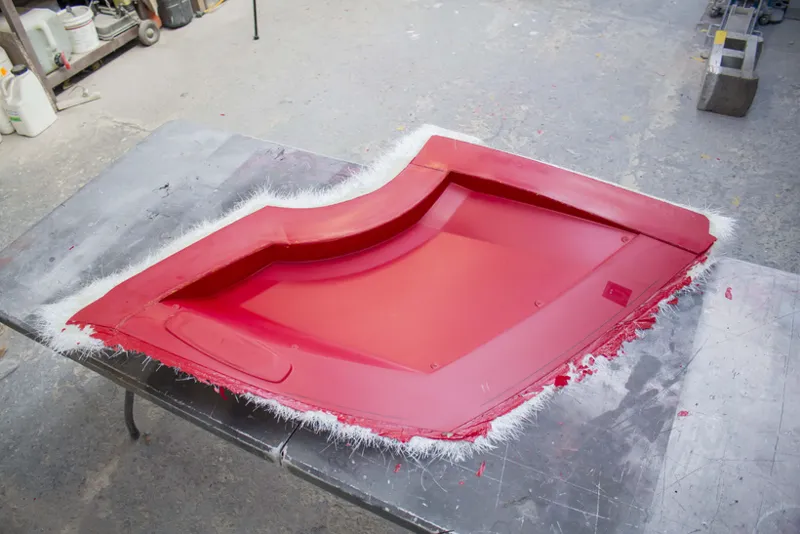

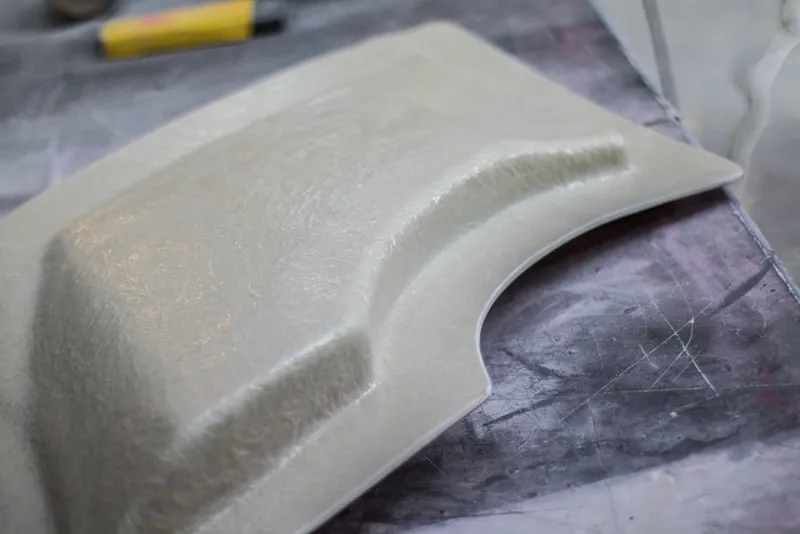

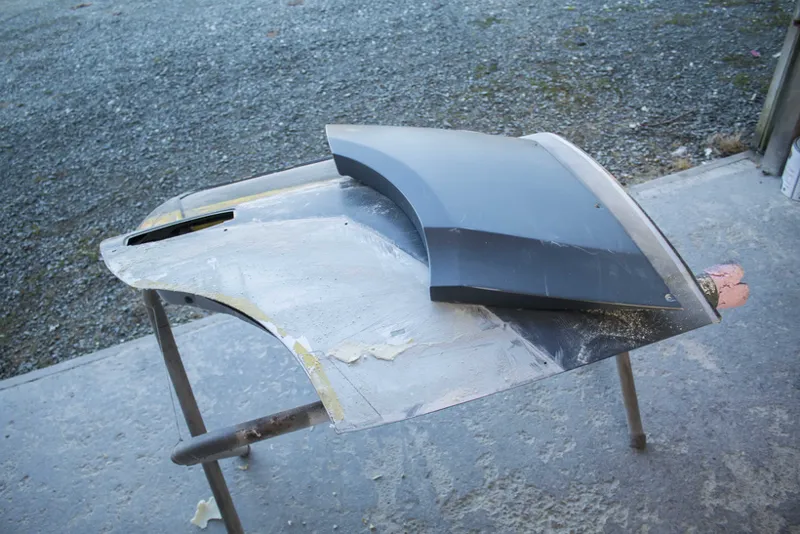


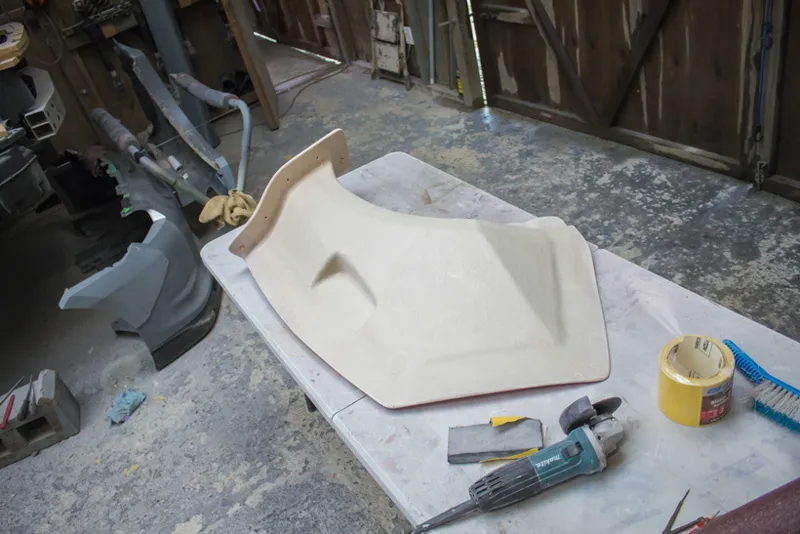

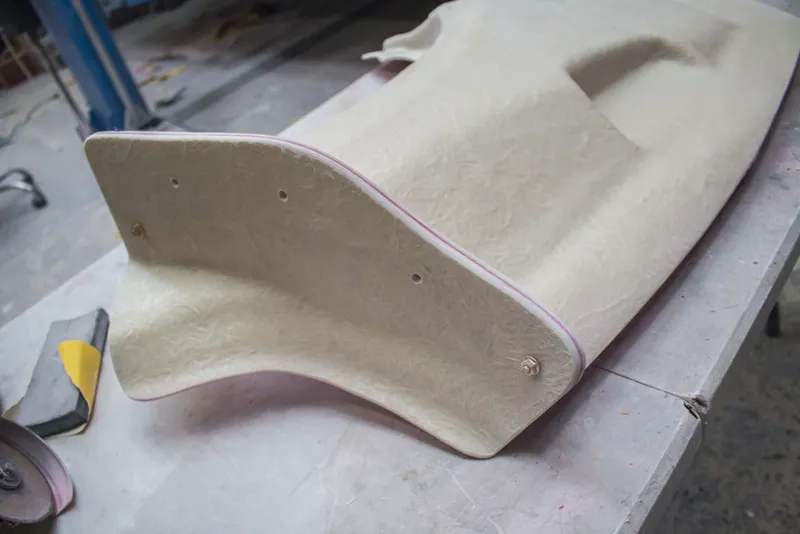


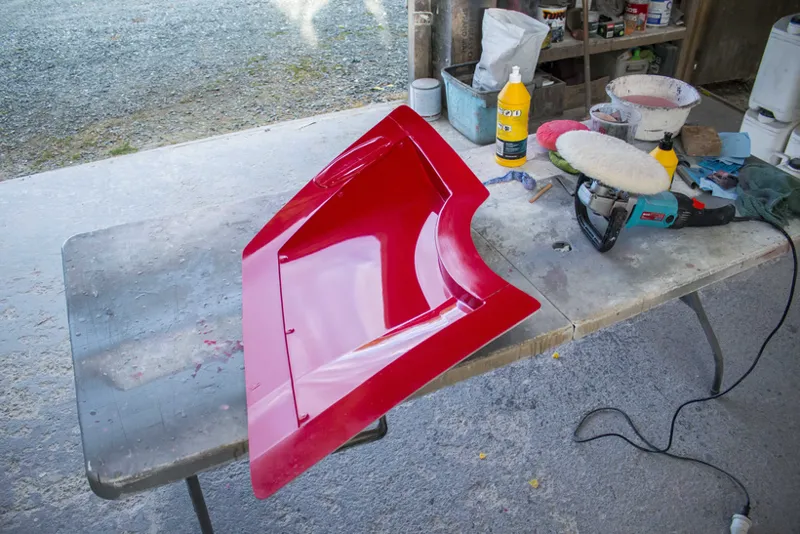

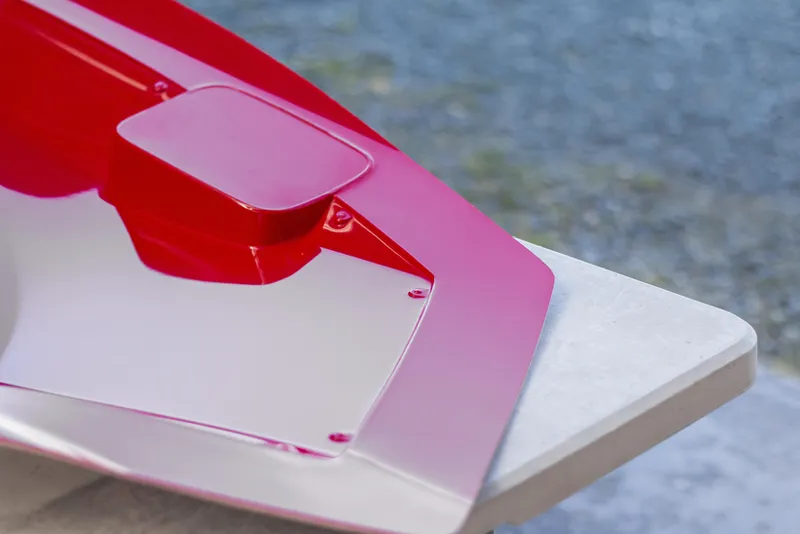


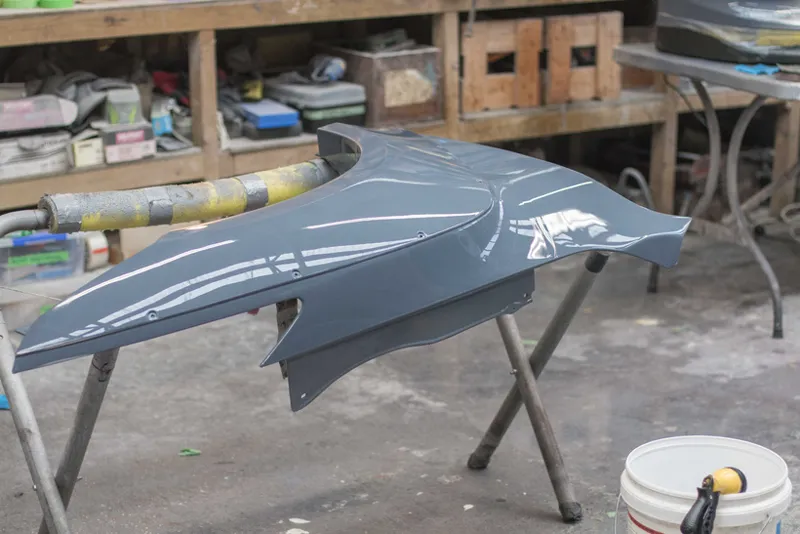



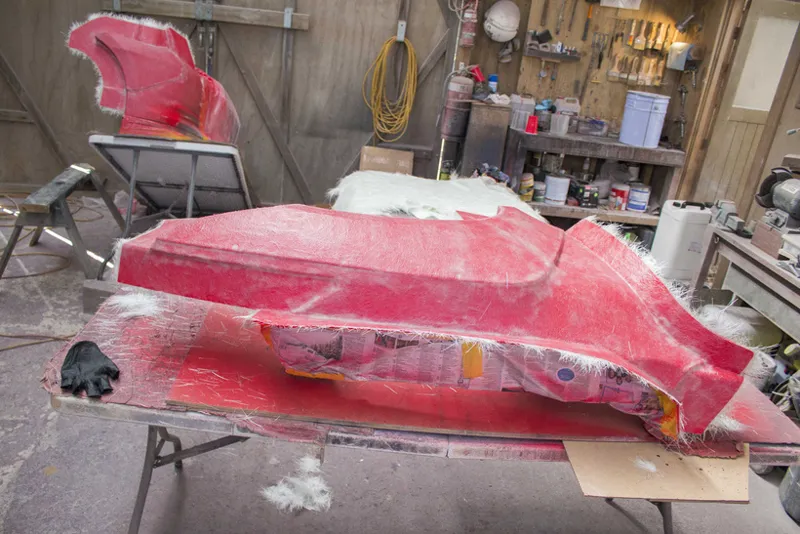

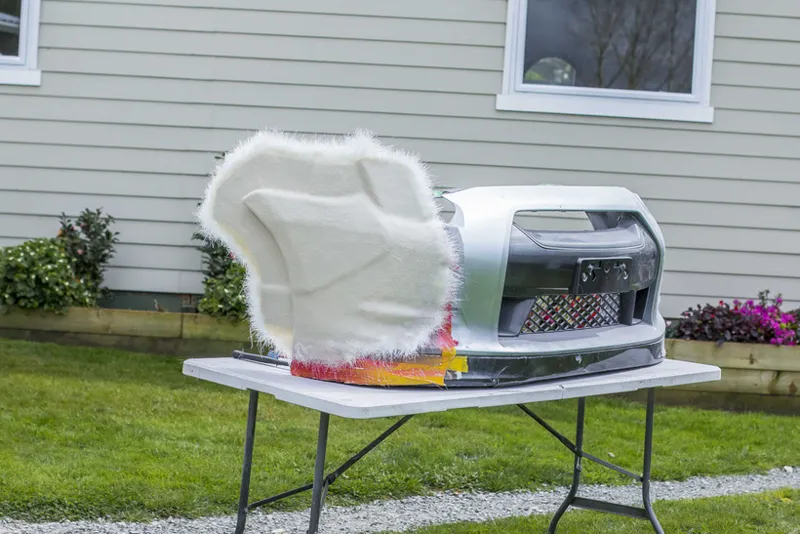


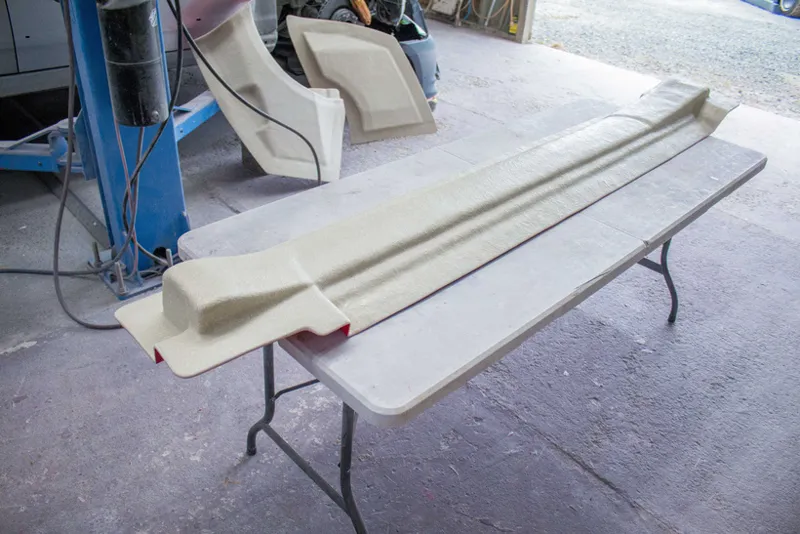
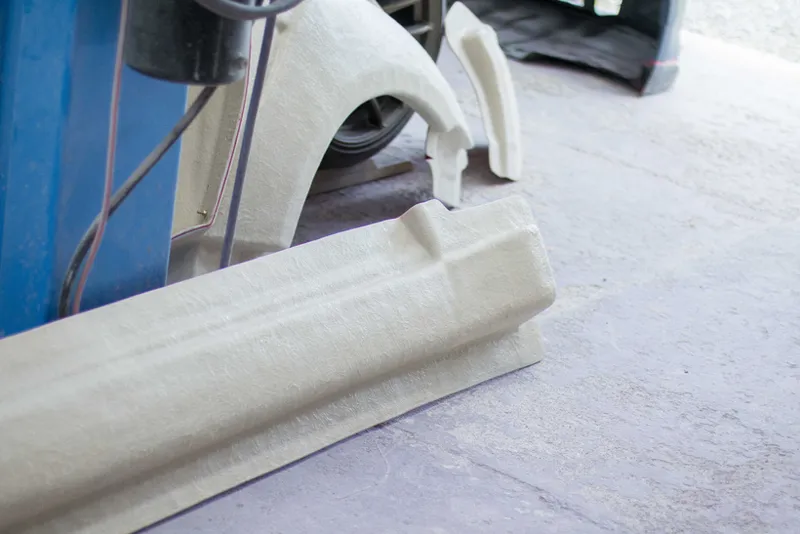
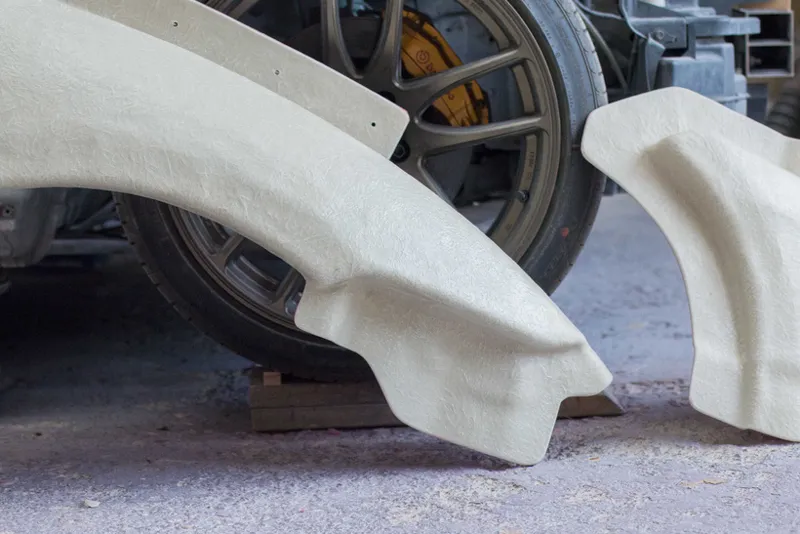


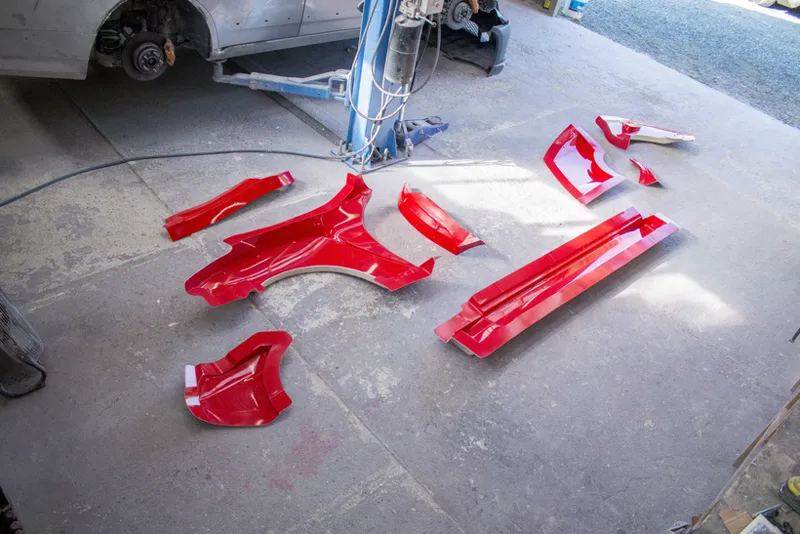

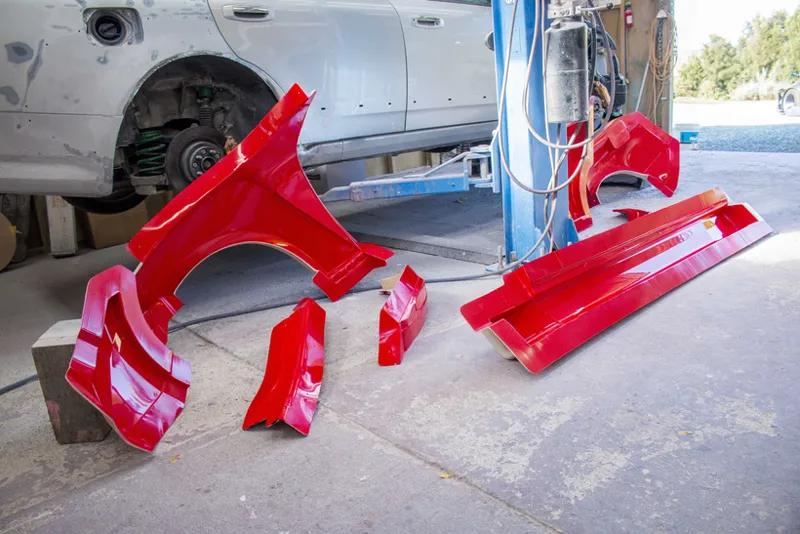


First set of moulds complete. Huge progress update.
First off wanna start these things like I usually do, apologizing for not posting anything for like 2 weeks. I was putting in crazy hours the past few weeks to get the entire first side of the car moulded and haven't had the time to go through and edit all these photos as well. (over 1000 photos I had to sift through and I just didn't want to haha)
On to the update.
So in the last update we left off with these rear fender plugs all prepped and ready to go. You'll see from the video that since then I have already finished the rear moulds so I'll just quickly catch up on that.
You can see I added a split flange to the rear quarter piece. This was just to make it easier to get the parts out with that tight corner on the plug.
The plugs got wetsanded to 3000 grit and then polished. For the release agents I tried out a new chemical release system. For these we used TR-910 Liquid Mould Sealer, followed up with TR-900FD Semi Permanent Mould Release. The manufacturer recommends 3 coats of sealer, followed up by 5 coats of TR-900FD.
Super simple process, just get a clean rag, pour a little of the 910 / 900FD onto the rag, then wipe it over the whole part in a thin uniform coat. It evaporates off and you don't even need to buff it between coats although buffing the final application will give a better gloss.
After release agent had sat for an hour to cure the moulds were sprayed with vinyl ester tooling gelcoat.
I like to spray at the end of the day so I can give the parts all night to cure. You always hear people get problems with their gelcoats because they didn't leave them long enough to cure so this method just makes sure there's no wrinkling when you apply the skin coat.
For the skin coat we did the same approach as always, 1 layer of 30gsm tissue followed up with a layer of 225gsm chopped strand, using standard polyester resin catalyzed at 1.5%.
After leaving the skin coat to fully cure you'll be left with a lot of sharp nibs, sanding those off is essential to avoid trapping air pockets with the main layup.
For the main layup we went with my new best friend, polyester tooling resin with 4 layers of 450gsm chopped strand and a little bit of filler made by mixing West Systems 413 Microfiber Blend in with a little bit of resin just to give a bit of gap filling on the tight corners on the first layer.
The door piece was done so after giving it around 2 full days to cure (I find the tooling resin sets a lot slower than the standard poly resin) the mould was popped off the plug and the plug was removed from the car as well.
The rear section still wasn't finished and we had to add the second side to the mould, so that was done the exact same way as the first side.
Then once that piece had cured it was pulled off the car and the old plug was removed as well.
I ran into some small issues with this rear piece as it stuck to the plug in a few places. My guess was that I wasn't thorough enough with the sealer and release agents so I made a note to dial up the hamometer on the next ones.
I fitted the door from the donor to save myself the hassle of fixing all the dents. After that both the moulds were trimmed and sanded and ready for their final polish. All I had to do was go over the mould surface once with some 3000 grit to get rid of the slightly dull finish you get from the release agent and then hit them with the machine polisher.
These first few moulds came out mint. I'm well stoked with them.
But that was all 2 weeks ago and there's been a video on that already so now we'll move on to the new stuff that I've been absolutely grinding through the past couple weeks.
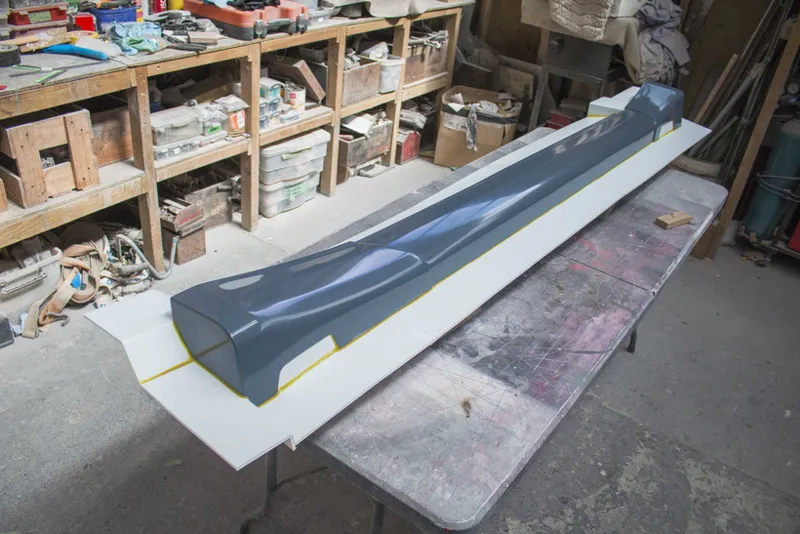
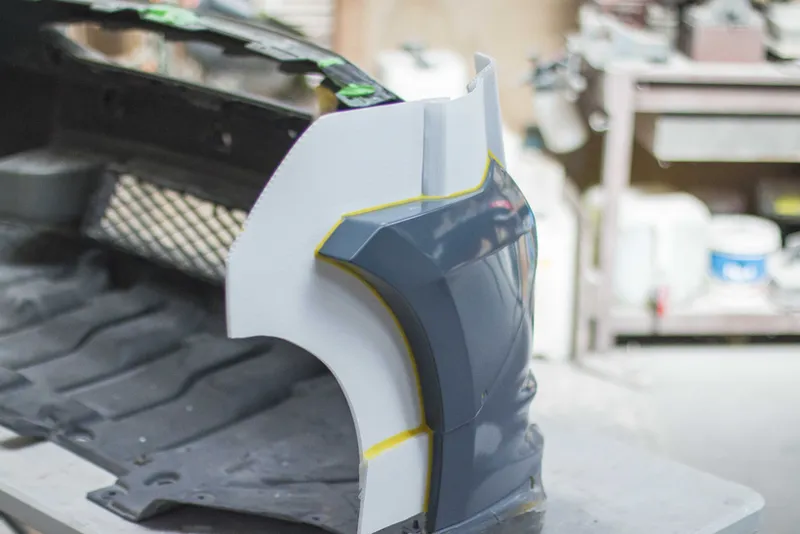
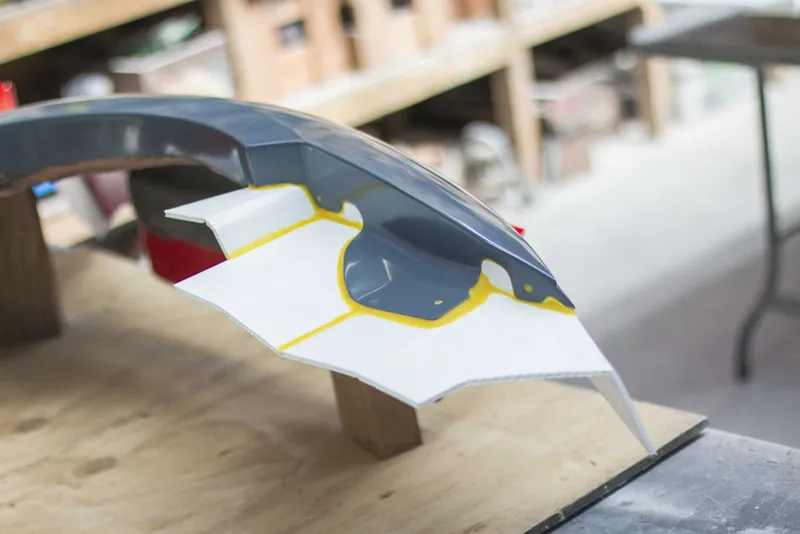
So we started off by doing a whole bunch more sanding, followed by a bit of filler, more sanding and then finally I was able to get the sideskirt, front bumper cap, and front fender sprayed with the polyester sealer primer.
Same deal as before, sanded back with 240 then 600 on the DA, followed by wetsanding from 1000, 1500, 2000, 2500, and finally 3,000 grit.
After that it was flanges. Here I finally stopped procrastinating after nearly 2 years and went out and bought some polypropylene signboard / corflute. This stuff works amazing, man I feel like an idiot for using polycarbonate for this long.
I added filleting wax to all the edges to get nice smooth edges and then after that I applied the sealer and release agent. This time I applied 5 layers of the sealer, followed by 5 layers of the release agent. Then just for good measure I put 2 layers of wax on top, wax on wax off.
Then the moulds were again sprayed with gelcoat. This time I sprayed them earlier in the day because I heard that the dull finish on the mould surface could be caused by humidity and so spraying later at night probably wasn't helping. Either way they still ended up with the exact same finish so whatever.
Then we continued on with the skin coat, and main layup.
Then a little trimming and polishing and we were left with a complete set of moulds for half a widebody GTR Stagea conversion.
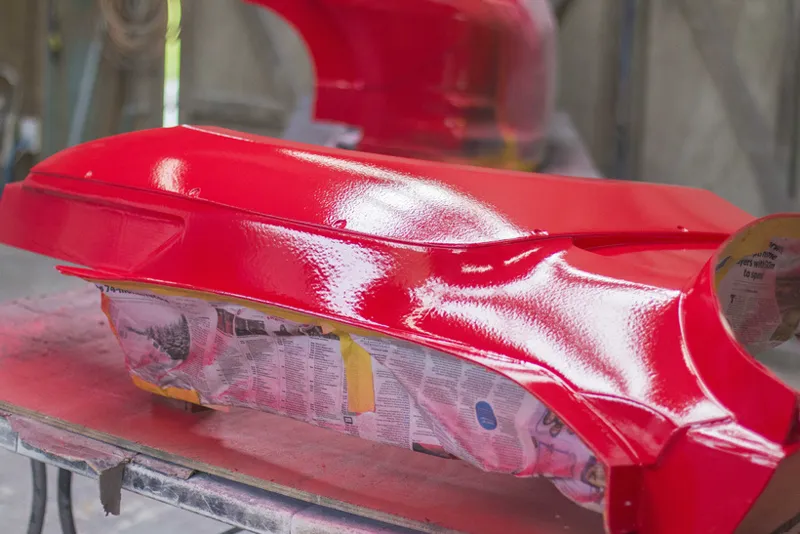
Here you see the old fender mould and the new one side by side. Pretty much identical from this angle.
And to wrap up this post with a quick update on the 3D printing. I've got the front flare all printed off and it came out really nice.
This will be fixed to the front fender in exactly the same way we did this first one, and it's going to be interesting seeing how close I got my bodylines.
I'm currently printing off the rear fender and the sideskirt pieces. once all these parts are done I'll make a video on fitting them all to the car. I can't do a video with just 3D printing and no sanding, that would break my contract.
So that's where we're at as of right now. Sorry for the lack of updates both here and on my Instagram. Between working on the car and editing the video which is going to be around 50 minutes long by the rate it's going, I have had absolutely no time for anything else the entire past 2 weeks.
I'm really looking forward to changing gears and working on the mx5 again in the next episode. Hopefully I'll have a post on that next week.