











Primer and 3D Scanning (DETAILS)
So a little late with this post but I wanted to put up an extra post to go along with the last two videos that I've uploaded over on my YouTube channel.
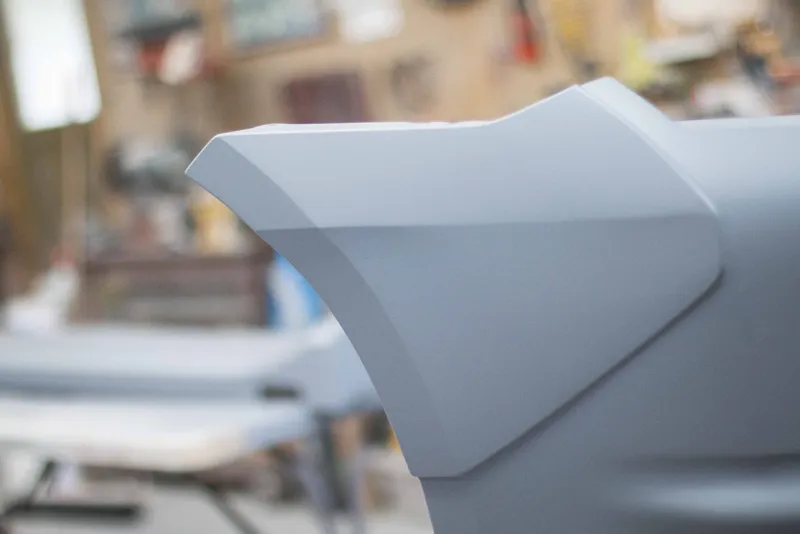
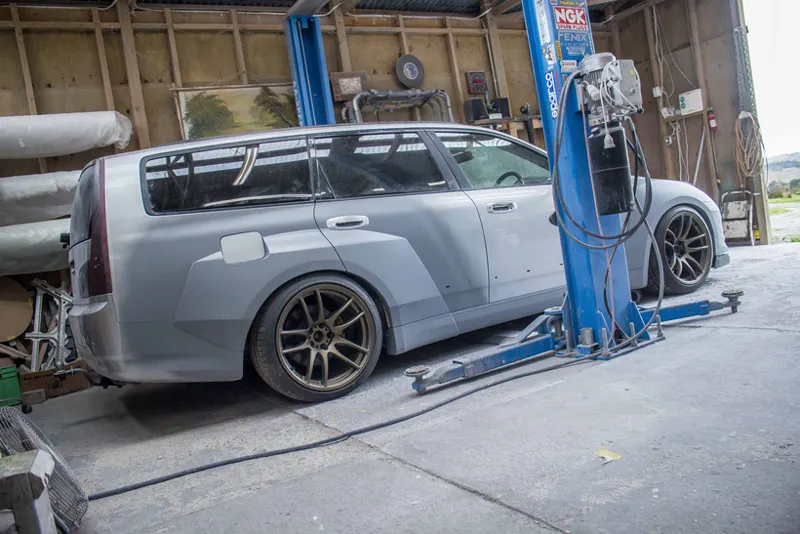
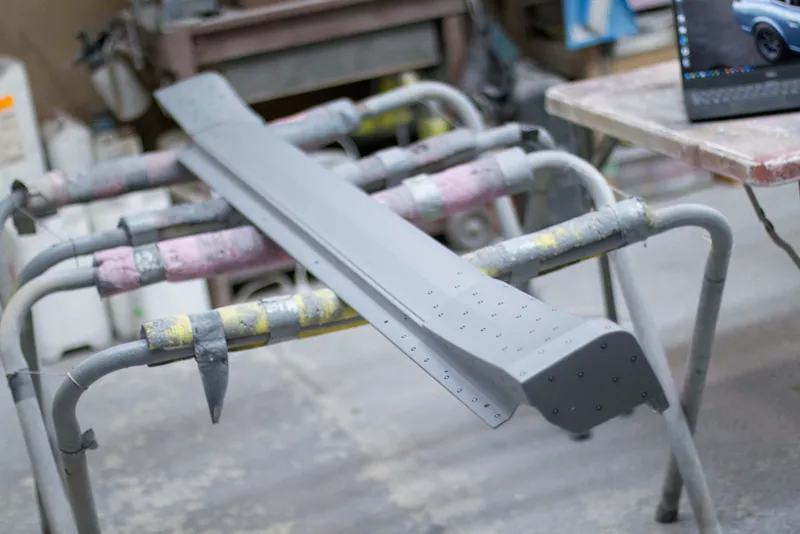
In Episode 18 of the Stagea build I got up to the first pass of primer to give me a good indicator of where I was at in terms of shaping the kit.
Typically in bodywork you'll use as little body filler as possible and so you usually only need one pass with primer to be good on most shapes. The difficulty I've run into however is since every line on this car is freehand and done by eye, sometimes the different layers of body filler can hide some imperfections that you don't spot until the panel has been primed and all in one colour.
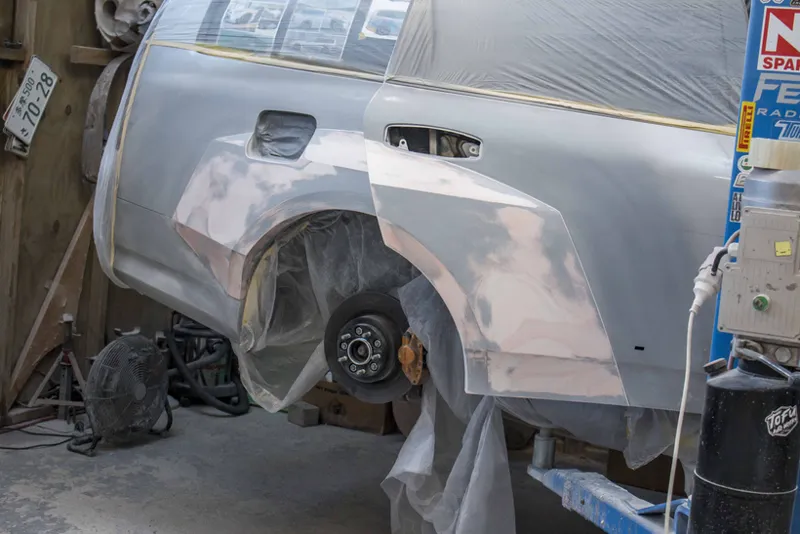
Case in point:
This was how much sanding I still had to do to the rear fender even after priming it. There were so many small issues with how the curves played with the light, or how straight the lines were etc...
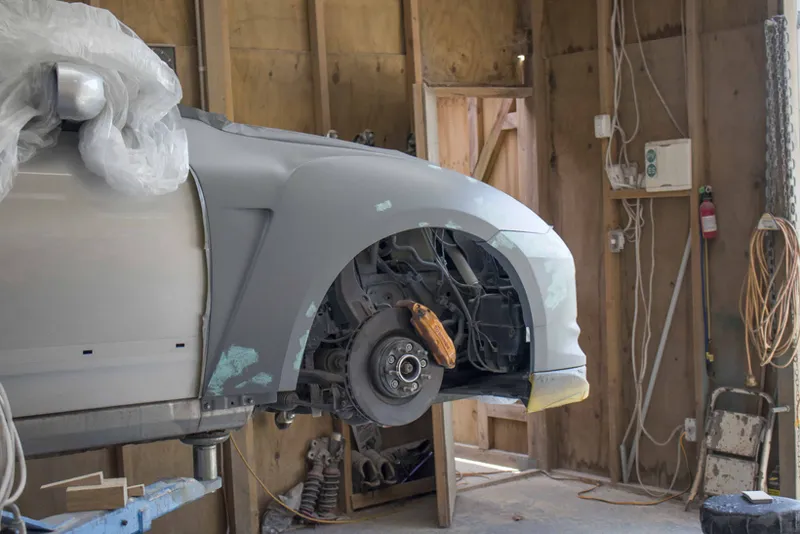
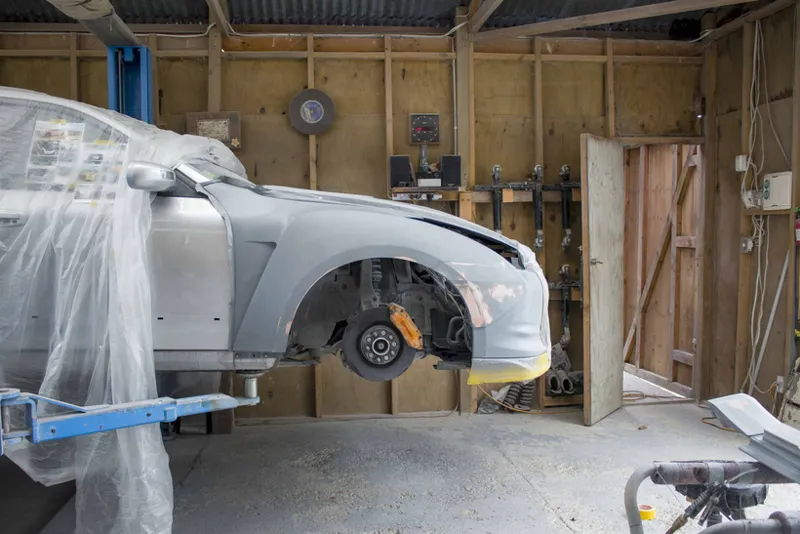
For comparisons sake, all I had to do on the front fender was fill in all the pinholes I'd missed and tidy up the lower front bumper section.
The major difference was caused by me applying a skim coat of filler almost like a glaze over the entire front fender when I was done. Sanding this back gave me a uniform top layer which was easily flattened out with the filler primer.
After sanding these panels back with 240 grit I gave it the second and third coats of filler primer.
If you've been following me on Instagram you would have seen me post all of these picutres in their ultra-compressed, 1080p glory. (Seriously Instagram why do you hate image quality so much?)
I took way too many photos of the car at this point and I'll post a whole bunch of the high resolution photos in another post here for anybody that wants them, but here are just a few of my favorites.
I just think the car is starting to look absolutely amazing. I cant wait to get moulds made and take it out and do a proper walk around.
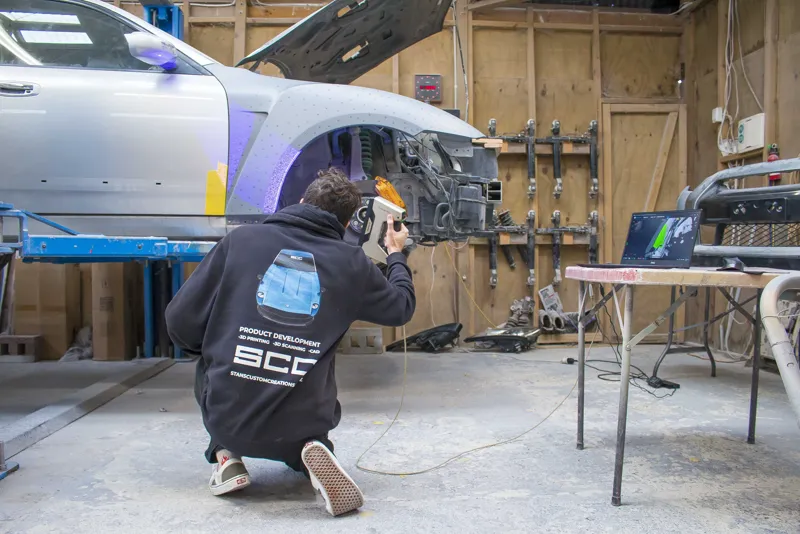
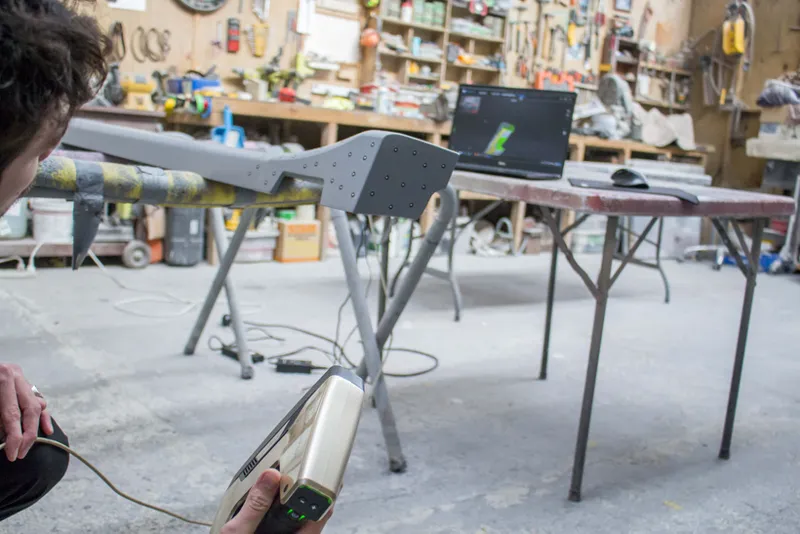
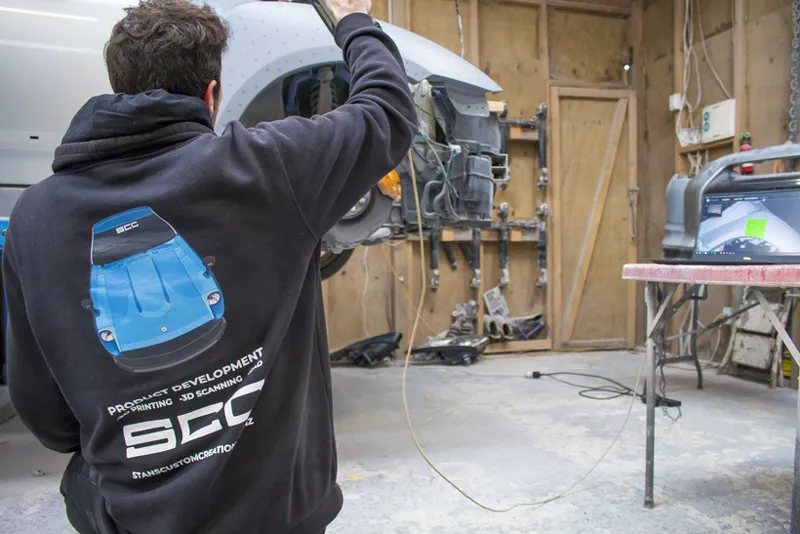
But at that point I decided to put the tools down and call in a mate of mine, Stan, who runs a 3D scanning, design, and prototyping business here in NZ called Stan's Custom Creations. It's worth checking out if you're in NZ and are looking in to this sort of thing.
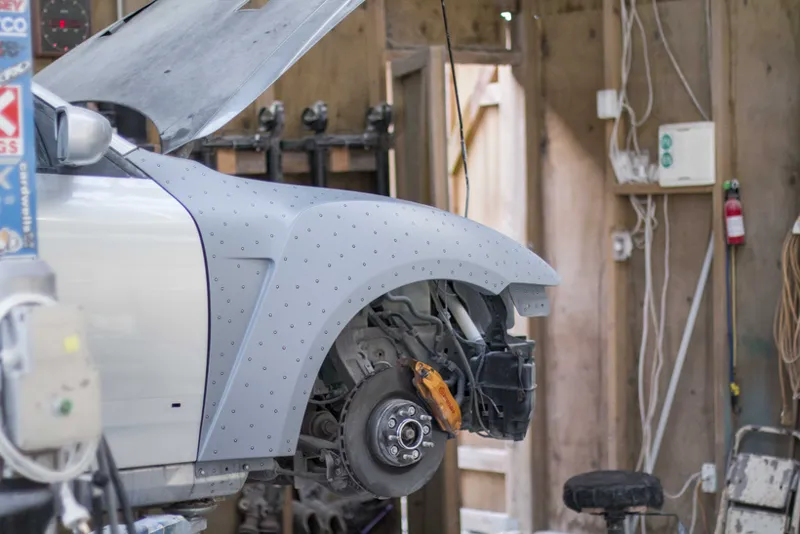
I had Stan come and help me out with the scanning as the plan is to finally get myself a 3D printer and then using the 3D scanner we would copy and mirror the entire widebody and print it off on the other side.
In the past I've made my bodykits by hand and the way I would mirror it was always to just repeat the exact same process again but this time a lot faster since there was no guess work and I could easily just make templates to transfer everything over.
Once Stan arrived we got to scanning the car.
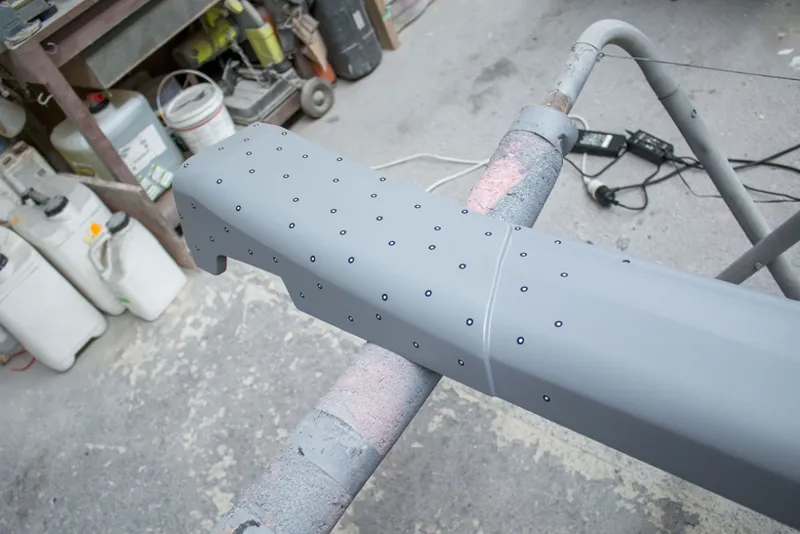
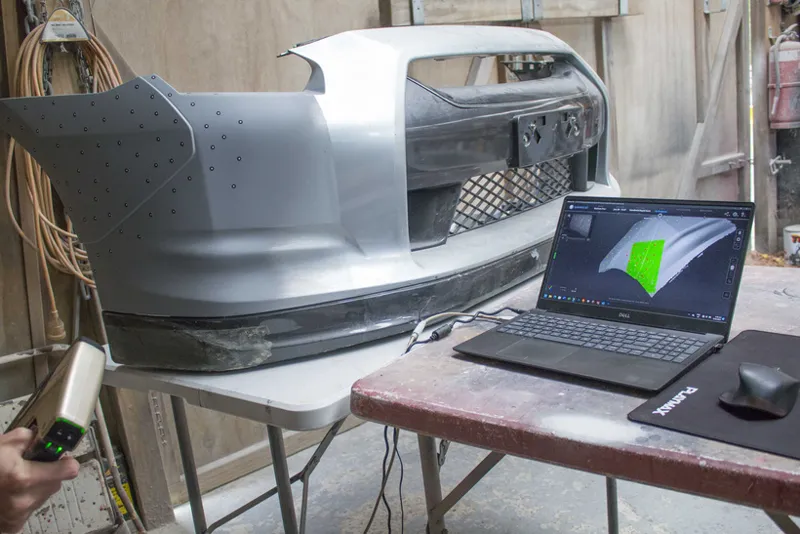
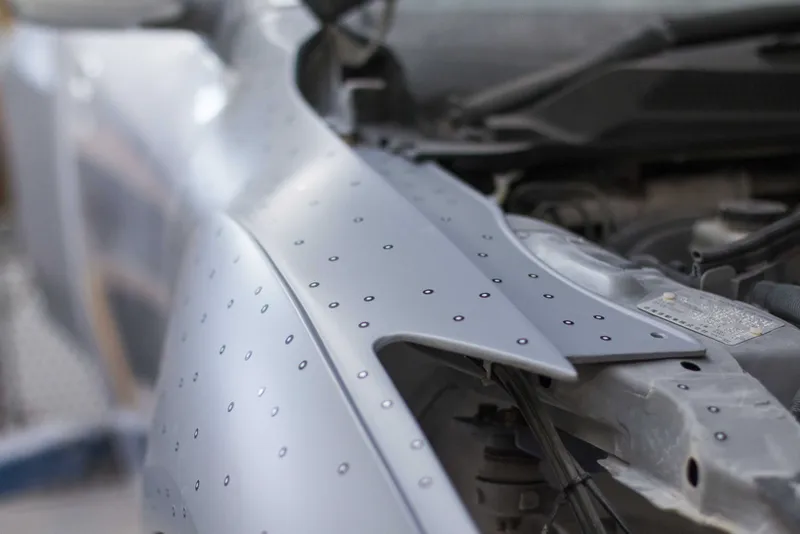
The scanner we used was an Einscan Pro+. It's a higher end scanner capable of much higher resolutions than some of the more common 3D scanners and so for best results it required tracking dots placed across the part in a much tighter grouping than normal scanners.
The scanning process was super interesting and I can definitely see it becoming a regular part of my process as now that I've figured out what's involved, I feel like it would save so much time compared to my old method of making things.
The aftermath however is a lot less fun. So many stickers to peel off...
I'm a little behind with these posts so I'll break this one up and follow up in a second part.