
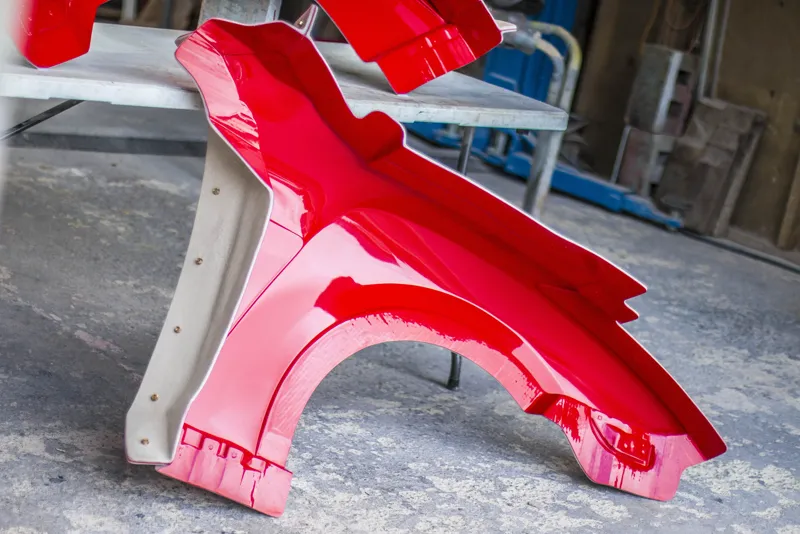
GTR Stagea - Making the Fender Moulds
There was still a little bit of work I had to do to the fenders to get them to 100% but once they were good I could start the moulds.


Then the moulds were sprayed with a 2K epoxy sealer. I'm going to be making a lot of moulds over the next few months so it's probably wise for me to invest in a proper sealer designed for mould making. Should help speed up the process and mean I wont have to wetsand the moulds once they are popped off the plugs.
The plugs were then wetsanded and polished up to a glass finish to make a good release from the mould.

After polishing, wax, and PVA, tooling gelcoat was brushed on.
Left that to cure overnight and then came back in the morning and applied the skin coat, 1 layer 80gsm tissue and 1 layer 225gsm chopped strand.
Then the bit that I was really looking forward to, I invested a bit in some special tooling resin for mould making.

It costs almost 3 times as much as the standard resin but the advantage is you can build up all your layers at once and it has fillers mixed in, meaning instead of the normal 6 - 8 layers of 450gsm that I would typically apply, here you only need to put on 4. And instead of taking 3 days, applying a max of 2 coats at a time, you can do it all in an afternoon. Then on top of all of that, it's dimensionally stable, meaning you don't have to worry about it slowly distorting over time like regular resin. So all in all, for the time and fiberglass it saves, it actually comes out better in the end than using the regular stuff.
After the first side of the mould was finished up I could lay up the other sides.


With the moulds all fully laid up and ready for trimming, the next step was to split them off the plugs and trim the flanges.

They were actually a pain in the ass to get them off the plugs cleanly. I ran into an issue with this new method and my guess is because this new tooling resin that I'm using allowed me to build all 5 layers of 450 in one pass rather than having to do them in a max of 2 layers at a time, the extra heat generated must have reacted with the epoxy sealer on the plug or maybe the primer underneath and cause it to fuse with the mould surface.
Unfortunately this meant that I had to scrape a bunch of leftover epoxy sealer off the mould which resulted in it getting a little scratched up and needing to be wetsanded and polished.
After all of that though I was really happy with the outcome.


So with that the moulds were done. Happy to have the first part of this kit ready to eventually make it possible for people to do these conversions on their own