






























MR-C Progress Update.
I think half the reason I'm so bad at posting is because I never really know how to start these things.
But I still like to accompany my "early" access videos (when I'm not finishing them 2 hours before my deadline) with some pretty pictures if I can remember to take them throughout the process.
I've been pretty slack on posting those so here's the ones from the past two MR-C episodes. Also, someone called this the LMR2 and I can't make up my mind if that's a way better nickname for this project.
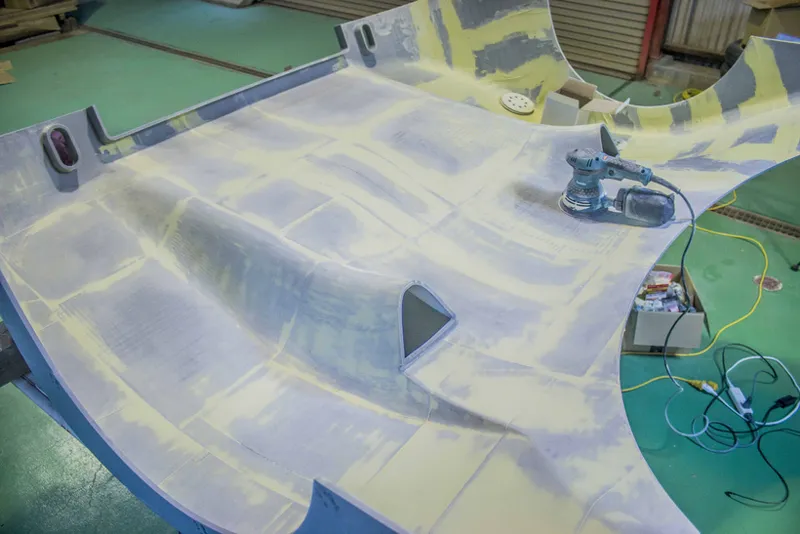
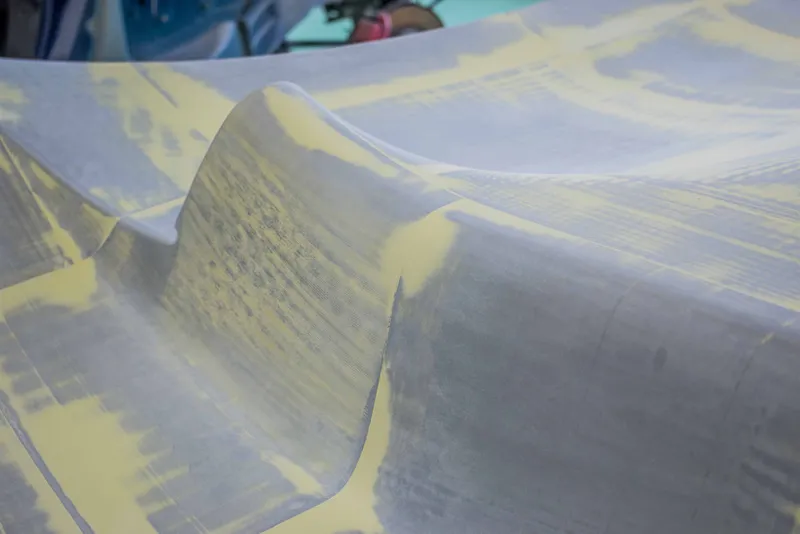
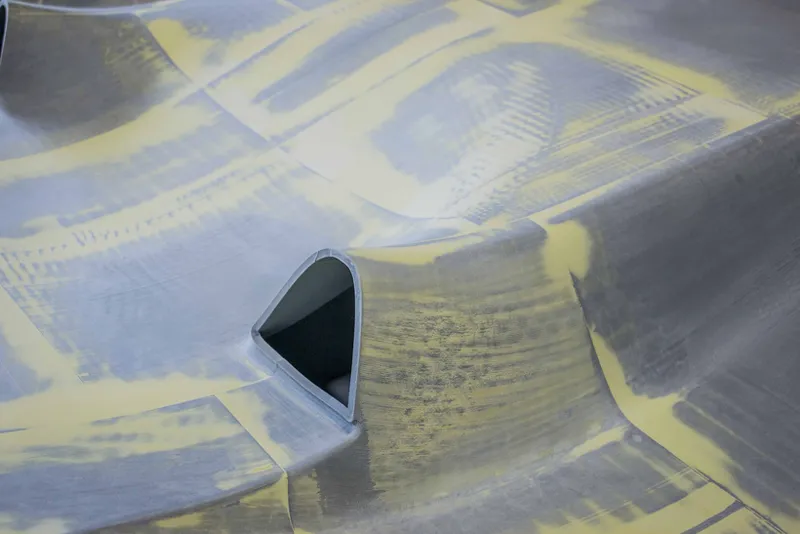
Anyway, photos of the moulds shortly before coating in wax and PVA.
For the moulds I decided I would put just a tiny bit of time into filling in the gaps between the prints and some of the uglier areas. I know I'm going to still be doing a lot of filling and sanding on the actual fiberglass part so there's really not much point, but this will help them at least come out of the moulds a little nicer.
I have a habit of always going a little bit too far with my moulds, making them way nicer than they really need to be, and so with these ones I took quite a few shortcuts in the effort of saving some time.
I sanded up to 240 grit on the DA only, and hand sanded some areas with 400 grit if they were really rough. After that I was just going to put one layer of wax, leave it on without buffing, and then the PVA, but after spreading the first layer of wax it all just got soaked up by the mould.
In addition to that, I had everything I needed apart from mixing cups, so I couldn't actually move on to the next step anyway and so I just kept applying more layers of wax while I waited. In total I think I got to about 6 layers of wax over 3 days. After that I brushed on a single layer of PVA release agent.
This new PVA that I'm using feels quite a lot nicer than the last brand I was using, at least from this test. It wasn't fisheye-ing nearly as much as my old on and it meant brushing it on was actually a good method.
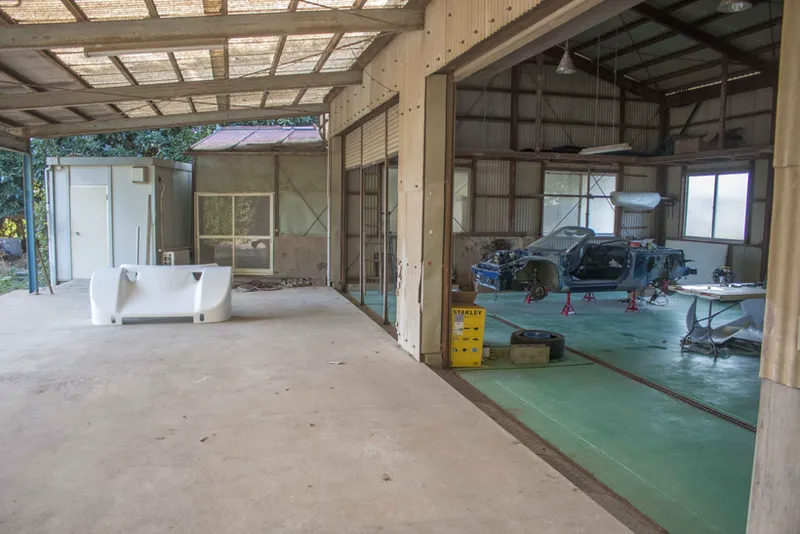
Because the mould itself was taking up my only folding table, and I haven't got around to making benches yet, I had to get creative with my work surface. This is one of the walls from the fridge I removed, propped up by a tire sitting inside the frunk of the MR-S.
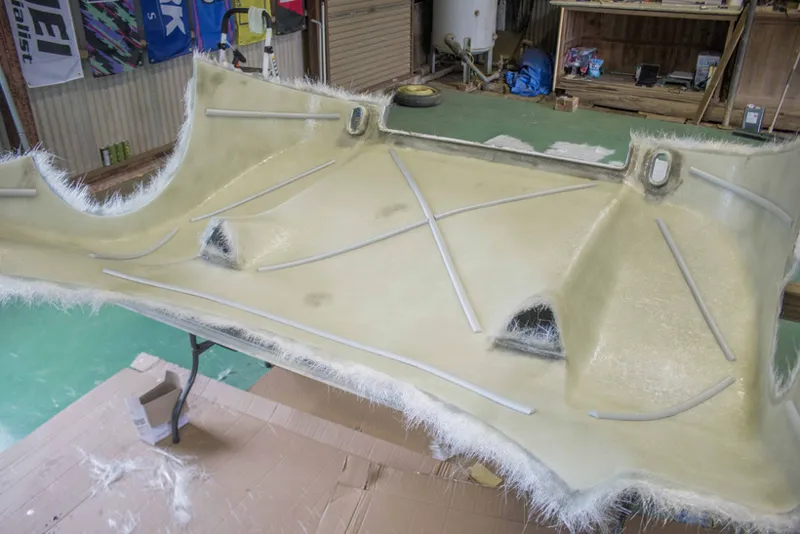
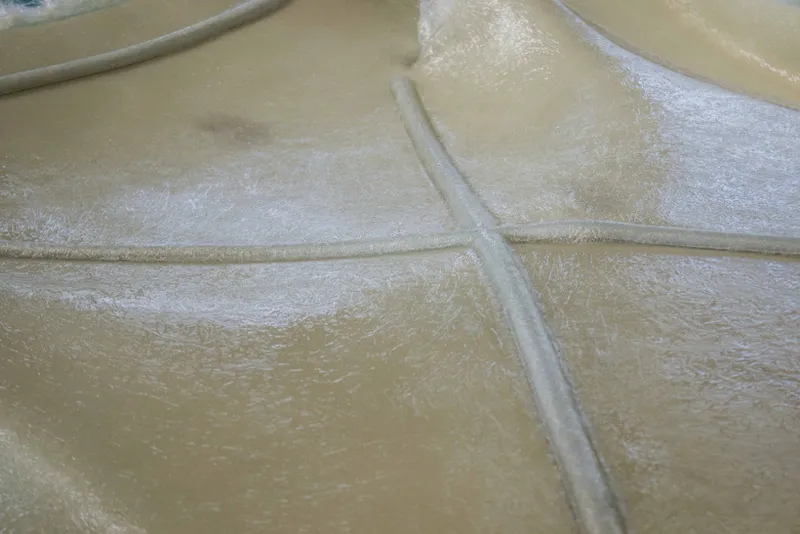
The layup was pretty big, but still quite easy. I ended up testing out these new foam strips for reinforcing, if you saw the video you'll have seen that I cut these segments out of a larger foam padding for columns and corners to stop you bumping into them. They actually worked pretty great, and much cheaper than the alternative heater pipe insulation that is also used quite often.
For the layup, because I didn't have any 225 gsm on me and my usual trick of splitting the 450 into to layers of 225 didnt work, I had to do the skin coat of this one with 450.
Because it took so long to lay up each layer as the resin was a bit thicker than I'm used to (pretty sure my old place was cutting the resin with acetone to get more out of it) I did this in 3 layers of 450 at a time. After the second layer I placed the reinforcing strips and fiberglassed over the whole thing.
Some quick maths, 3 layers of 450gsm, analysis on Plasticity showed the mould had a surface area of 3.5m² so a total of 10.5m² of chopped strand, coming to 4.725 kg. Then each layer took around 4.7L of resin, which somes out to about 14.1L total bringing the weight of the resin to 16.9 kg.
That takes my final resin ration 3.58:1. The ideal range for wet layups is around 1.5 - 2.5:1, so this was a very resin rich part, but that happens when you don't apply multiple layers of glass with the same batch of resin.
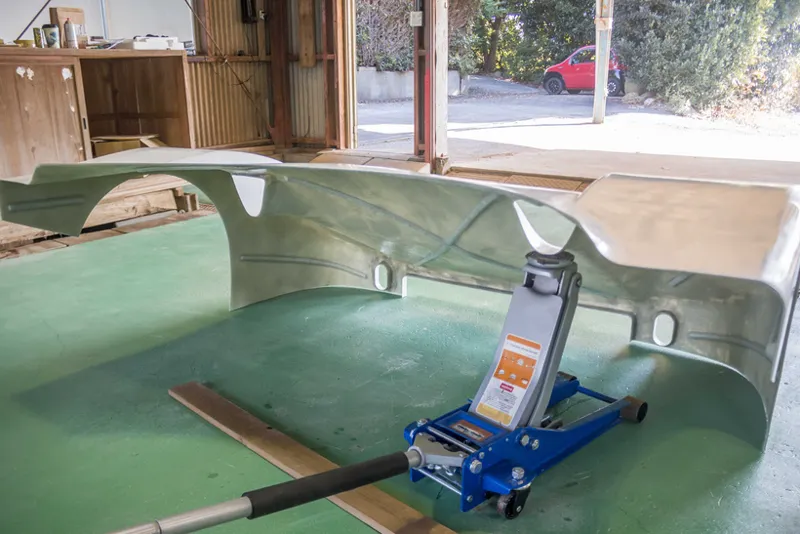
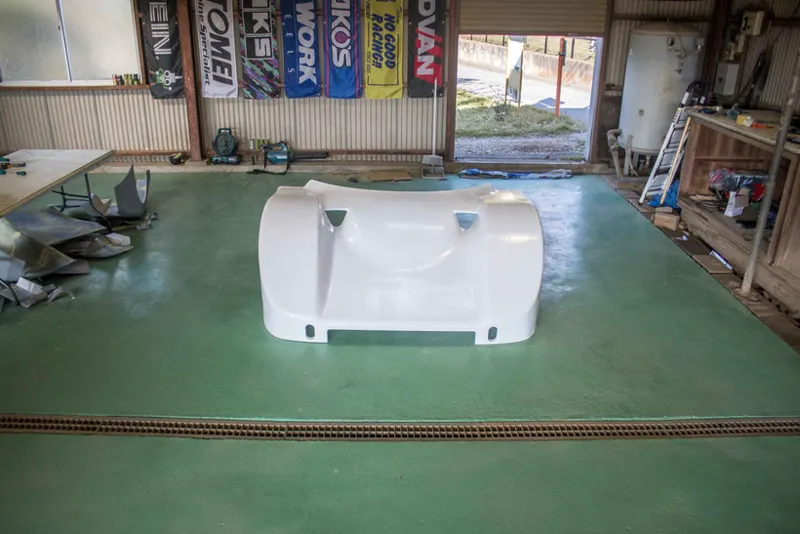
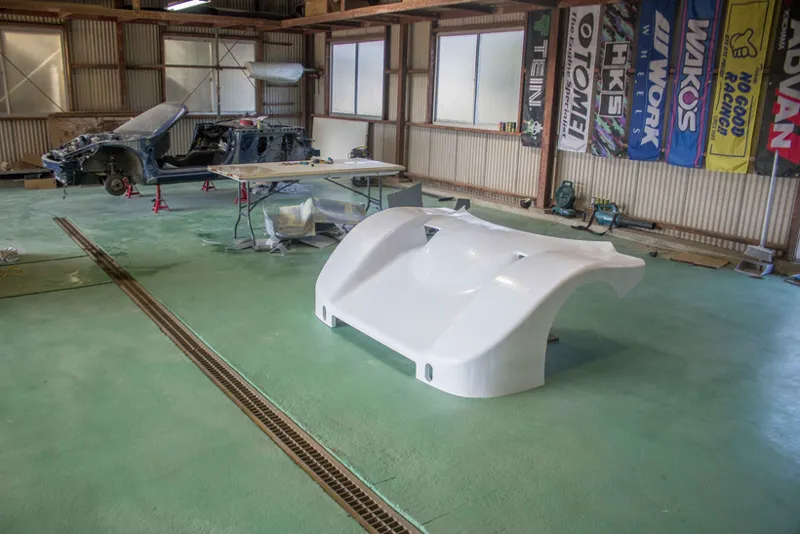
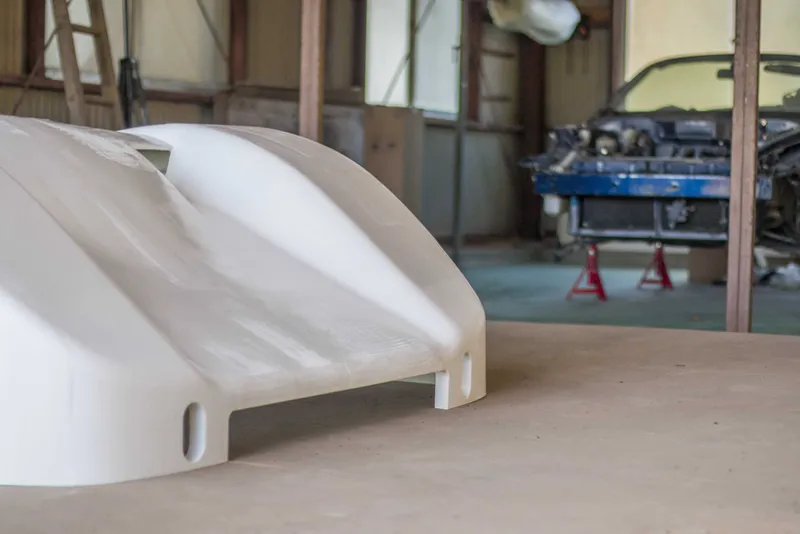
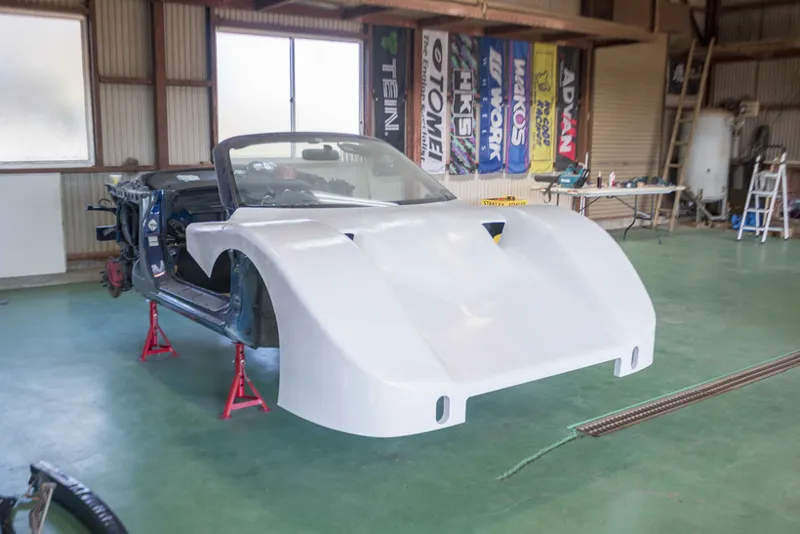
The final weight of the whole front clamshell ended up at 21.6kg, heavier than the 16kg 3d printed moulds.
I didn't get the bracing perfect, I should have oriented the one at the back on the sides with the curve to hopefully stop the very edges from bowing in like they currently do. I also completely forgot that I was supposed to add a flange on the inside edges of the wheel arches to give them some rigidity. I can add those in later.
The mould was unfortunately destroyed getting the part out, but I did hold on to the pieces so that I could hot glue and tape them back together to keep the mould as decoration for my garden.
It's definitely still got a lot of work to do getting it all flat, the white gelcoat is kinda saving the day and making this look a lot better than it really is, not like when I make parts out of gloss black gelcoat.
But overall, I'm very happy with it. I was just glad to get it out of the printed mould safe and sound before I broke the mould in half by accident.
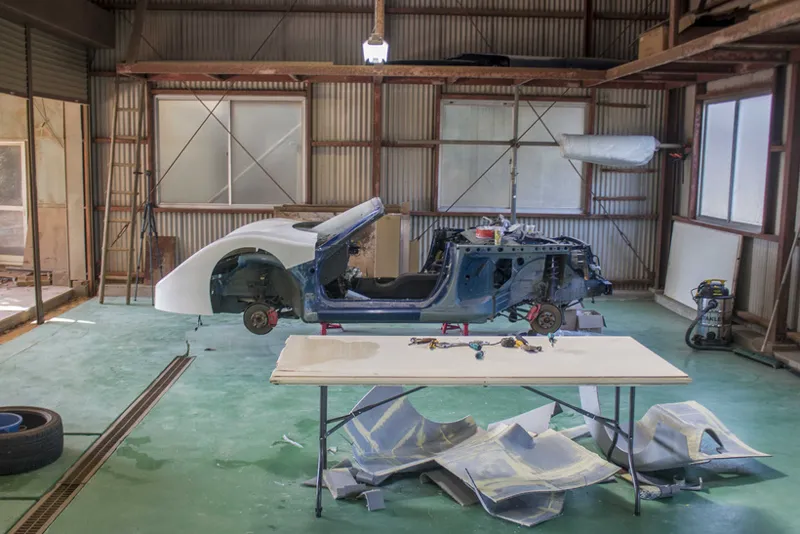
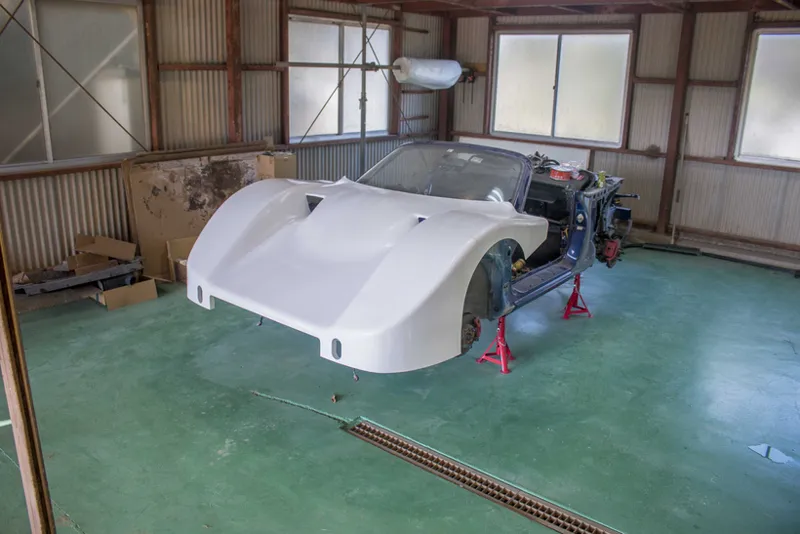
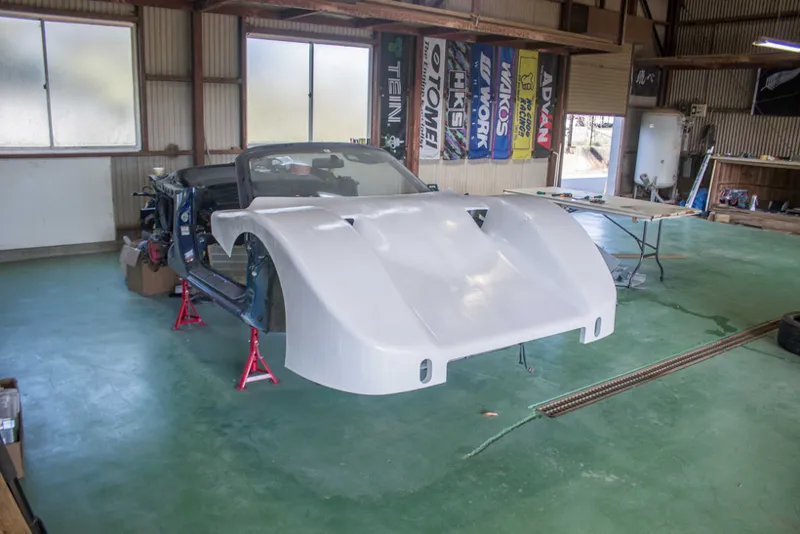
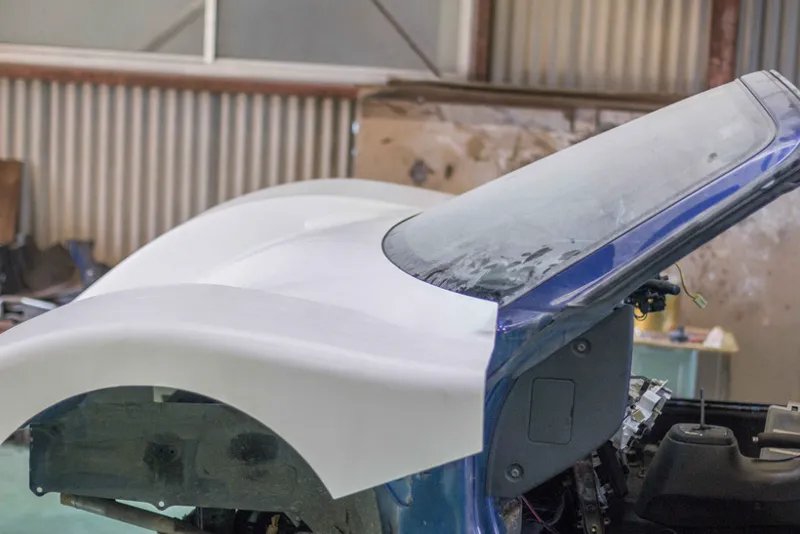
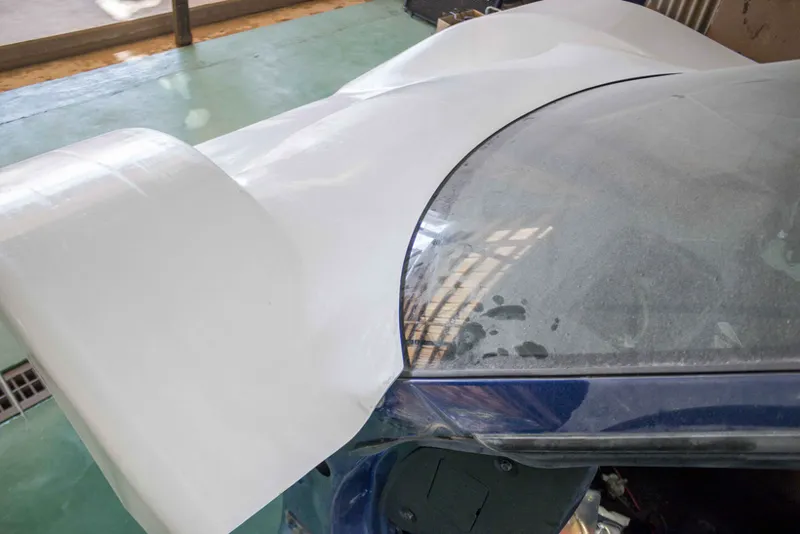
Even though I knew there was no chance it was going to fit as it because I've still got to trim the frame rails and strut towers, I still rested it roughly in place to get an idea of things.
You can see here that it's sitting about 10cm up from where it needs to sit. The cad model actually has no gap at all between the clamshell and the windshield, something we may need to think about if we have any air getting under there. But hopefully with ducting we wont need to worry.
It looks really stupid right now with just the front on haha. The next piece I'm printing will be the front half of the roof and the doors, so hopefully then it will start to look a little smarter.
That gets us up to the end of last episode, but because since then as you can see from the thumbnail I have made a tiny bit more progress. Things have been moving pretty slowly lately, not gonna lie. I tend to bounce between working 10 - 16 hours a day, hyperfixated on something, to then getting nothing at all done for days, barely being able to even look at the thing. In the end it balances out to an average but super unhealthy work week.
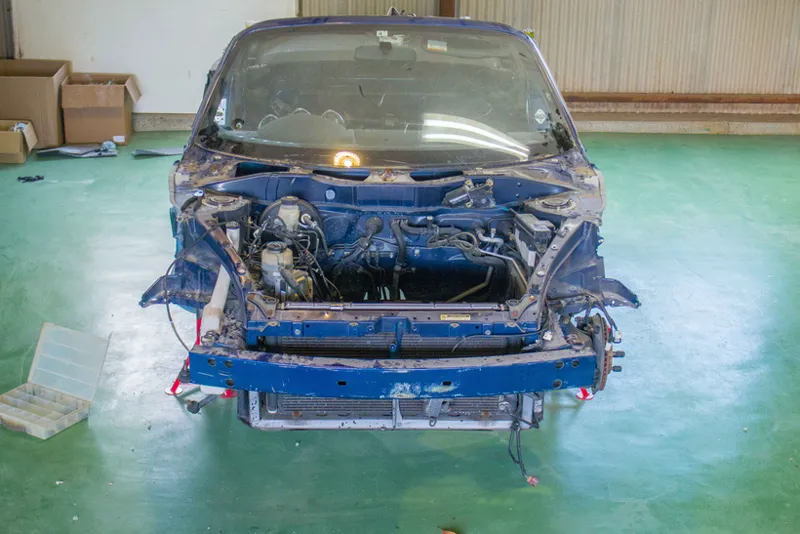
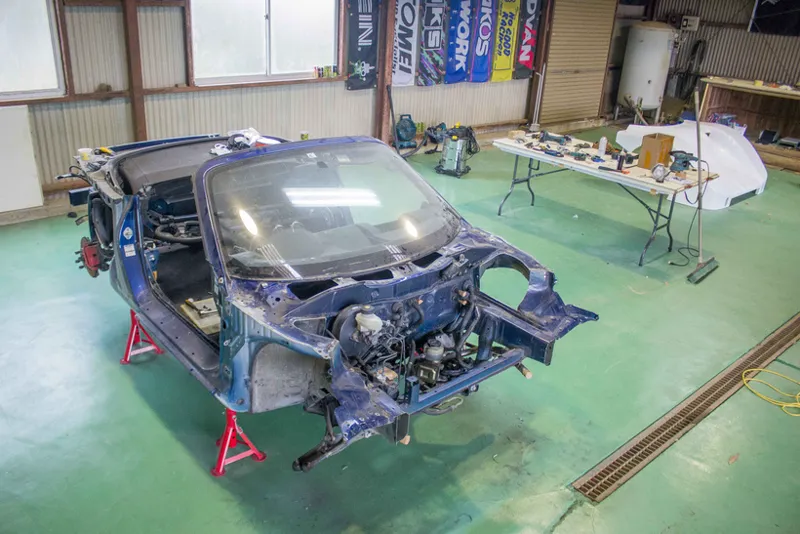
So after this, I pulled the front back off, got a few more photos, and then waited for the next batch of tools to arrive so I could start unstitching the spot welds and disassembling the front end.
This is absolutely not the fitment that we'll be running, this car will never have any tuck. Half the reason I'm building a race car is so I can finally have a reasonable amount of wheel clearance. Front lip clearance however, different story.
From the CAD model we already know exactly which areas we've got to cut out, so that has actually made this a little easier.
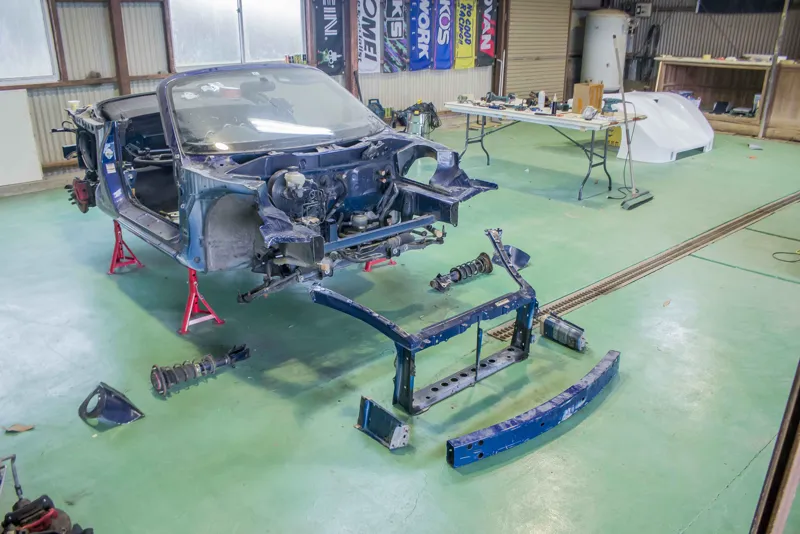
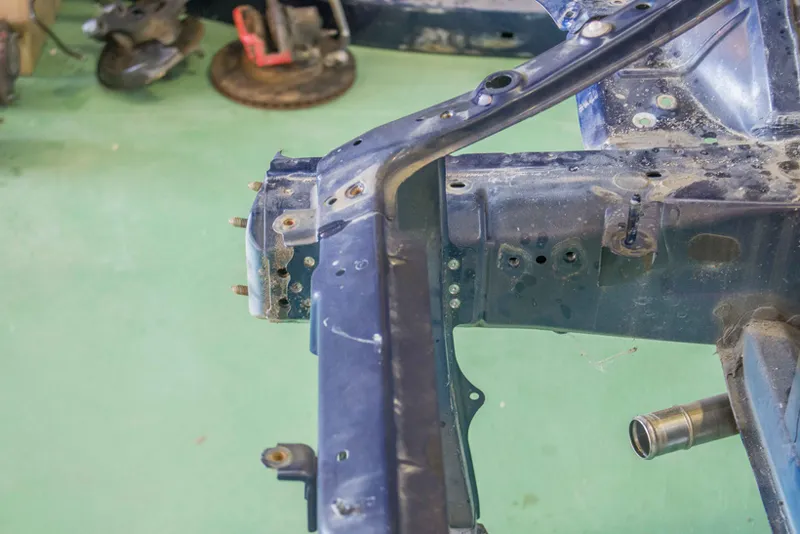
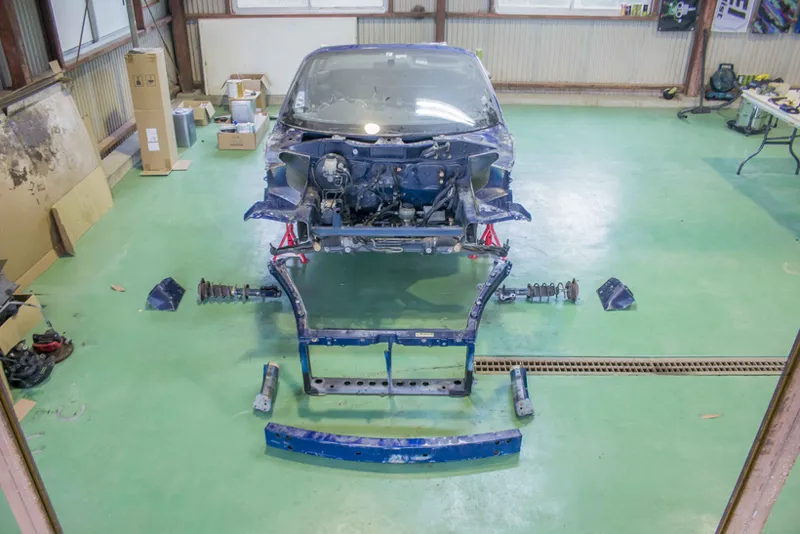
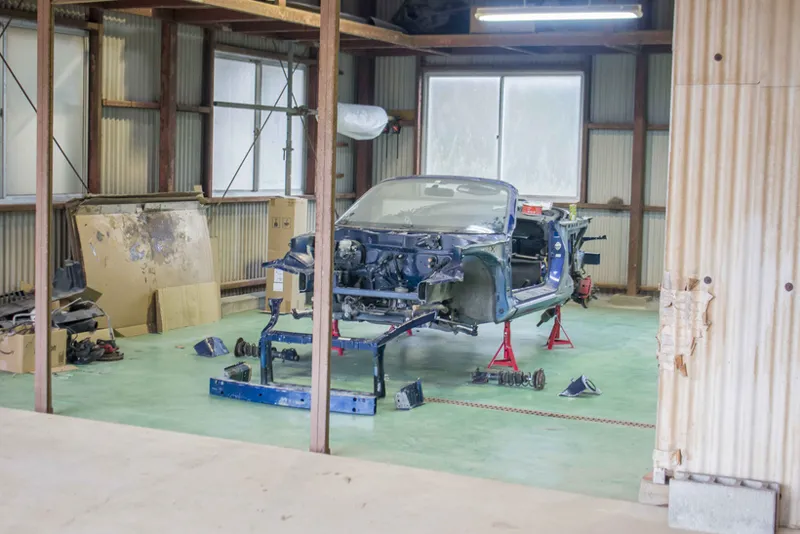
The main things that need to be removed are the radiator and AC cooler, power steering, the front 250mm of the frame rails including the crash bar, and the strut tops. So nothing too important.
Remembered to take some before and after photos of this one so I don't forget which bits go where.
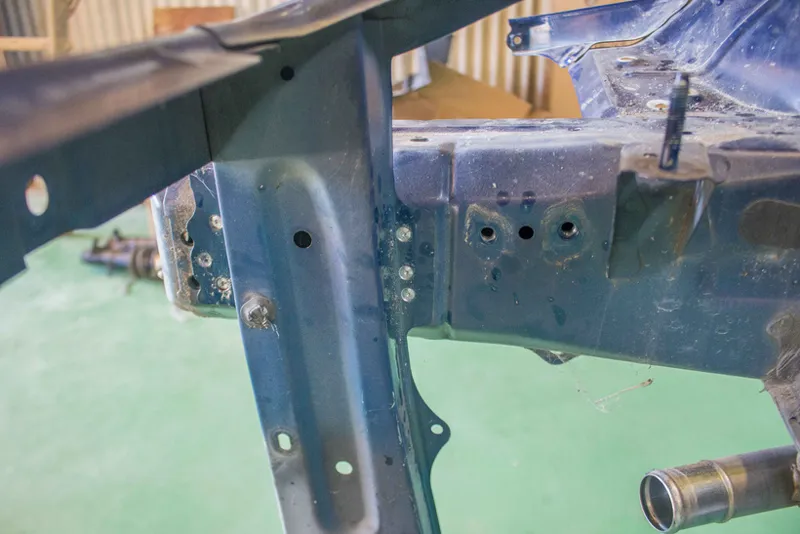
And then I started drilling out the spot welds.
First pieces to go were the radiator and front radiator support. This whole section was only about 20 spot welds and some incredibly thin metal, so this part at least I'm not worried about at all structurally.
After that was removed I had easier access to the frame rails. These needed to be shortened by about 250mm. In reality I may end up having to make these even shorter if I want to put the original front impact bar back on, but for now I'll trim as little as I have to.
Then out came the angle grinder and this car is now basically off the road for good.
I went back and forward for months on how I want to tackle this, trying to keep it all road legal, calling shaken offices and trying to figure out what I'm supposed to do. In the end I decided since the donor car was only $500 NZD, I just wouldn't bother. My strategy is to build the car as well as I can, then give it a go at shaken once it's done and see what it fails on. If I can fix it, sweet as, if I can't, then I'll get a new body and do it properly or change the design slightly if I have to.
Then the next bit to cut out where the strut towers. I will eventually be removing the entire section of sheet metal up here, leaving basically just the frame coming forward, but until we know what out design for the front subframe looks like I opted to leave as much metal here as I could.
It's easy to take more metal off later, harder to put it back on.
And that's basically where we're at. I was genuinely going to end the post here but I've just realized that would be an insane thing to do without showing some photos of the front end actually on there now that it fits.
Super tight fitment around the whole windshield. This still isn't in exactly the right spot as I've got to do a little trimming of some glass but seeing how accurate we were able to get it with the 3D model is always a huge relief.
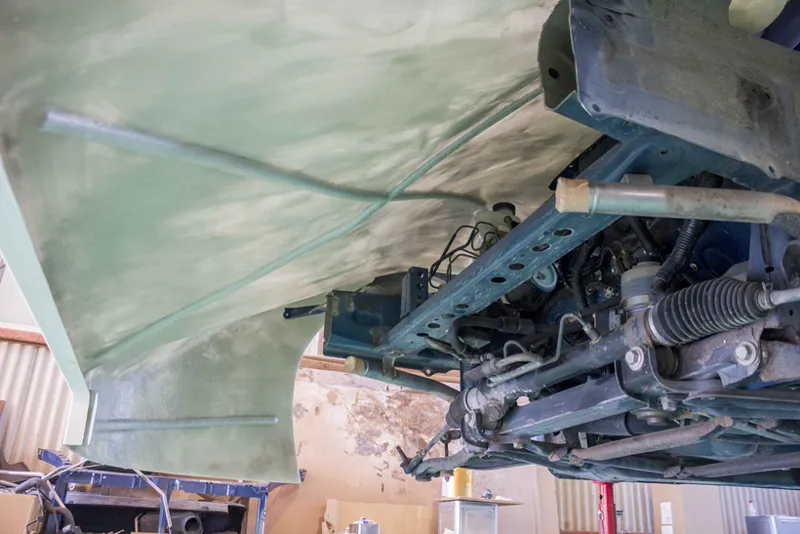
No issues with clearance underneath the bonnet either. It's resting on the frame rails here but that is propping it up at the right height for now. I'll eventually put in some hinges that will lift it up and forwards.
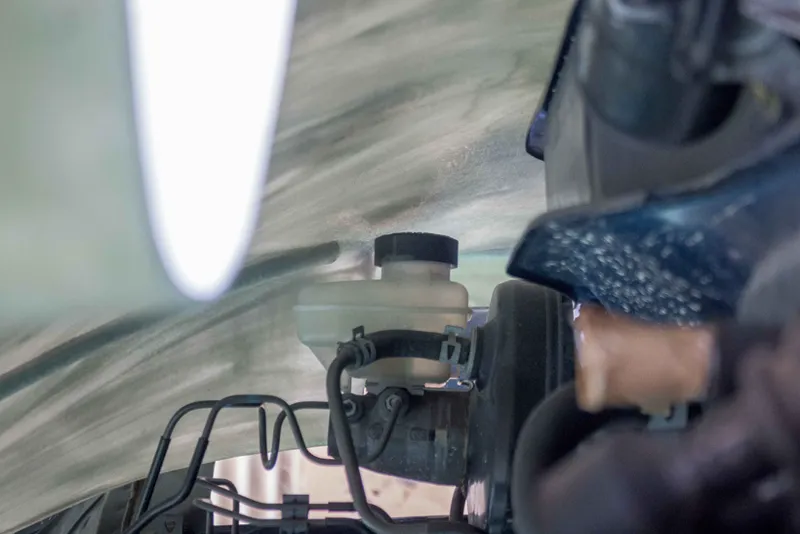
Original Brake booster and master cylinder fit with a few mms of clearance.
And the wiper motor unit also just barely clears. It's nice to have at least a couple things that we don't need to modify. We'll be seeing if we can rotate the center wiper to work like how they do in the classic group C cars.
And there it is. Honestly nothing really that difficult about it, fun little DIY project anybody can try at home.
With that fitting in place the next job for me is to start printing off the moulds for the middle section and then we'll figure out how I want to join it along the roof.
That's us all caught up now. But because there's not really a full videos worth in there I think my next video will actually be on the Twin so I'll have a post up here of the sick mods I've been doing on that soon too.
✌
Comments (6)
Damn dude! Really appreciate the detailed post on the process so far. I've only done smaller parts so watching the front clam demoulding spiked my heart rate lmao. Super hype on the progress, and especially cant wait to see the suspension stuff in the future.
Cheers mate! We've been cooking up some suspension designs in the background while I print off all the next pieces, gonna be pretty sweet we hope.
“What’s your hobby?” “I like to make giant car moulds to decorate my garden in Japan.”
I like to think about the lovely elderly Japanese couple that spent years making this garden whenever I park my Suzuki Twin or put fiberglass race car parts in them.
Wow! It looks so easy when someone else putting in the hundreds of hours all of their money…
Exactly, I simply don't know why everyone doesn't try this themselves.