










Stagea Paint Prep + Miata shoot
Been getting a few hours in on this Stagea in between seeing family this holidays. The main focus for me has been welding up the rear quarters properly and making sure that the wheels have room to move under the widebody.
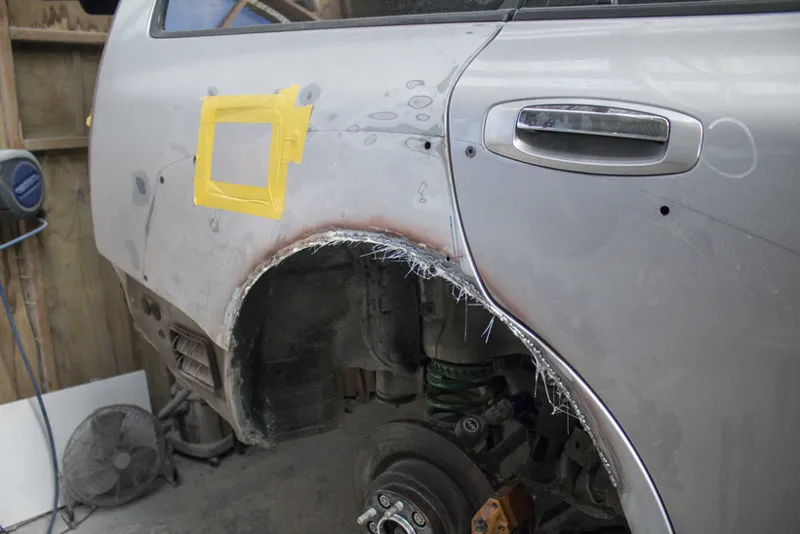
If you've seen any widebody install then you'll be familiar with the process. Measure the remaining travel on your coilovers, cut the inner and outer skins, hammer the inner tub to meet up with the outer skin, weld together.
It was a bit of a mess for me since I didn't have any of my thinner MIG wire and had to do it super carefully with the thicker stuff to avoid burning through but luckily these welds will never be seen by anybody apart from the entire internet watching this build.
As an experiment for this car I actually chose to seal up the slots underneath with epoxy fiberglass. In the past I've always just welded up these holes but since it usually involves welding upside down it makes a hell of a mess and there's all sorts of weld slag that ends up inside.
I wanted to try covering these small slots with glass this time because it felt like it would be a lot cleaner and more straightforward. The strength of the panel is still there from the welded edge, so structurally there's no need for the slots to be welded, you only do it to prevent corrosion, which I reckon the glass will do an ok job with when paired with an epoxy primer and then underseal.
I chose to go with epoxy over polyester for the fiberglass because it has a much stronger bond which is why most of the automotive panel bonds are epoxy based. I'm only really covering this fiberglass step here on Patreon because trying to explain this on YouTube with subtitles feels like it would be a nightmare.
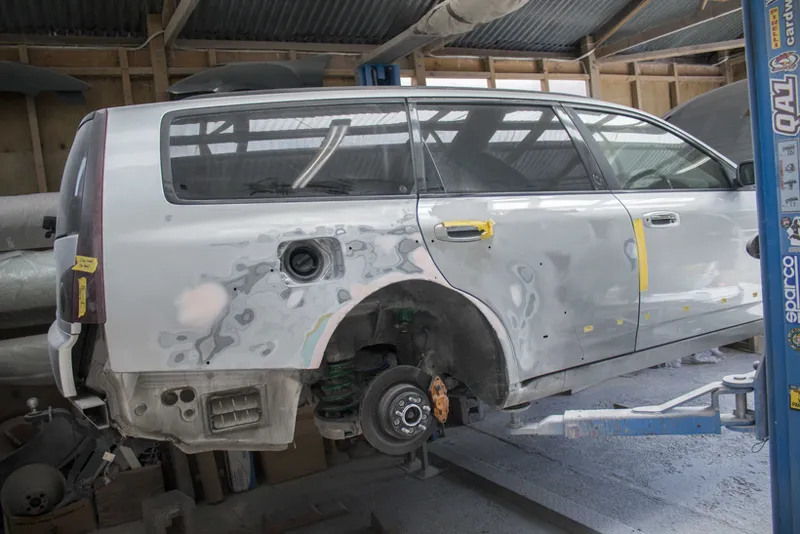
In any case, once I had the rear quarters welded up I could fix all the small dents I'd made throughout the shaping and mould making process as well as tidy up the weld a little bit since a small section of it is likely to be visible when the door is opened.
And finished off the prep work by sanding down the rear and front bumpers along with the doors.
There was a lot of sanding and filling to try and get it all ready for final primer and paint. Off camera I also remade a new rear lip to replace the prototype that I used to make my mould.
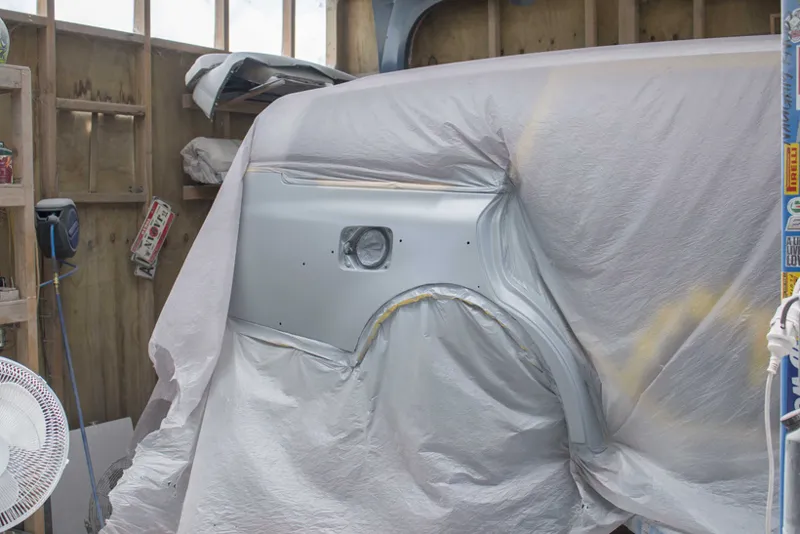
With all these parts sanded to 240 grit I sprayed them with a few coats of filler primer to give me enough of a build to get out any remaining imperfections with the 600 on the DA before paint.
I've got nearly all of the parts primed and ready to be sanded for the last time with 600 grit before I take them to my friend with a paint shop in the new year.
In the mean time the only things I have left to finish off are making a permanent upper bracket for the front bumper support, and welding up the holes in the doors where the original bump strips were.
There's been quite a bit happening behind the scenes, mostly boring logistical stuff and a few other orders that came in just before X-mas so I haven't had as much time as I'd like to get this car wrapped up.
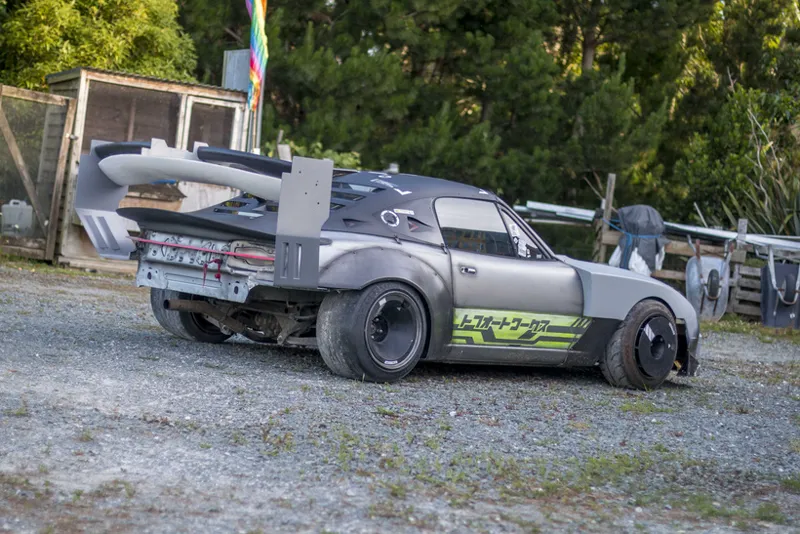
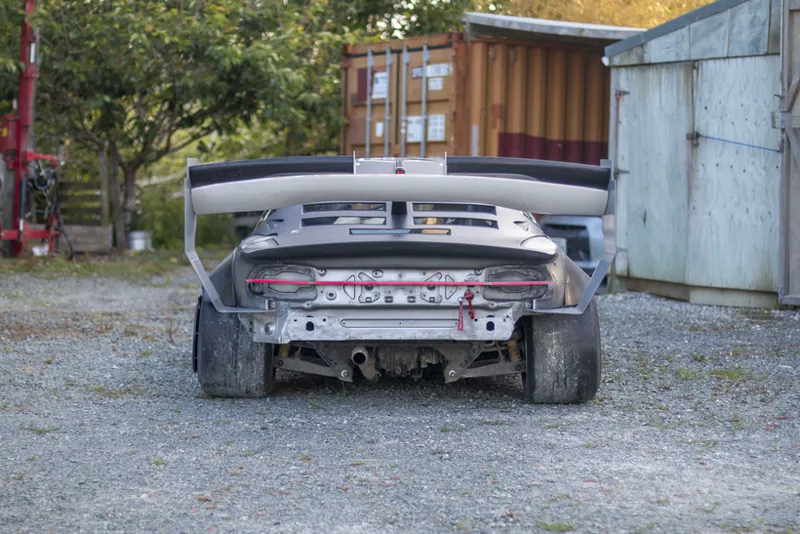
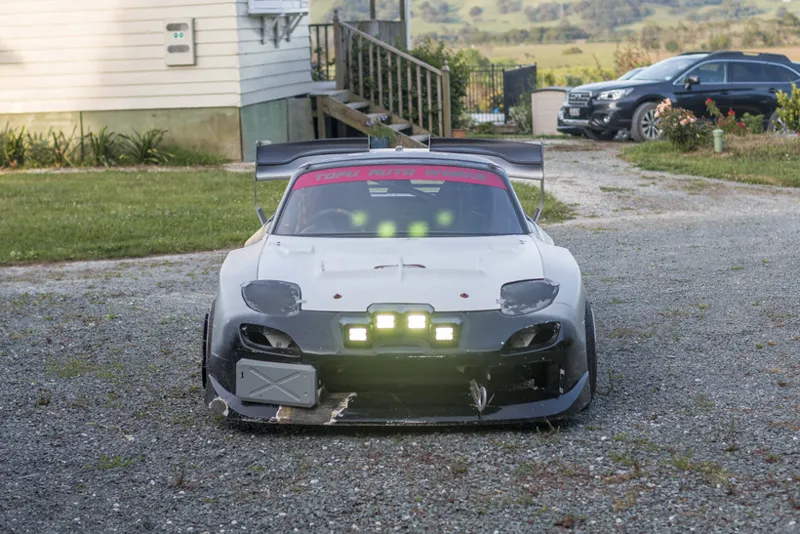
But since that's all I'll just go ahead and drop a few recent photos I've taken of the Mx5 with the new spoiler.