




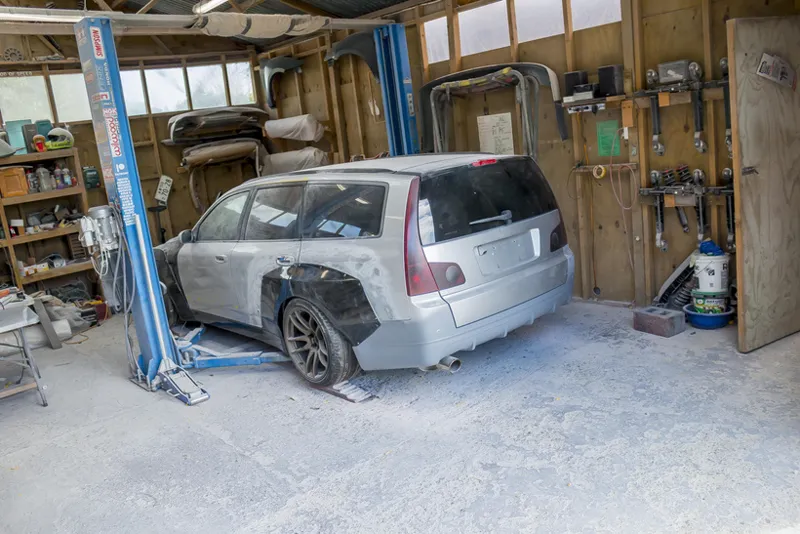





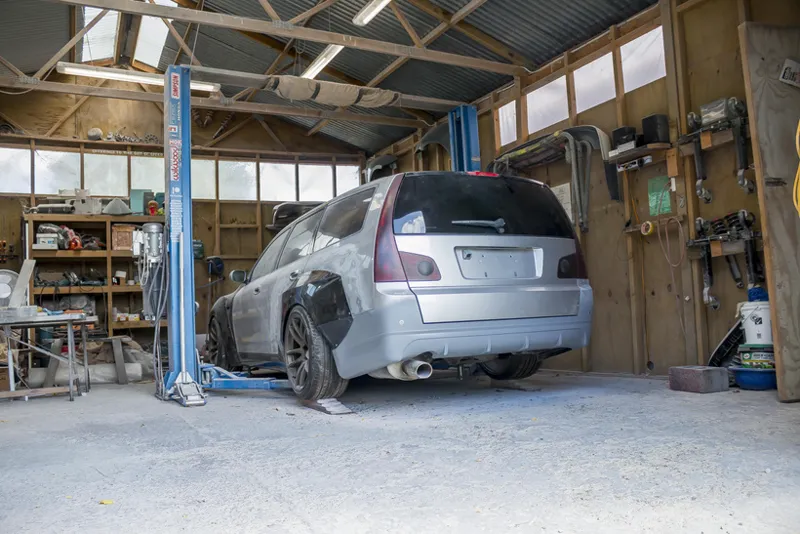


Eventually I'm going to run out of things to sand on this Stagea.
So I've actually been over in Japan for a little bit these past couple weeks hence the radio silence on here, some cool stuff I'll get into in a future post.
But after I got back I immediately got stuck into this rear lip.
So in the latest episode I showed making the prototype from the 3D printed moulds and it had some slight issues with fitment. This was actually a blessing in disguise as knowing that I'd have to trim the fiberglass and reshape it slightly meant that I was free to make a couple other small changes I thought of after the initial test fit.
The fitment issues were easy enough to fix. The rear lip was trimmed in a few spots and then shaved down until it fit snugly, then it was stitched together with some metal tabs and screws to hold it in place so that it could be fiberglassed over.
I also decided here to extend the bottom of the lip by about 12mm by the edge closest to the tire. After seeing it on the car I felt like I just needed it visually a little bit lower to more closely match the height of the sideskirt.
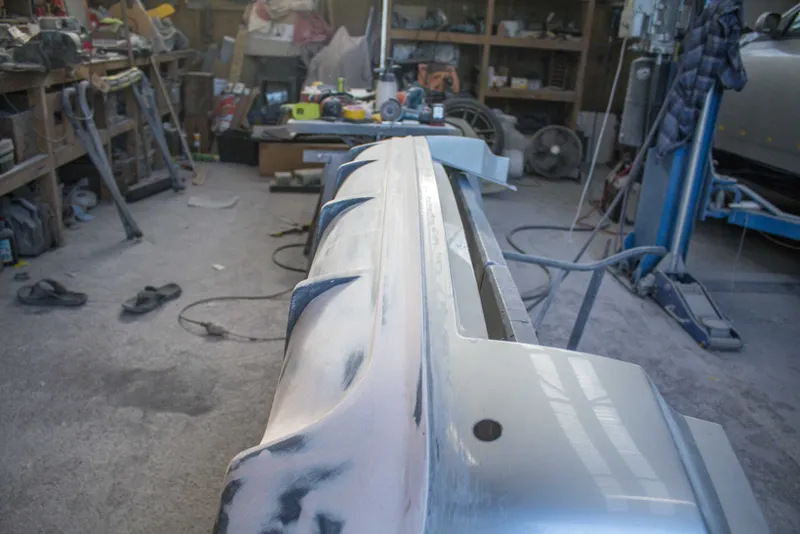
After the fiberglass had cured and the rear lip was all one piece again, I sanded down all the gelcoat with 40 grit and ground out all the seams so they could take in a layer of bodyfiller which would stop the seams from showing up in the final layer of primer.
I really got into the flow state on this one and was able to do all the body filler and sanding in only a couple days.
No doubt some of you are probably thinking why not just take the time and get this right with the CAD model and print off the moulds again. In reality, this approach was significantly faster.
I knew no matter how good we got the cad model, after 3D printing it I was going to have layer lines or slight imperfections that would need me to block sand and skim coat the whole lip anyway, so this barely added any extra time on top of what I was already doing. The trimming and adjusting and fiberglassing was all done in a day, quicker than I could have made changes to the CAD.
After the initial rough shaping I did my usual inspection coat of primer. It showed me a couple spots I wasn't to happy with and so I ended up taking another day to just sand it all smooth and tweak some of the positionings.
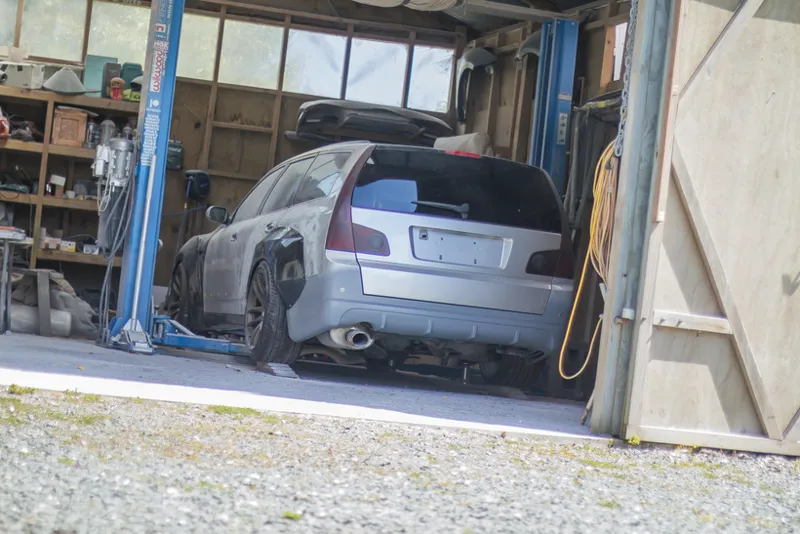
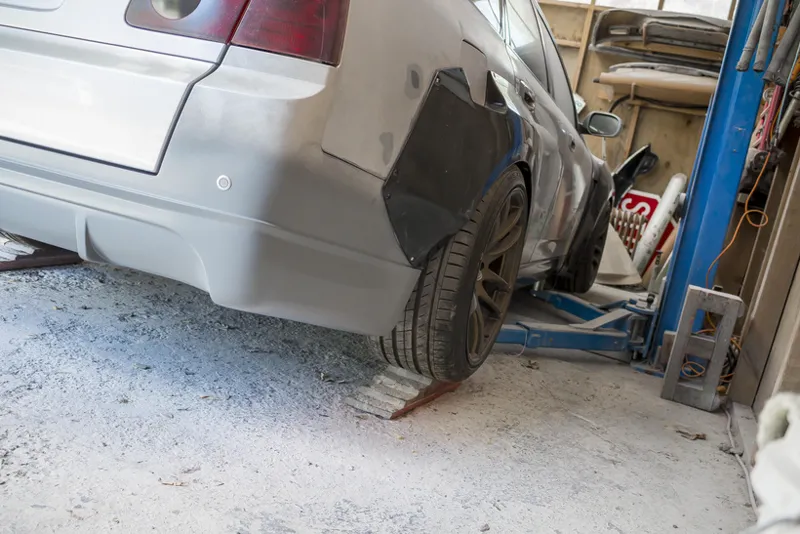
After the second heavier coat of primer I could chuck the bumper back on the car and get a look at the whole car.
It occurred to me that this is actually a pretty big moment, apart from the fact I still have to make a mould of this rear lip, this is the last of the 11 pieces for this kit to be on the car and this is really the first time we get to have a look at what the finished car will be.
So stoked with how this lip came out. I know I say that about every part, but there were a couple minutes in here where I was worried it was gonna look terrible and not match the vision I had but once I made those small tweaks with the bodyfiller and got the primer on it it's really turned out perfect.
I also like how now that it's the same colour as the bumper, the issue I had with the lip and the rear flare clashing at the point where they meet up is no longer a problem as it was just caused by the new pieces being black and contrasting too much with the background colour.
Should have the video finished and uploaded here tomorrow ahead of it's release this weekend on YouTube.
Next video I have to get back to mould making unfortunately haha, I know we all can't wait to see more of that. 🤣
Comments (4)
Is that the best-looking piece yet? Great work on both design and execution.
I'm certainly very happy with it! I think it all ties together really well with the rest of the kit.
Looking great!
Thanks mate!